Simple Easter Egg Cookies

Common theme lately – lots and lots of simple cookies. I rarely sell cookies, and love to give them away to family, friends and teachers. Sometimes I bake cookies and realize I have no time for decorating. That was the case for these cookies. I sort of came up with this design as I went, using my new airbrush for the very first time. I did not have time to outline and flood each simple Easter egg cookie, so instead I just dipped them in thinned royal icing. Yes there are some flaws, but I think it gives these simple easter egg cookies character. I wanted a gingham pattern, but decided I loved the way the horizontal lines looked on the cookies. The shabby looking lines kind of remind me how our decorated easter eggs turn out each year. Keep reading to find out moreStep 1 – Simple Easter Egg Cookies – prepare sugar cookie dough and bake cookies
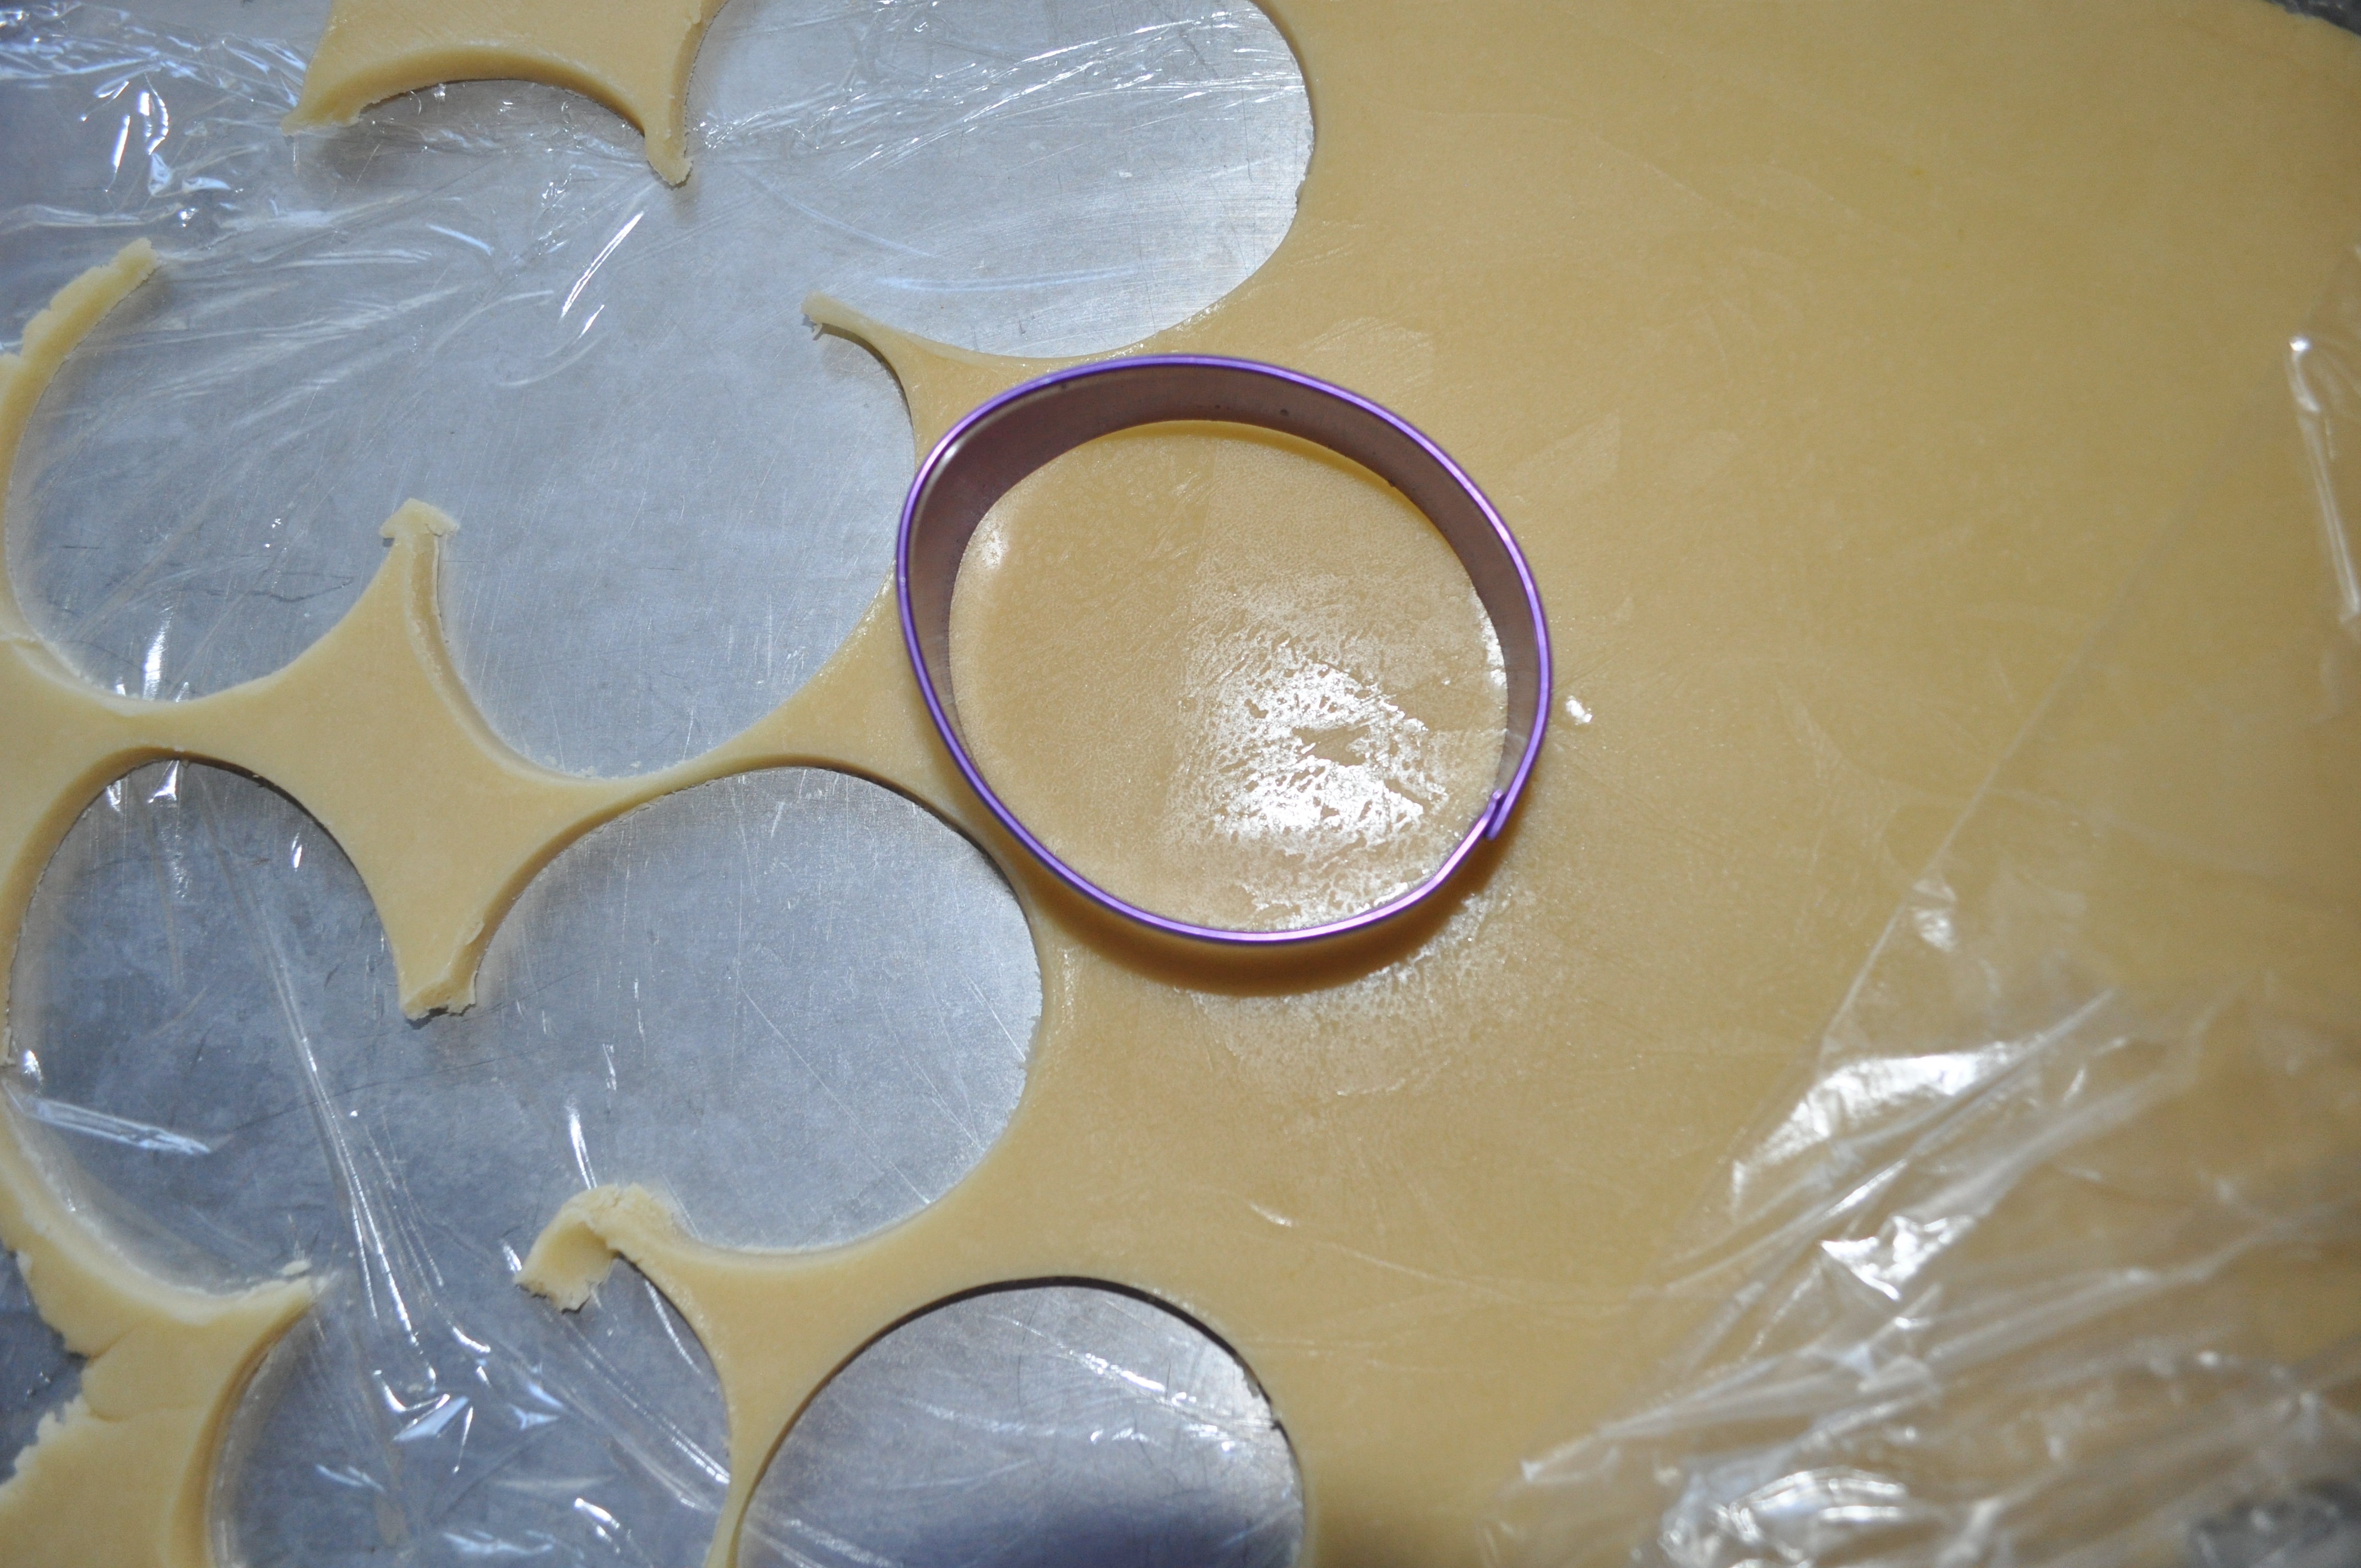
For these cookies I used my favorite sugar cookie recipe, found here. This recipe does spread slightly, but for this shape spreading is not an issue. I like that the eggs are all slightly different shapes. I rolled the cookie dough between sheets of saran wrap and chilled the dough in the freezer. This allowed for quick cutting of the shapes. Use your favorite recipe for this design.
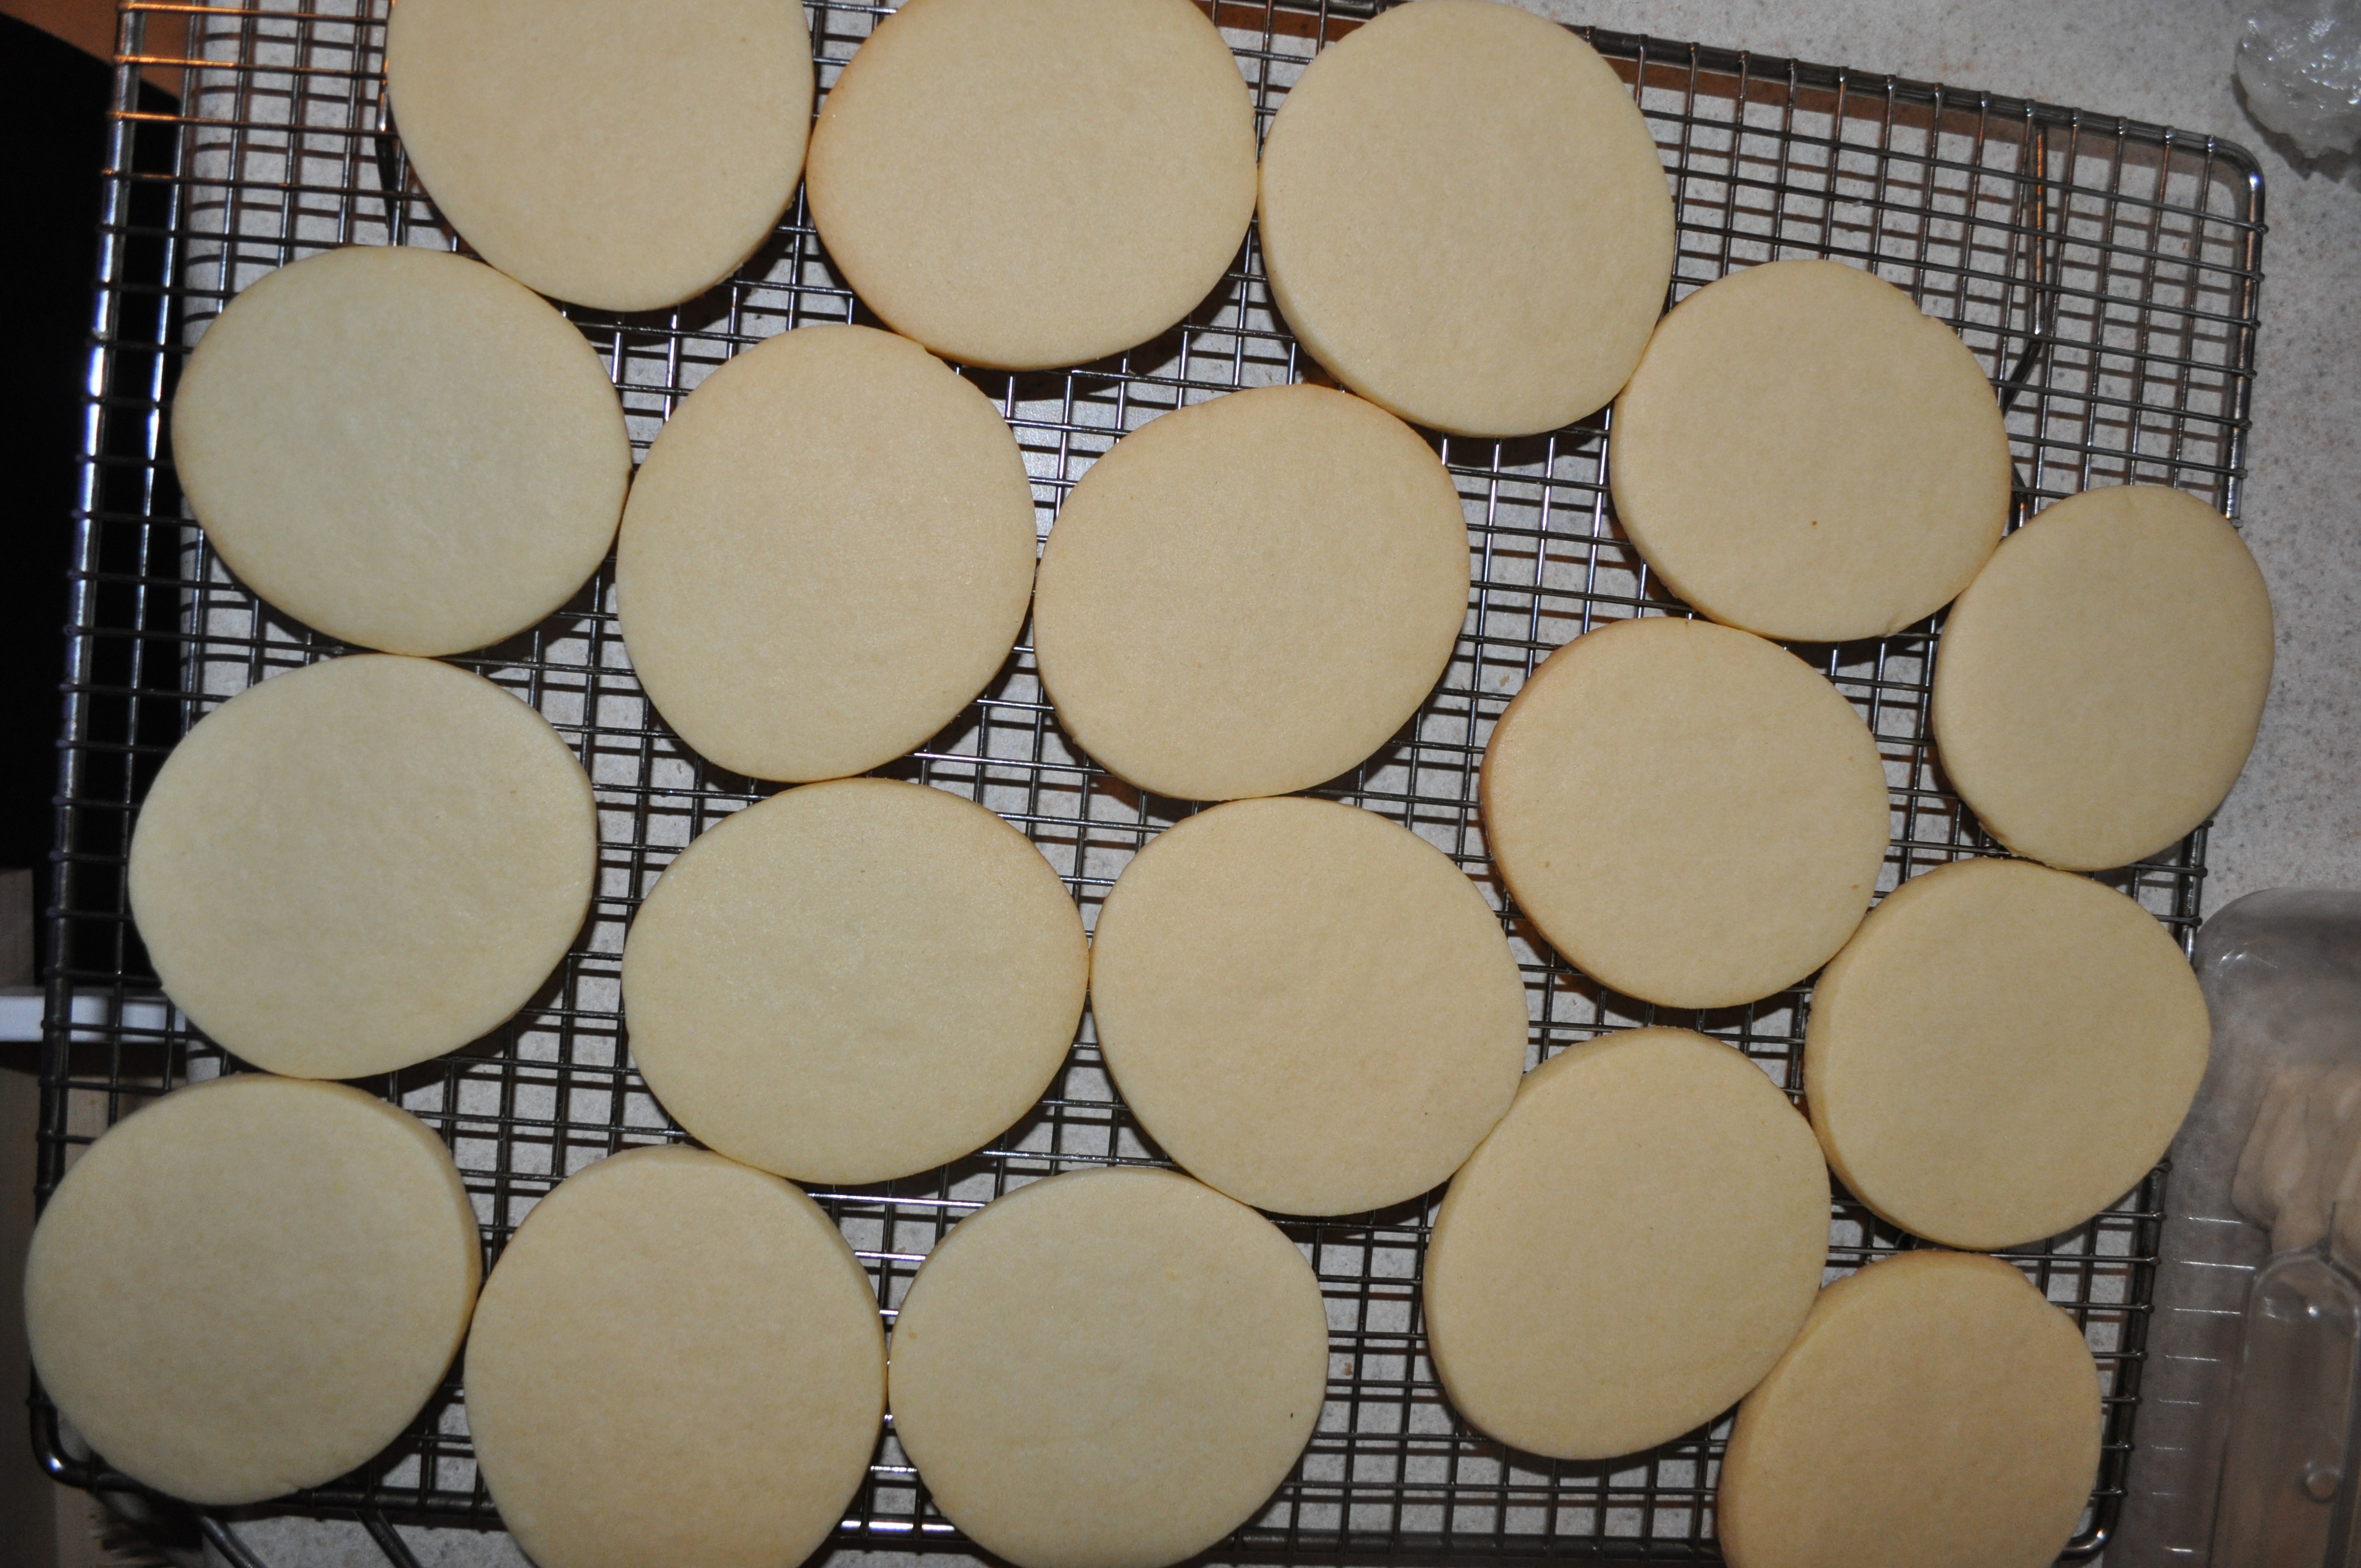
Lots of simple Easter egg cookie shapes – just waiting to be decorated. At this point I’m thinking about all the fancy designs I’m going to mix, all the wonderful colors. How beautiful they will be…. actually, as most evenings go the kids need help with their homework, the baby is fussy… dinner, i forgot about dinner!! Before I know it it’s past 10 pm and I’m exhausted. Easter is probably the next day. I don’t have energy to do fancy designs and I scramble to think how I can make something simple, yet beautiful.
Step 2 – Simple Easter Egg Cookies – prepare icing
As I explained above, game over. It’s late. The house is a mess and I have to come up with a plan for these simple easter cookies as soon as possible. Before I fall asleep in a pool of icing.
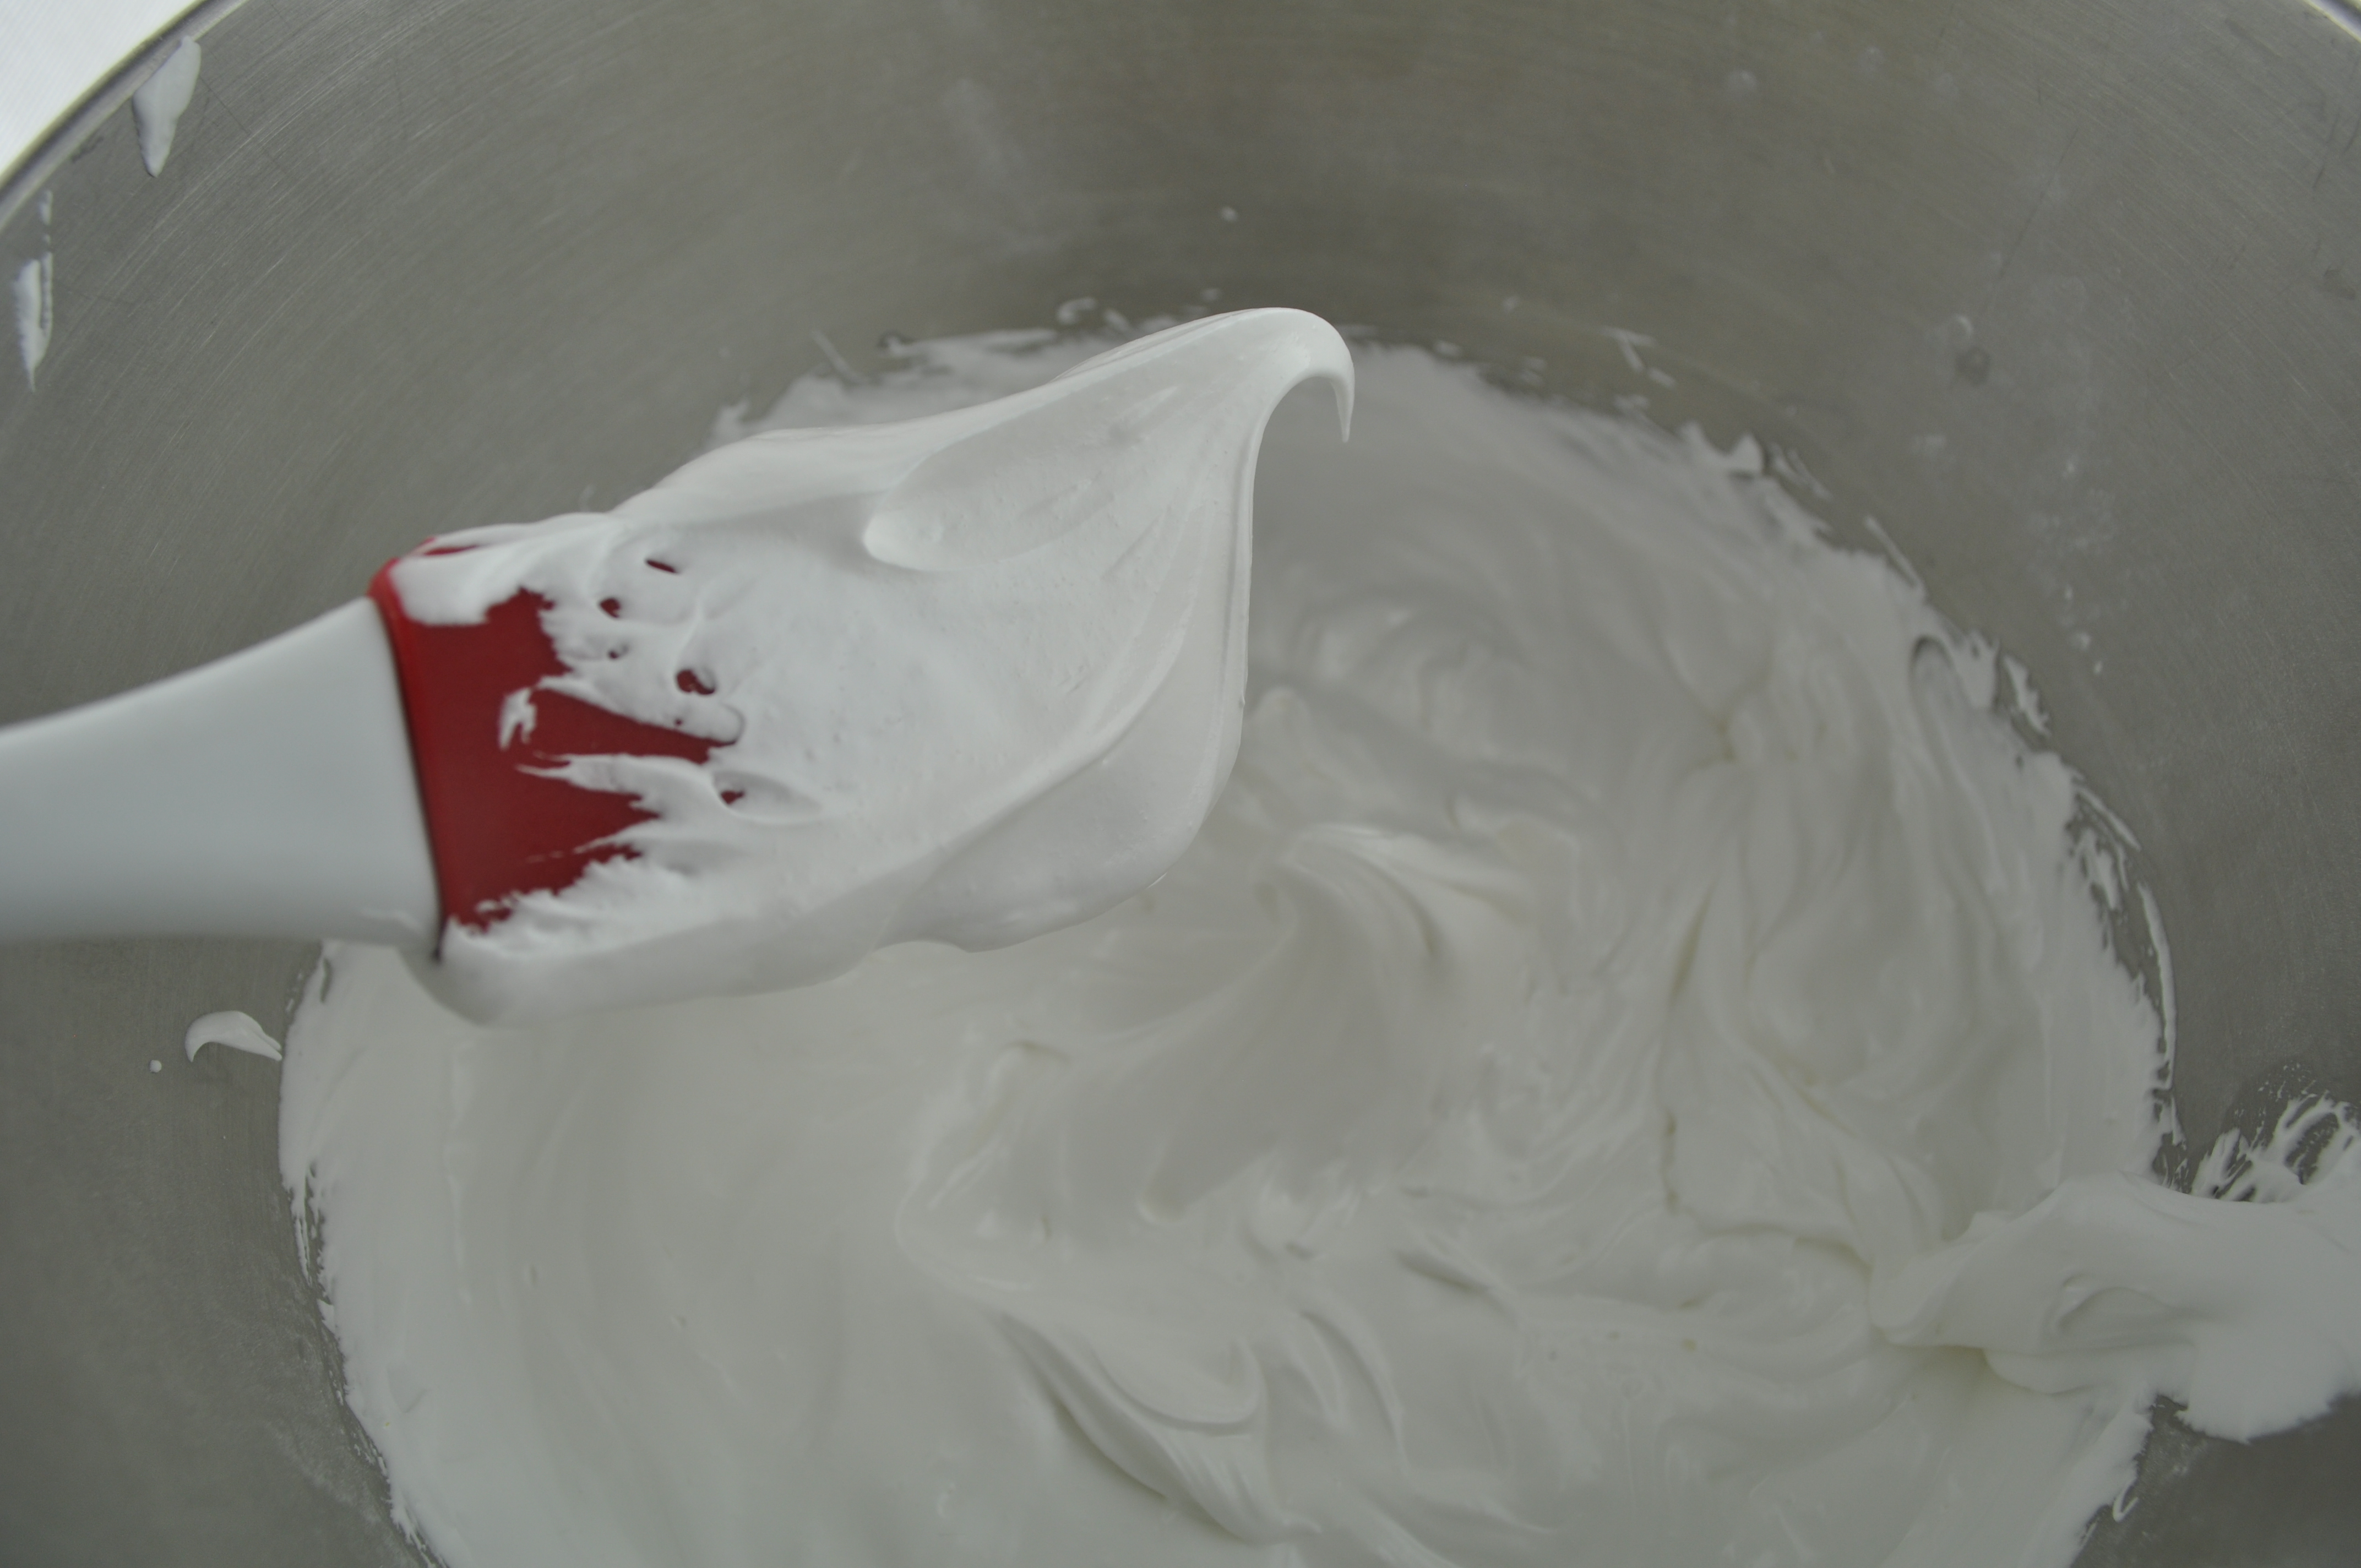
I quickly whip up some royal glaze icing, the recipe can be found in this post. I love the royal glaze icing because it dries nice and soft. No broken teeth – ever! Because I have no time, these will definitely be simple Easter egg cookies and I will make just two of my favorite acccent colors. Pink and purple in a slightly thinned (soft flowy peak stage) stage for righting on the simple Easter egg cookies. Set this aside for the next day.
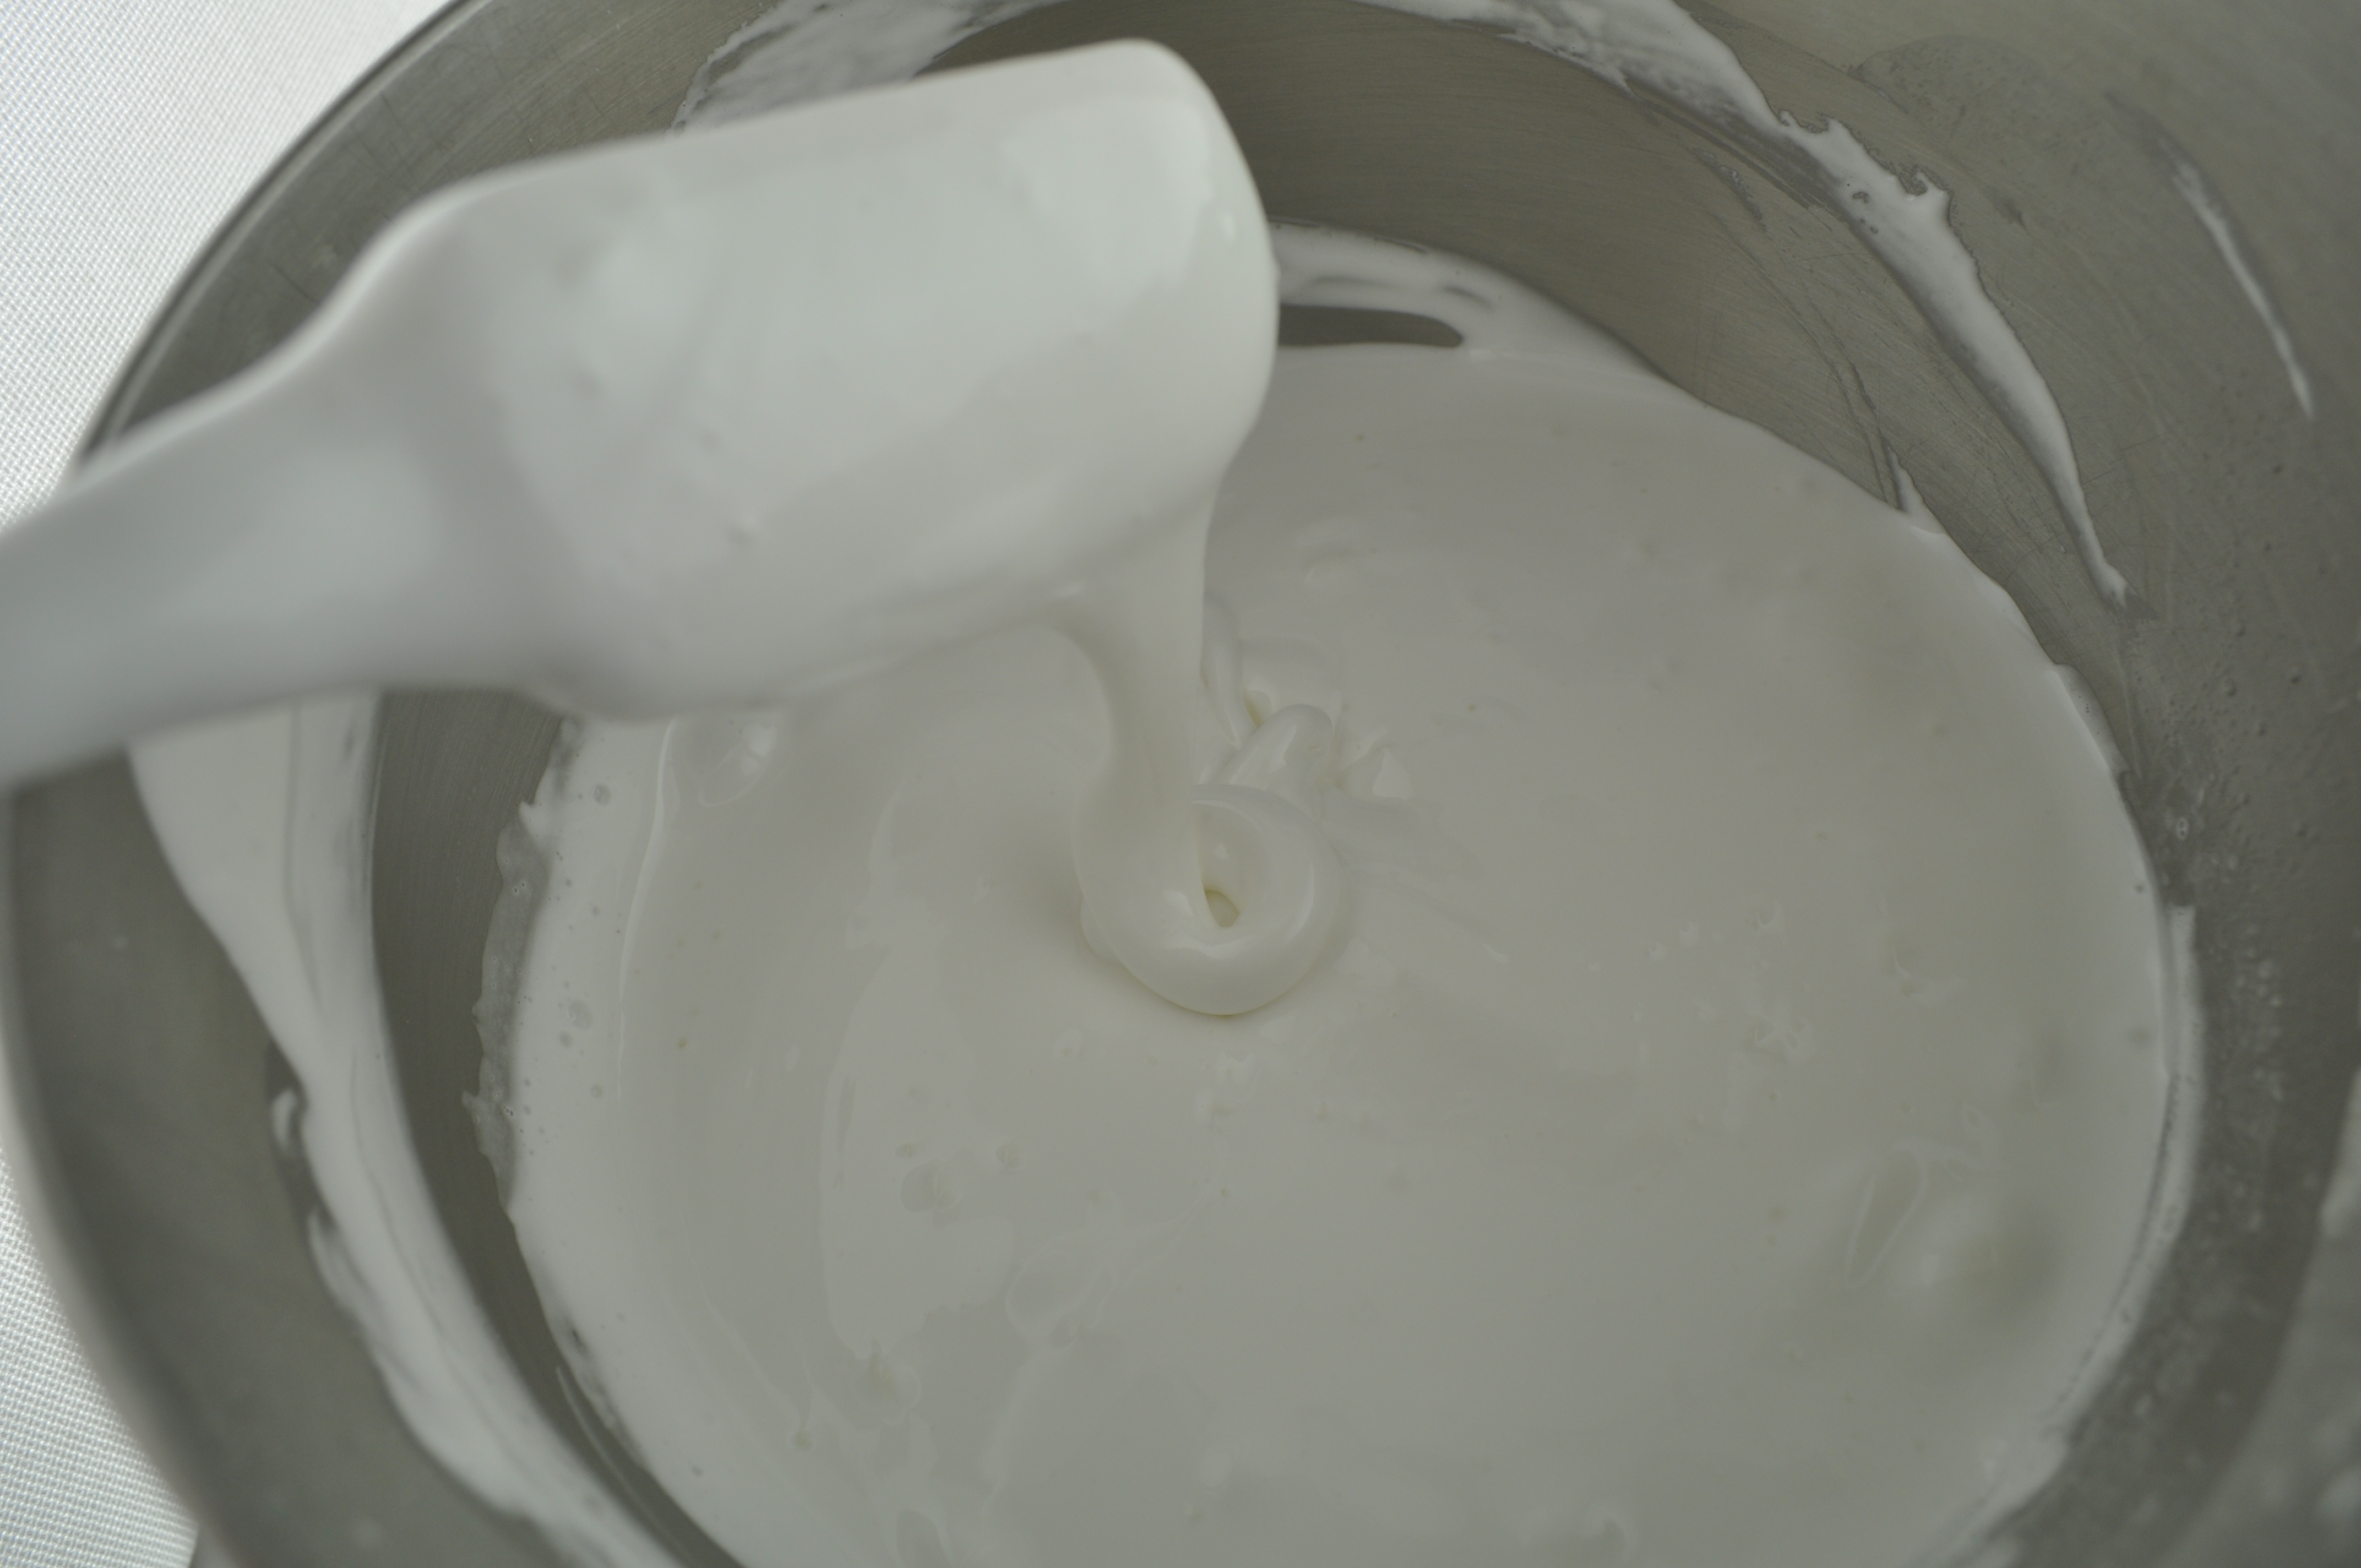
I will not take the time to outline and flood the cookies. I will simply dip each cookie into the white royal icing that has been thinned to a runny, honey like stage that does not hold a peak. This is a serious time saver. I can get all these Easter cookies iced in under 5 minutes when I dip them into the icing.
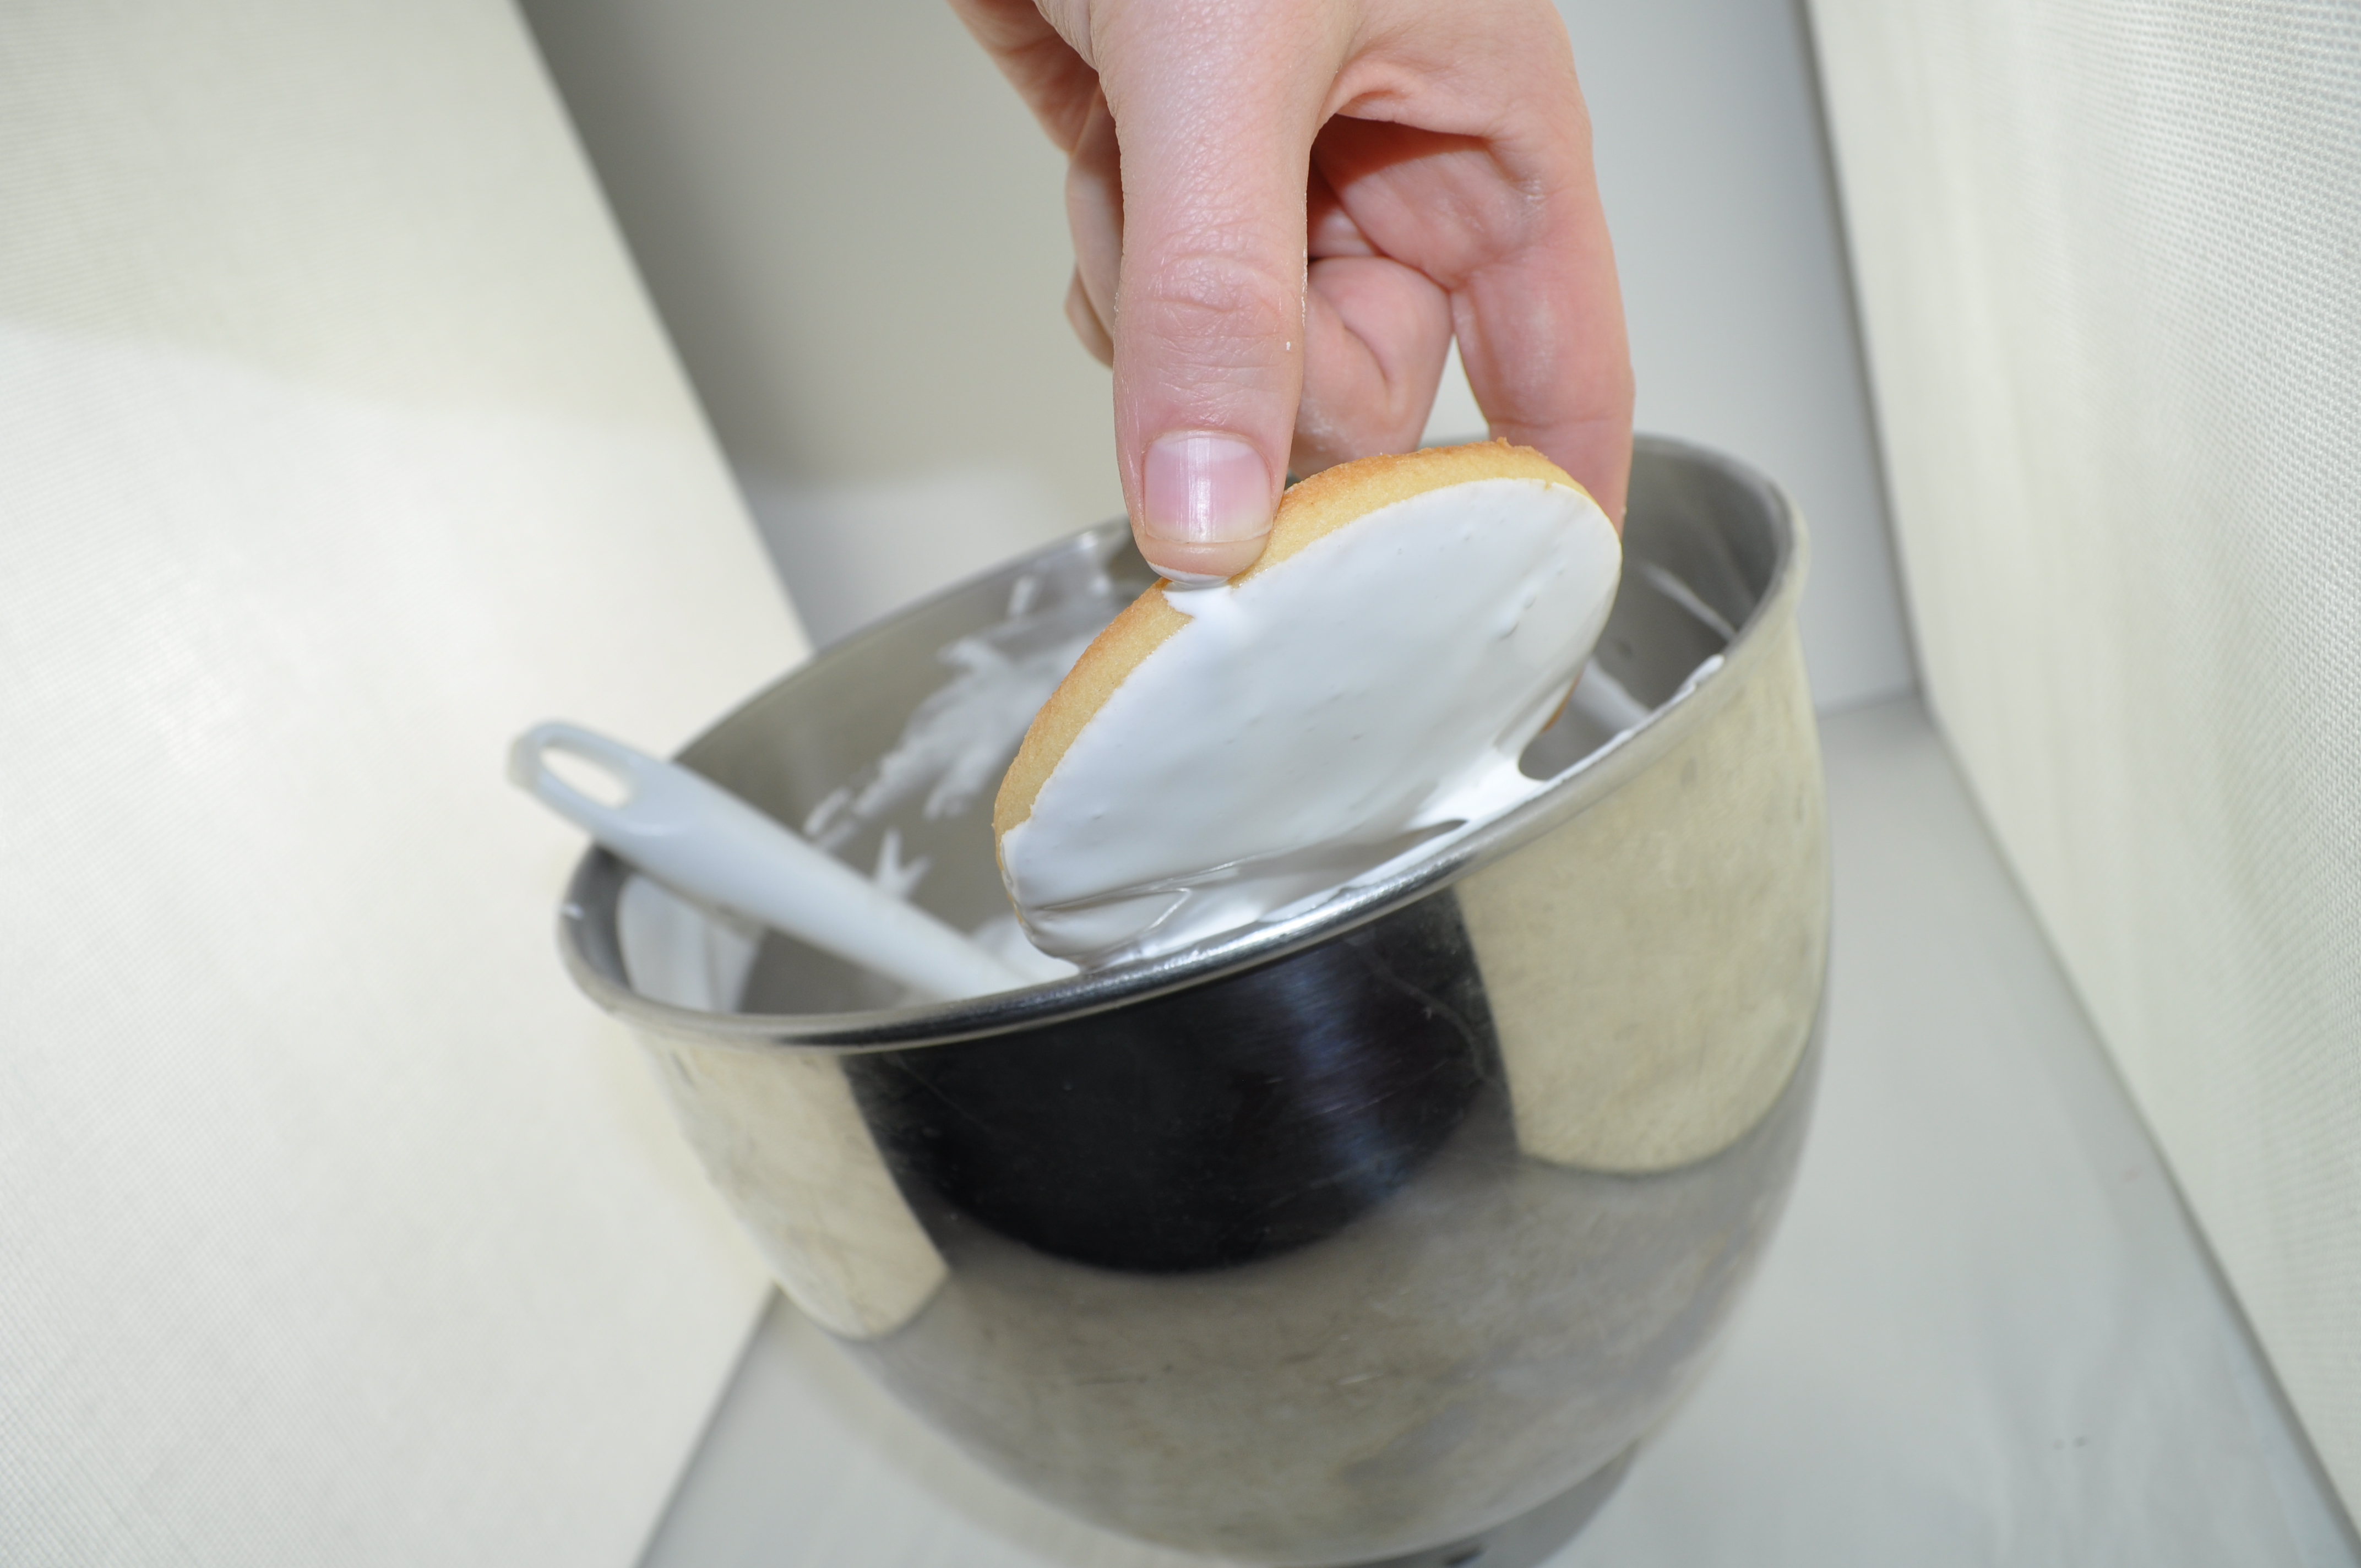
Please excuse the ugly fingers. I am no hand model. And it’s very hard to dip a cookie and take a photo at the same time. Do you like my light box? 🙂 So to quickly decorate these I dip the cookies into the thinned icing and wipe and excess off on the side of the mixing bowl. That is it! Another quick way to ice these simple Easter egg cookies would be to use an off set spatula. Because the icing is so thin it will level out on its own as the cookie dries. Some icing may fall off the cookie, but really, no big deal! Allow the cookies to dry over night.
Step 3 – Simple Easter Egg Cookies – Decorate the Simple Easter Egg cookies
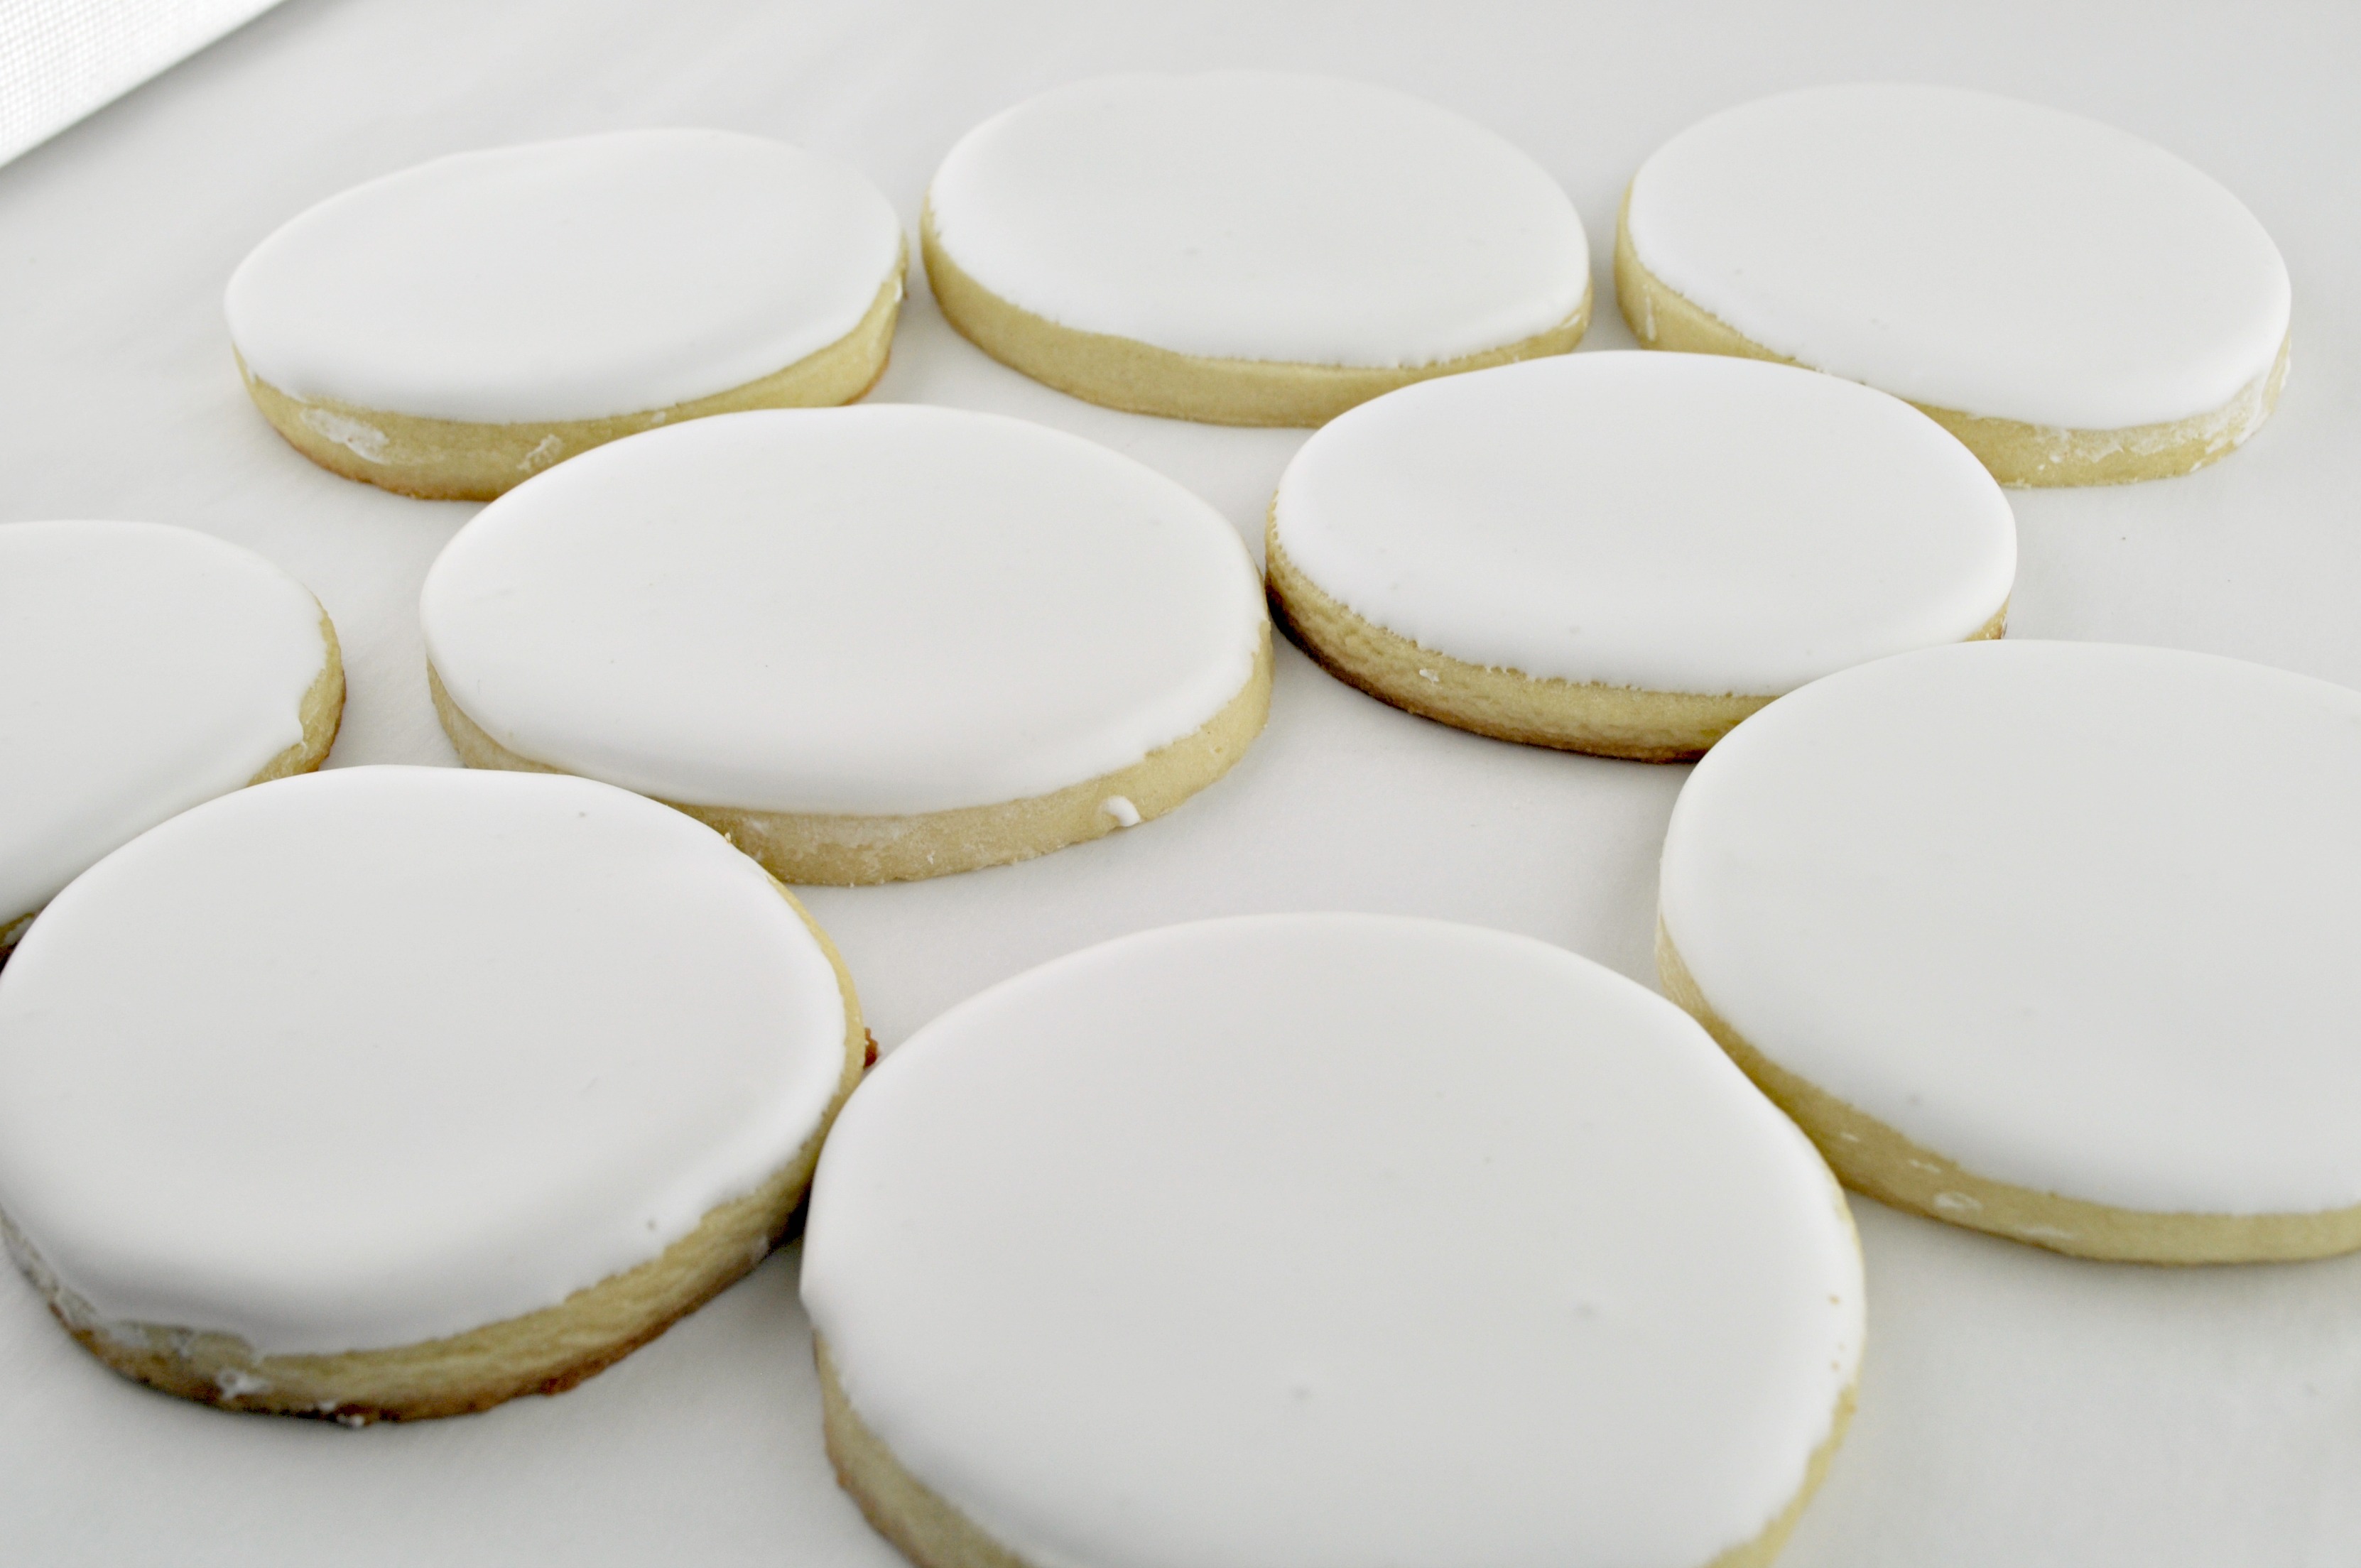
I now have blank cookies, all ready to go! The icing is dry. Again, I have no time for fancy cookies so I decide to use an airbrush and a stencil to decorate these simple Easter egg cookies. To do this I place the stencil on top of the cookie, and spray with the airbrush using pink and purple airbrush spray. Actually, this time around I used regular Americolor food coloring and diluted it with water and vodka. I’m not sure this is legal – but it worked. It was great to be able to decorate with what you have. I’m sorry I was not able to airbrush and take pictures at the same time. If you do not have an airbrush you could use the cans of Wilton decorating spray.

After the airbrushing, very carefully add Happy Easter in a coordinating color. That is it! I also made orange, yellow and teal versions of this cookie but for some reason I do not have pictures of those simple Easter egg cookies.
Step 1 – Simple Easter Egg Cookies – package the simple Easter egg cookies

I heat sealed these cookies individually and placed them in a small bakers box with tissue paper. I large bowl was wrapped around the entire box and was the perfect accent.