Tie Cookies for Father’s Day
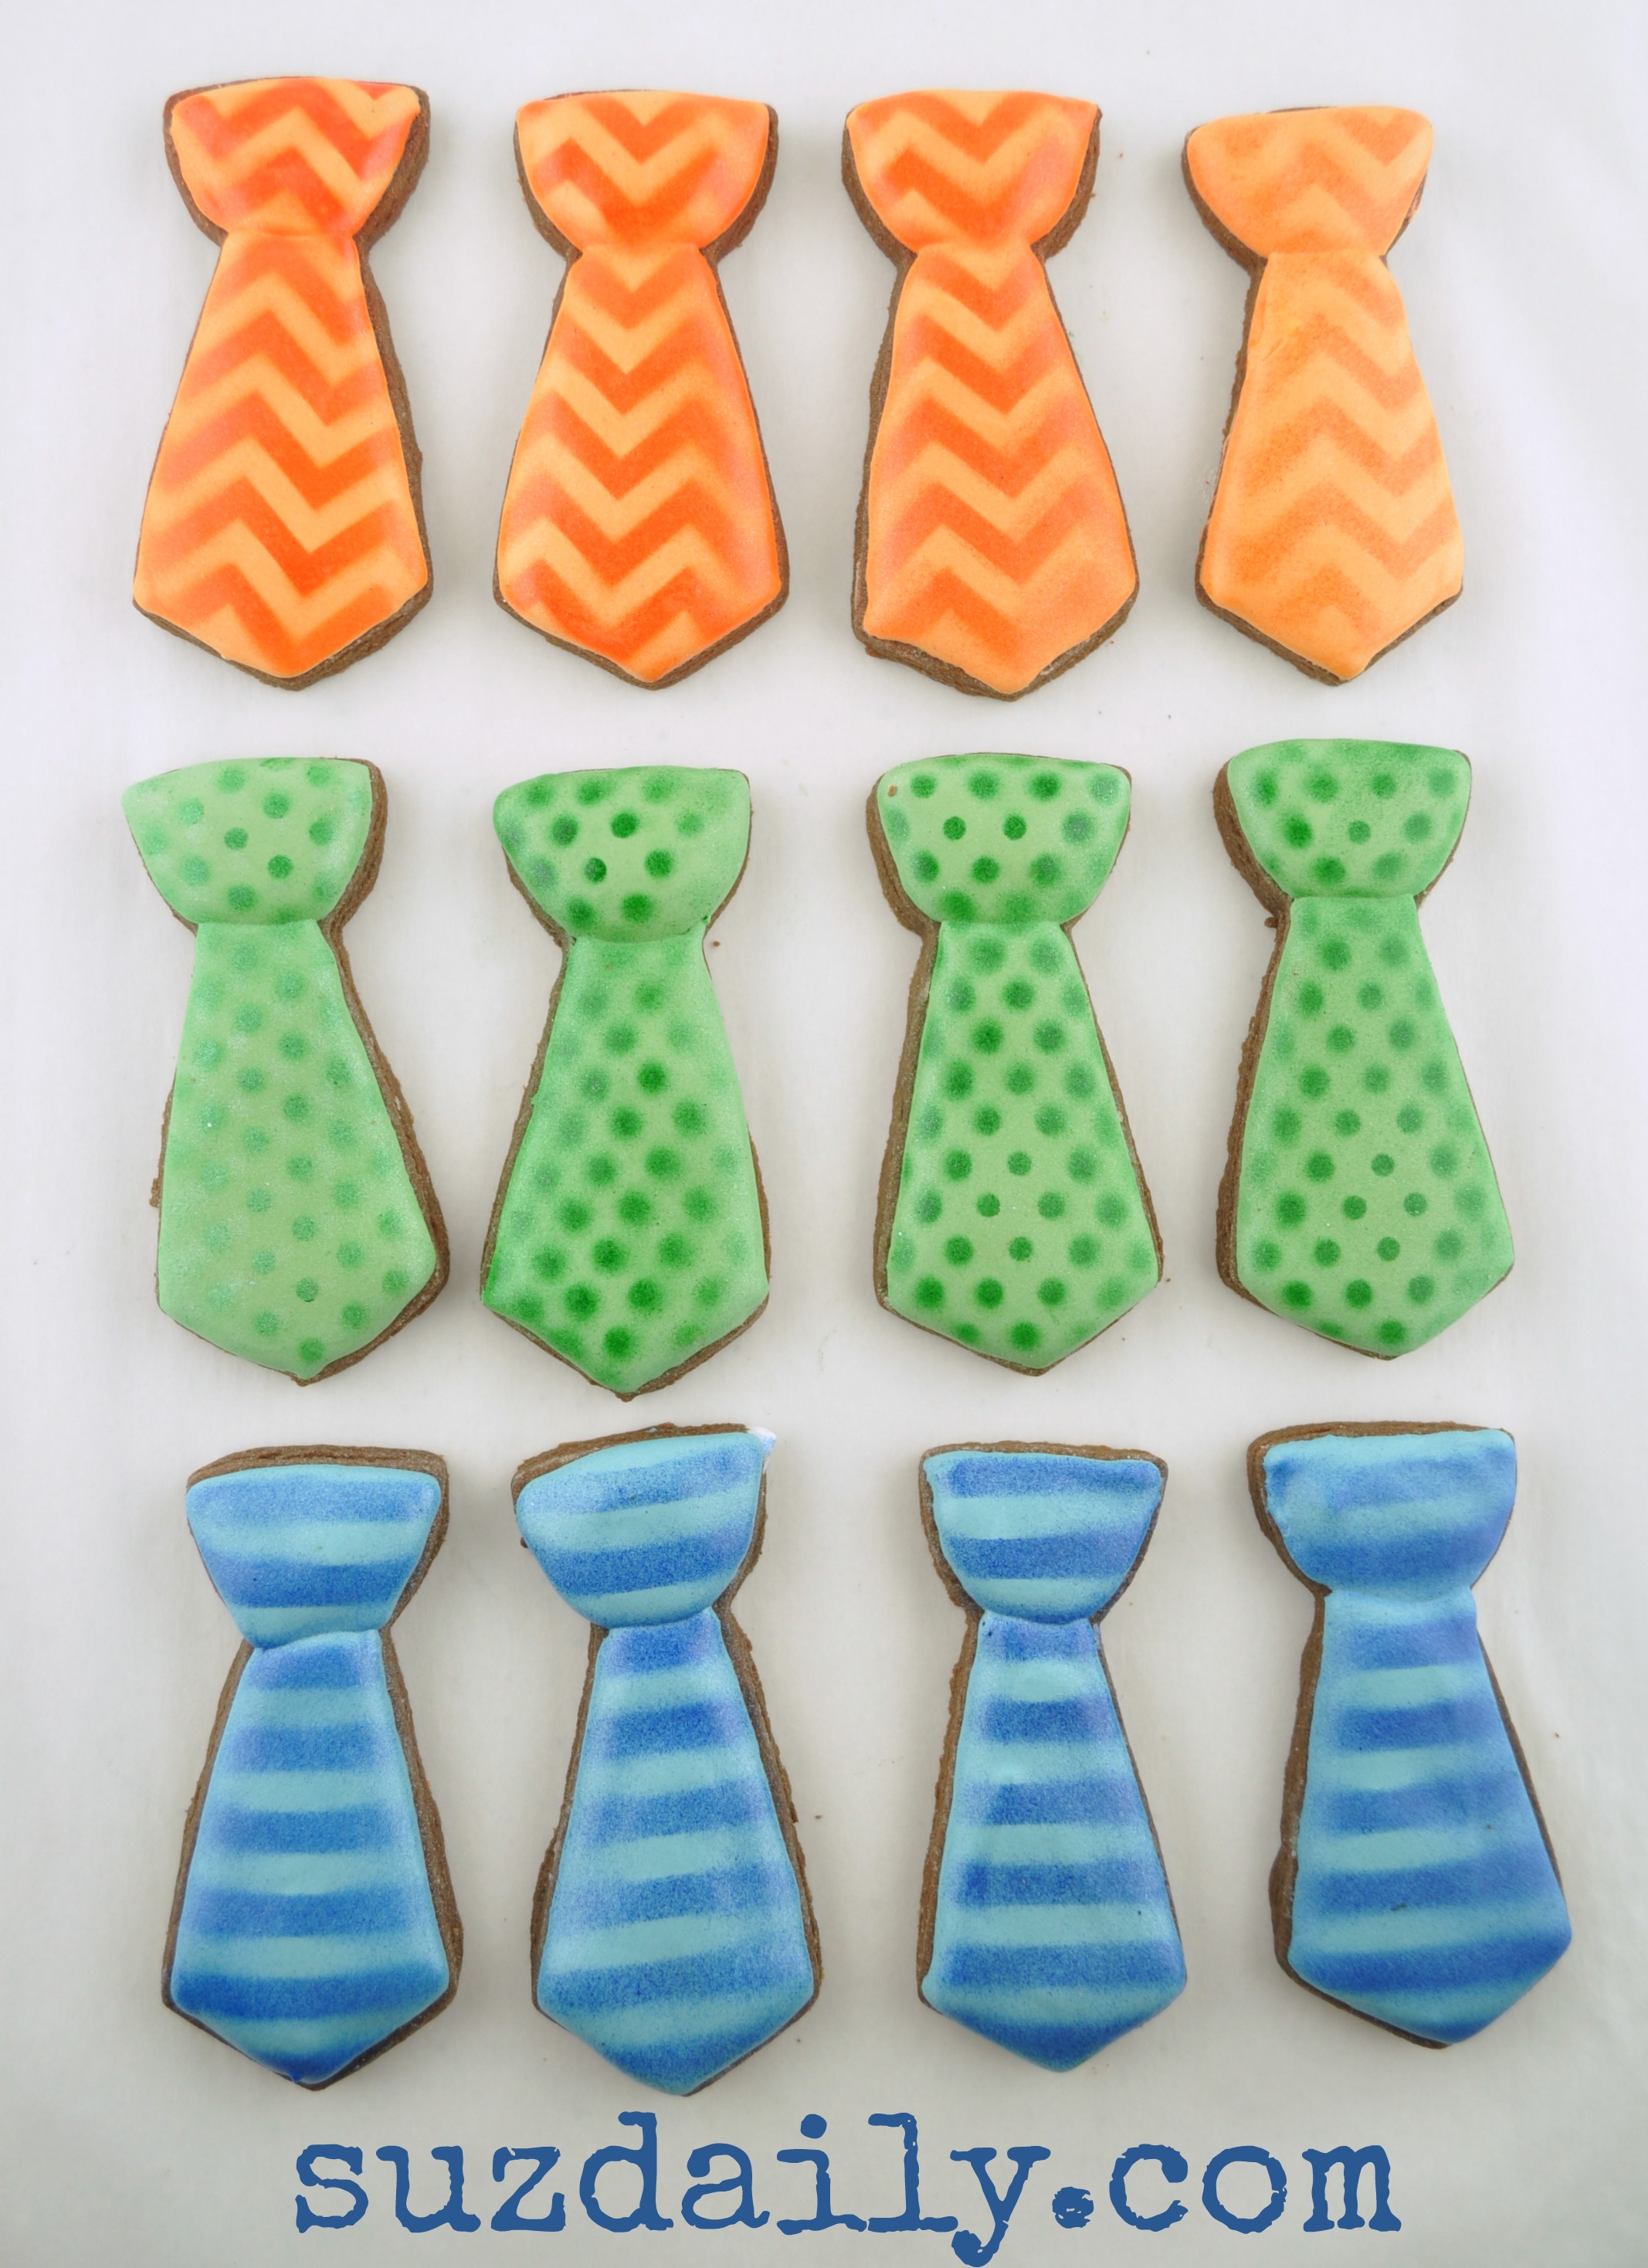
These mini tie cookies were a favorite at a neighborhood bake sale the weekend before Father’s day. Tie cookies are perfect for Father’s Day because there are endless ways to decorate them. You can do just about any fun pattern that you would find on real ties. For these we made three colors of royal glaze icing. We first sectioned off the top portion of the tie cookies and let that set for about 20 minutes. We then frosted the lower portion. Once the icing was completely dry we used coordinating airbrush colors and stencils to complete the designs. Keep reading for more details on how we made these Father’s Day tie cookies.Step 1 – Tie cookies – Prepare cookie dough Cut shapes
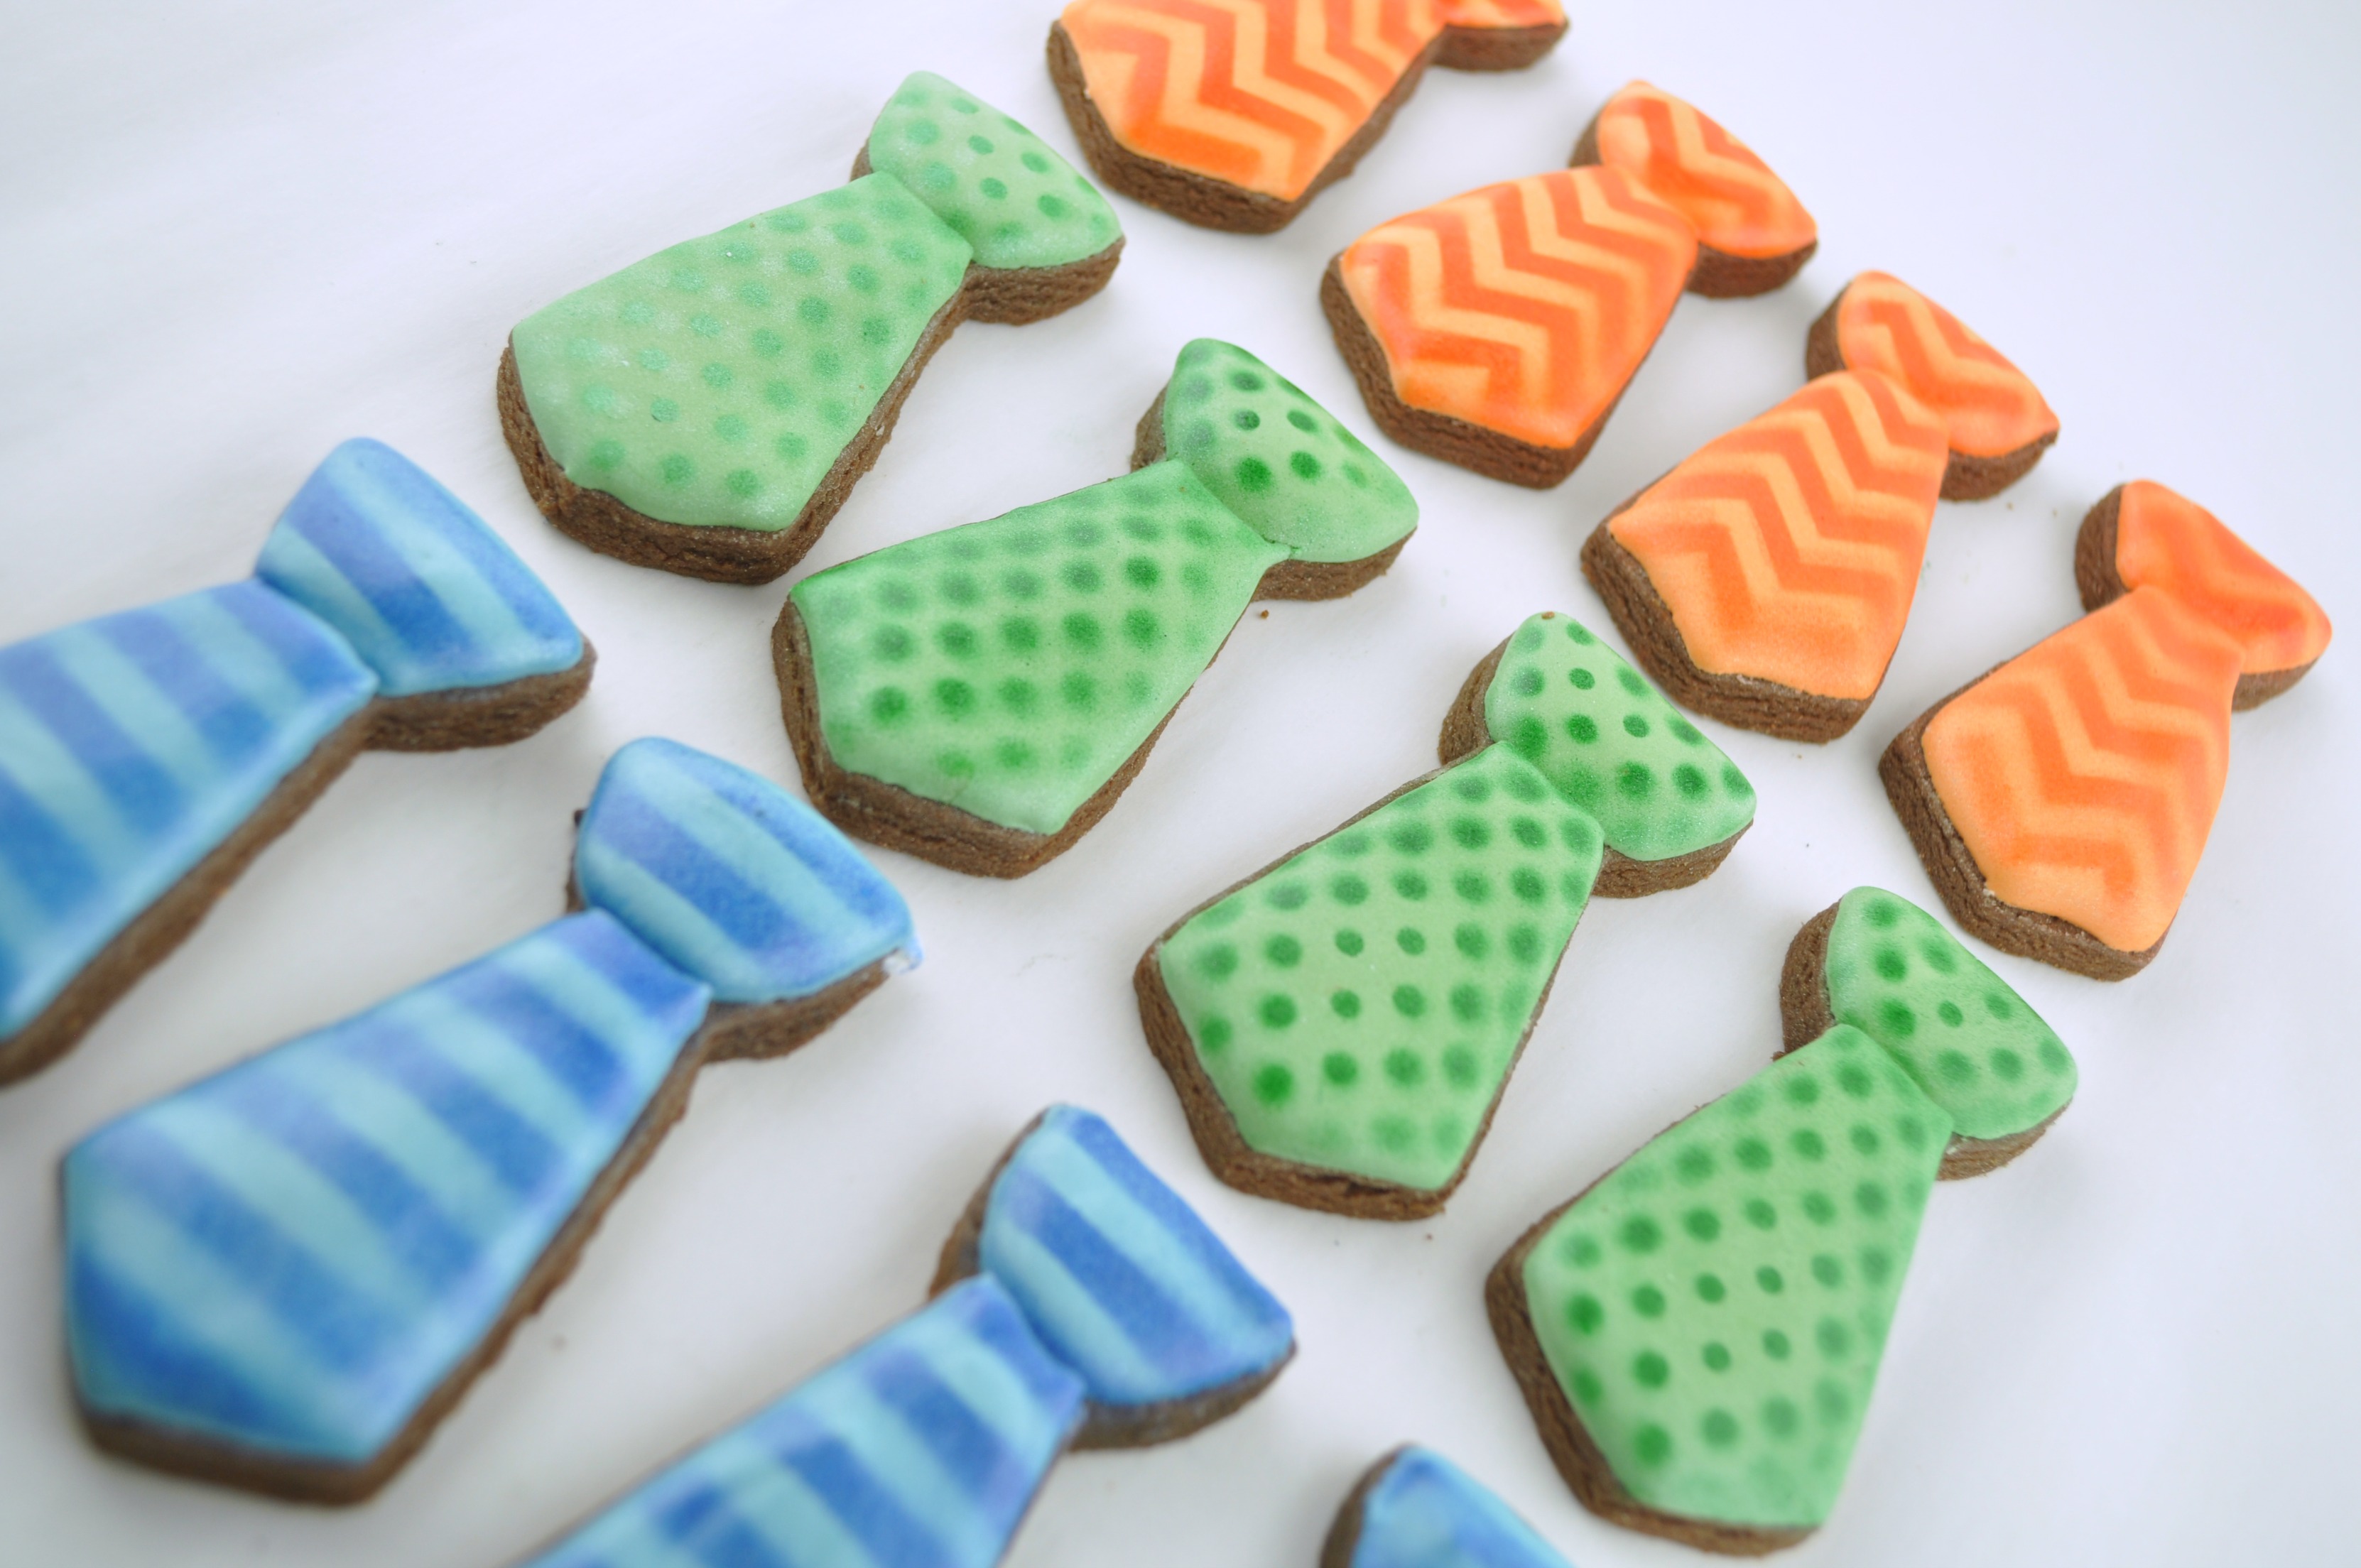
For these Father’s Day tie cookies we used chocolate rolled cookie dough, RECIPE FOUND HERE. This is a family favorite! They taste like frosted brownies. Use whatever recipe is your favorite for shaped cookies.
You could also use a more basic sugar cookie dough, RECIPE FOUND HERE for these tie cookies.
Another option is my favorite sugar cookie dough with sour cream, RECIPE FOUND HERE – another option for the tie cookies.
Step 2 – Tie Cookies – Cut the tie shapes & bake the tie cookies
For all of these recipes I would roll sheets of dough between parchment paper or saran wrap and chill the dough to make it easy to work with. Chilled dough allows for nice cookie shapes. Once the dough is chilled you can use a small tie cookie cutter to make the cookie shapes. I like to dip the cookie in flour to make it easy to cut out the shapes.

Step 3 – Tie Cookies – Prepare Icing
For these Father’s Day tie cookies I used Royal Glaze icing. I love the way it dries soft. The recipe for royal glaze icing can be FOUND HERE. It is the same as most royal icing recipes, but the addition of corn syrup and glycerin make it dry soft. You could also use royal icing RECIPE FOUND HERE, or rich Meringue Buttercream icing.
Thin the icing so it is soft and does not hold a peak. When a line is made in the icing you want it to disappear after about 17 seconds. This icing will be used to both outline and flood the tie cookies.
I made orange, green and blue icing for these cookies. I added a little bit of black to each of these colors to make them deeper. The icing was made using Americolor gel food coloring.
Step 4 – Tie Cookies – Decorate the cookies.
Decorating these tie cookies for Father’s Day is very simple. Start by adding icing to the top portion of the tie. Allow this to dry for at least 20 minutes. Continue by icing the bottom portion of the tie. Allow the icing to dry completely.
Step 5 – Tie Cookies – Airbrush designs onto the cookies.
Using an airbrush with stencils to decorate cookies is the big trend these days. It is a fast and effective to get a nice design on a cookie. I am still learning how to not over spray and create big messes when I airbrush onto a cookie. My kids loved helping with this step. Mom does all the work and they get to play! If you do not have an airbrush you could put a bit of diluted food coloring onto a sponge and sort of stamp the pattern onto the tie cookies. Another fun way to decorate these would be to use edible ink markers and draw designs onto the ties.
You can read more about an easy way to stencil designs onto cookies without an airbrush by looking at this post. Learn about drawing on cookies here.
After airbrushing the tie cookies dust them with a bit of cornstarch or powdered sugar to allow the color to set.
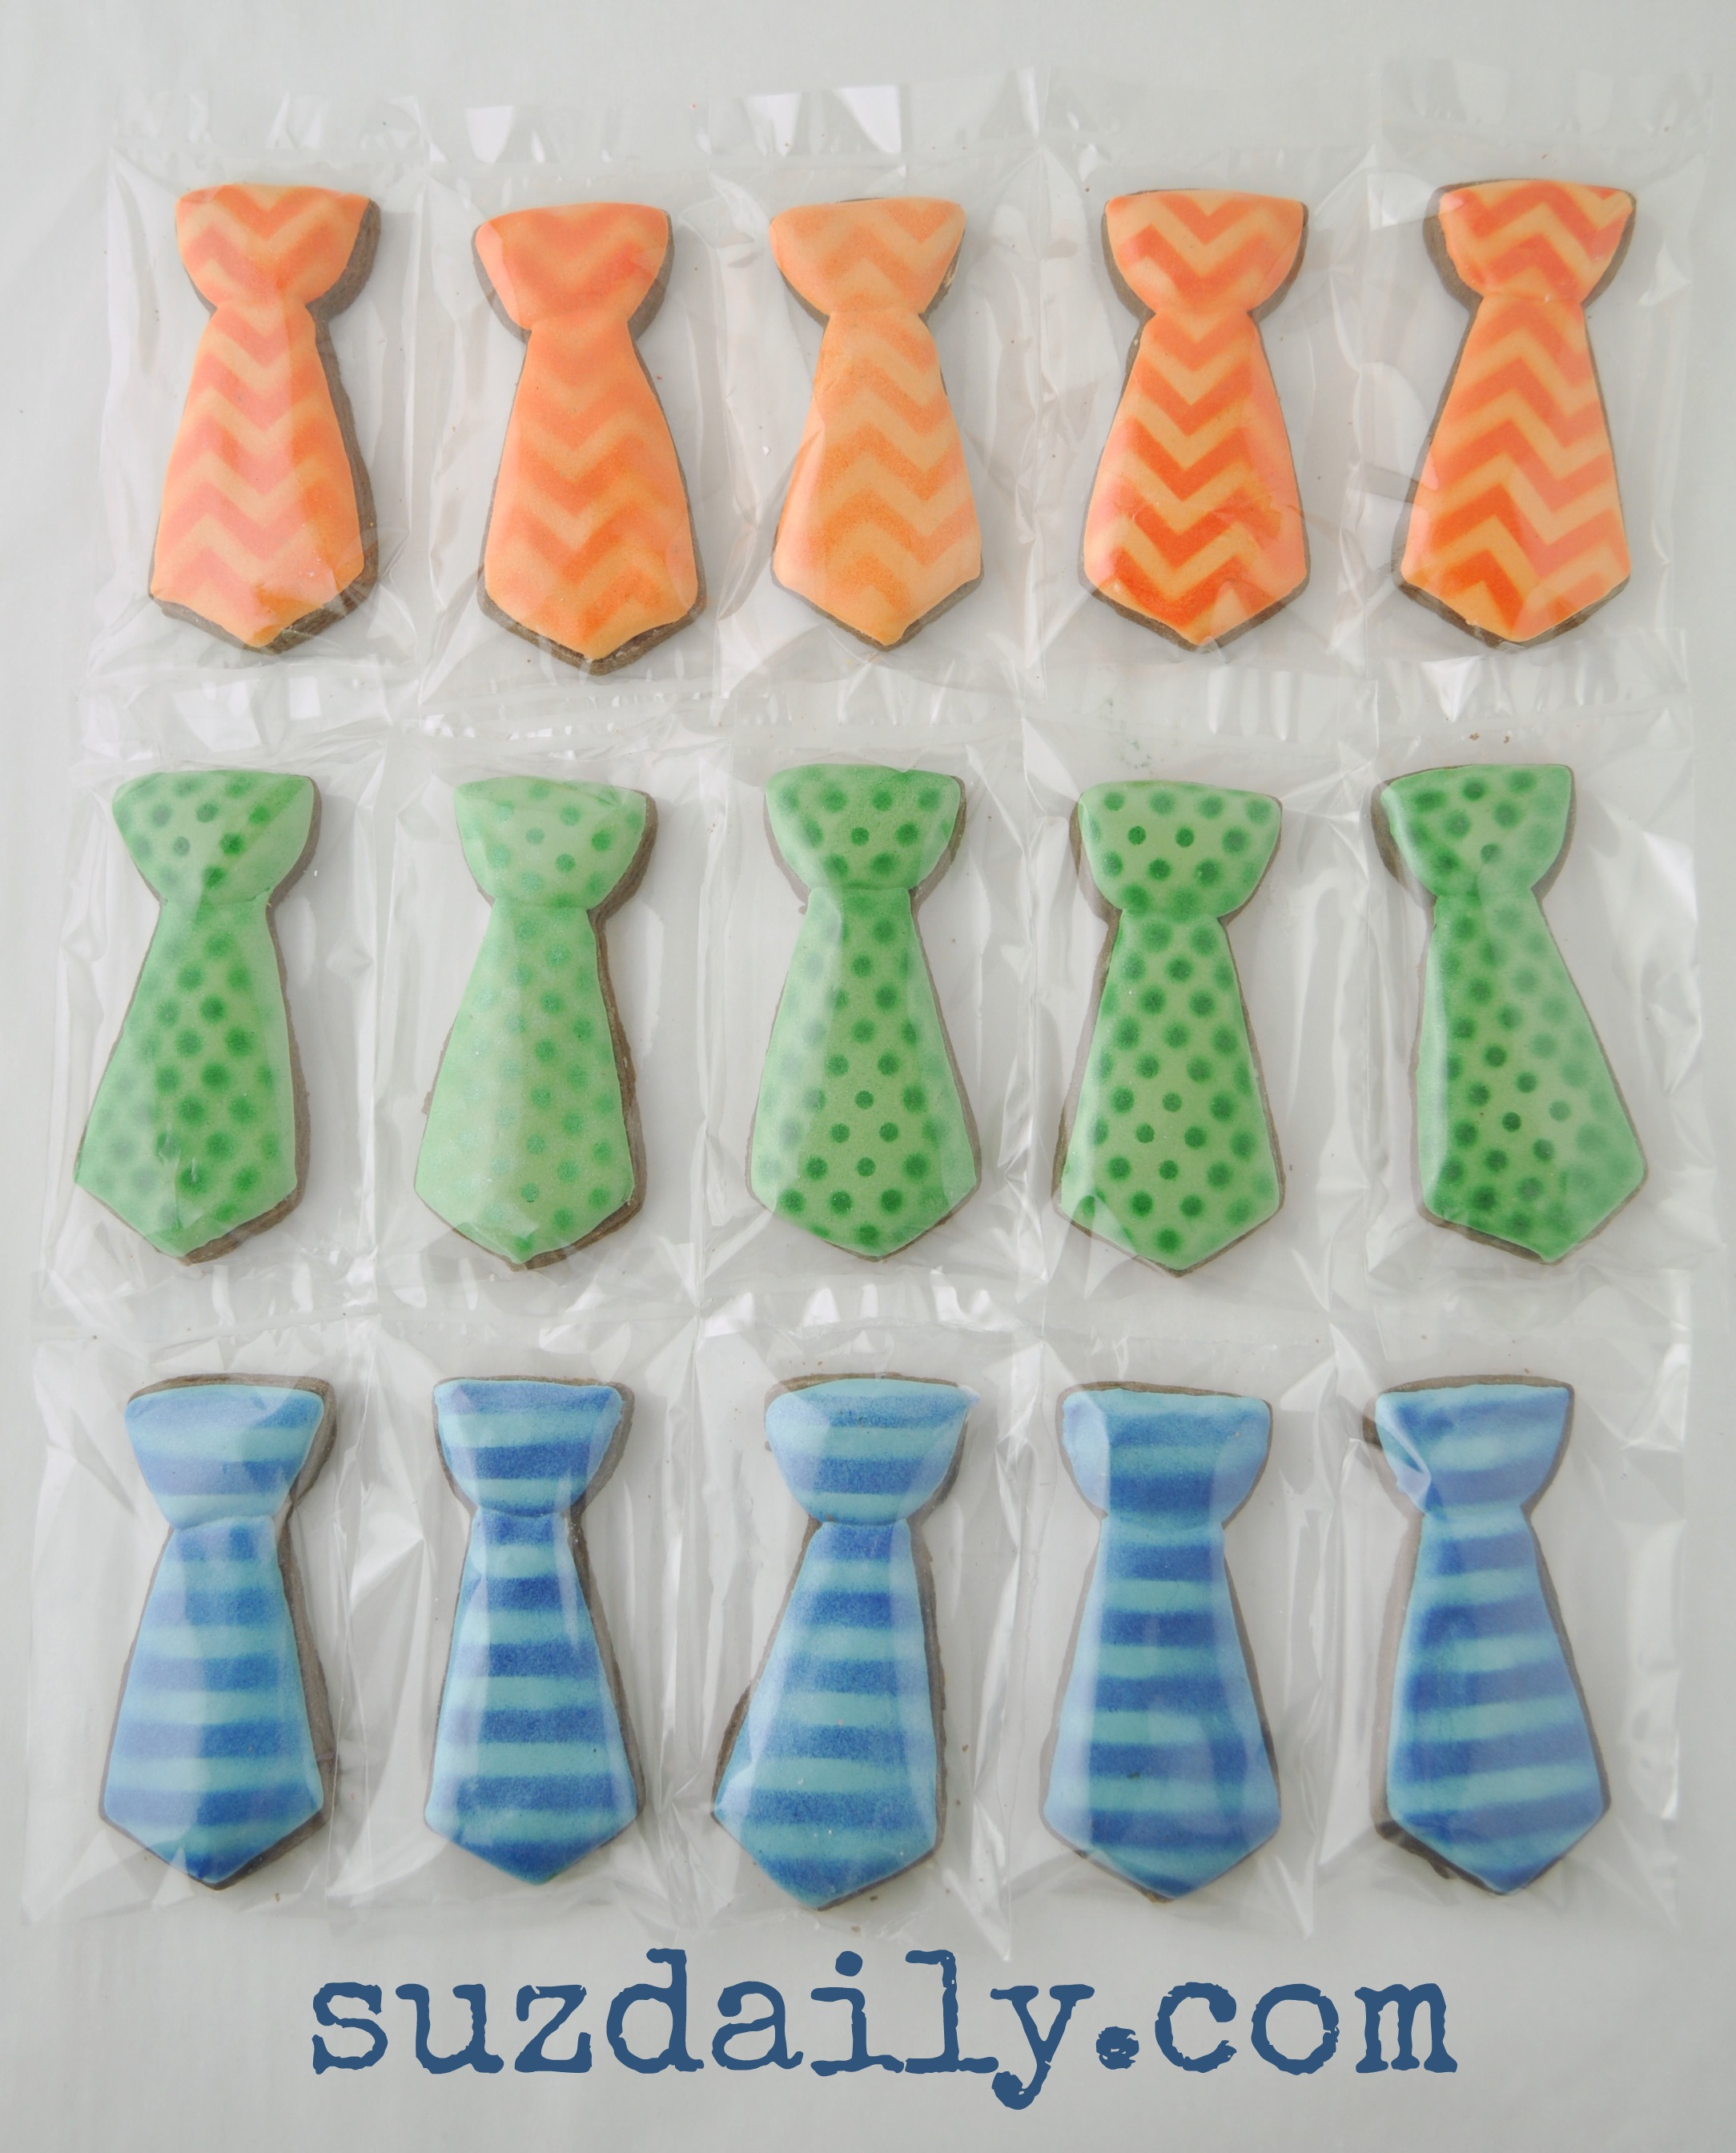
Step 6 – Tie Cookies – package the cookies
For these we used small bags to seal the cookies individually. They looked adorable this way. These little tie cookies sold fast at a fundraiser for the East High School cheerleading team.


