Fourth of July Cookies
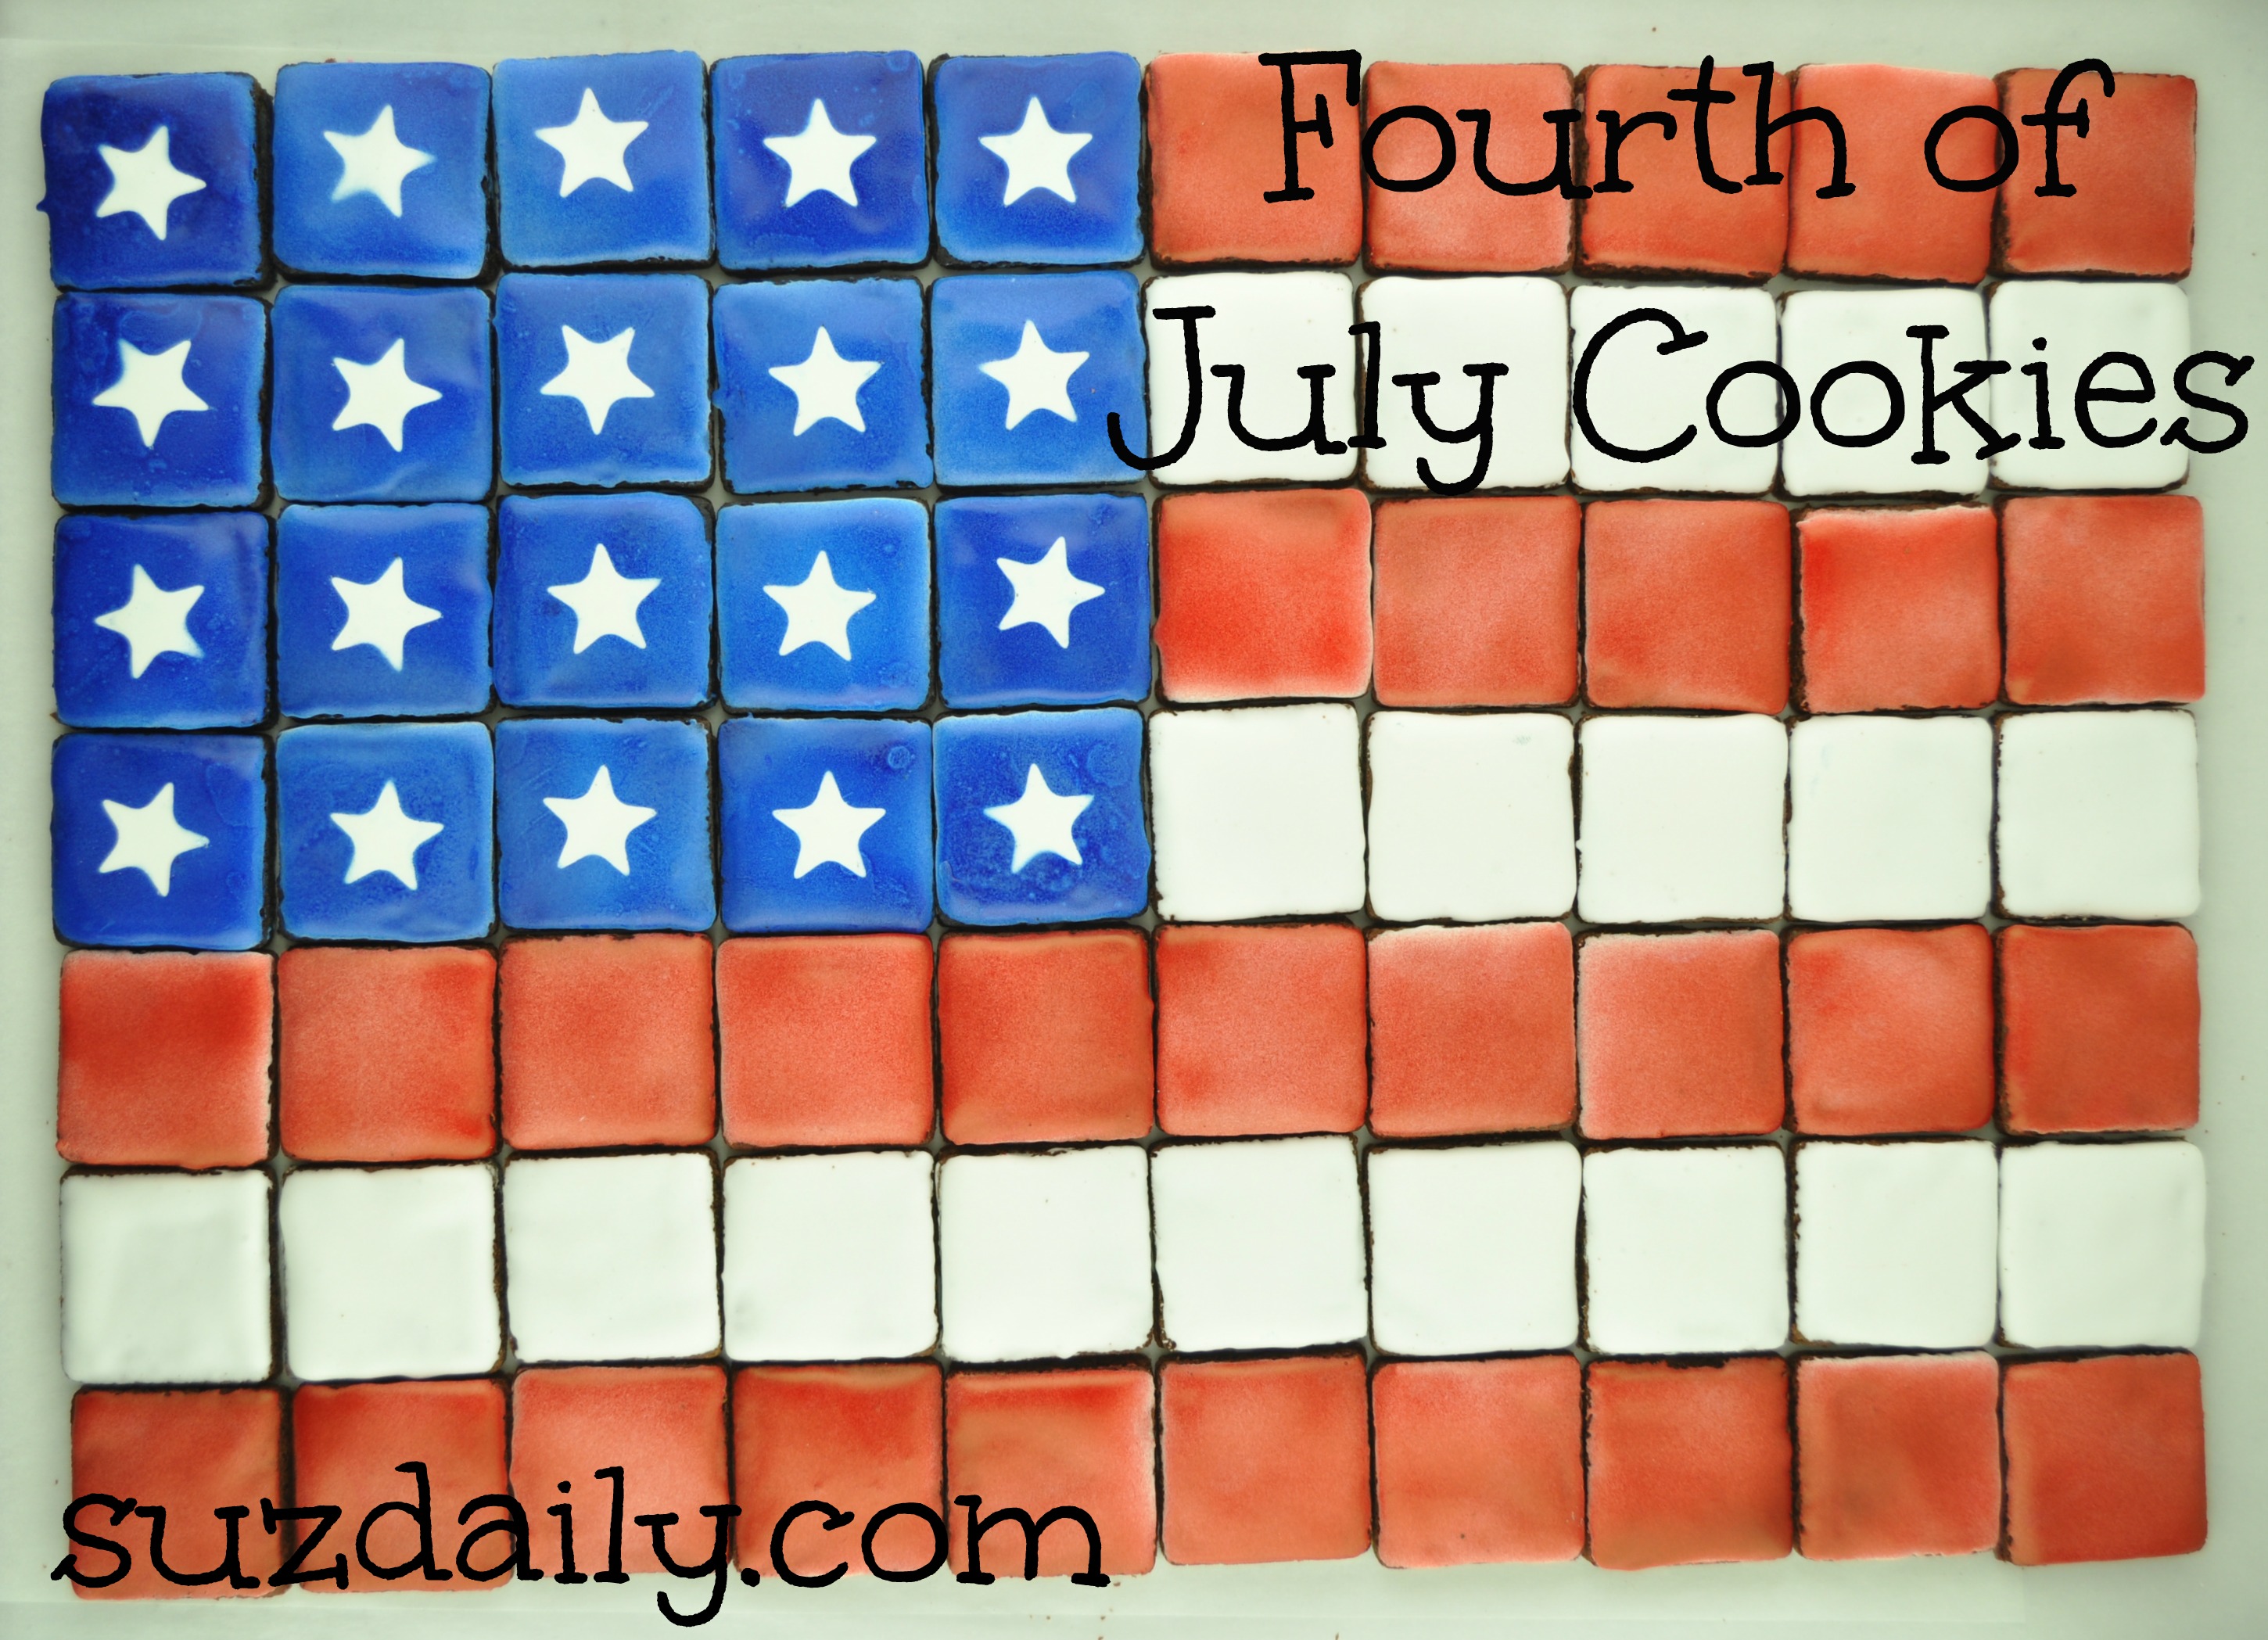
We had such a fun, busy summer. Lizzie started walking at ten months and keeps us all on our toes. She is into everything and wants so badly to keep up with her four older siblings. Totally unrelated to these cookies, but sort of related – when she falls she holds her breath. She holds her breath until she turns purple and passes out. So scary. Something about a little fall startles her and she looses it. After trips to the pediatrician I have learned that these are called “Breath holding spells” and can be normal for some kids. Keeping Lizzie from passing out and hurting herself has been a time consuming, exhausting job. So of course – no time for cookies. That should be the name for my blog this past year. Although there really was no time for cookies I came up with a design for the simplest Fourth of July cookies. I was literally taking this photo as we left to go to Bear Lake for the weekend. I think start to finish I made these cookies in less than two hours. They fit perfectly on a tray and make such a nice presentation.
Keep reading to see how I made these Fourth of July Cookies.I love decorating cookies, but it can be SO TIME CONSUMING!!!! Every now and then I want a simple design – that is both delicious and beautiful. Also, lots of food dye grosses me out. A tray full of red and blue cookies – YUCK!! For these Fourth of July cookies I used my airbrush to color just the surface of these cookies red and blue. If you don’t have an airbrush you can buy cans of spray food coloring. It works great for a project like this!
Step 1 : Fourth of July Cookies – Prepare Cookie Dough and Bake cookies
True to my “no time for cookies” theme for the year, I had to find away to get several perfectly shaped cookies for these Fourth of July Cookies in no time at all. I used my favorite chocolate cookie dough recipe because there is very little dough spread during baking. Follow the recipe for chocolate cookie dough – FOUND HERE. They are delicious and taste like a cookie version of a brownie. Feel free to use any rolled cookie dough recipe that you feel comfortable with.
After you have prepared the cookie dough for the fourth of July cookies roll into a rectangle that fits nicely into your baking sheet. I actually baked the cookie dough for 4 minutes then removed the dough from the oven and cut the square shapes. (You will have to use metal cutters for this step.) No spread – and this saves a lot of time!! The squares have to be absolutely perfect for this project, so cut them directly on the pan four minutes into baking.
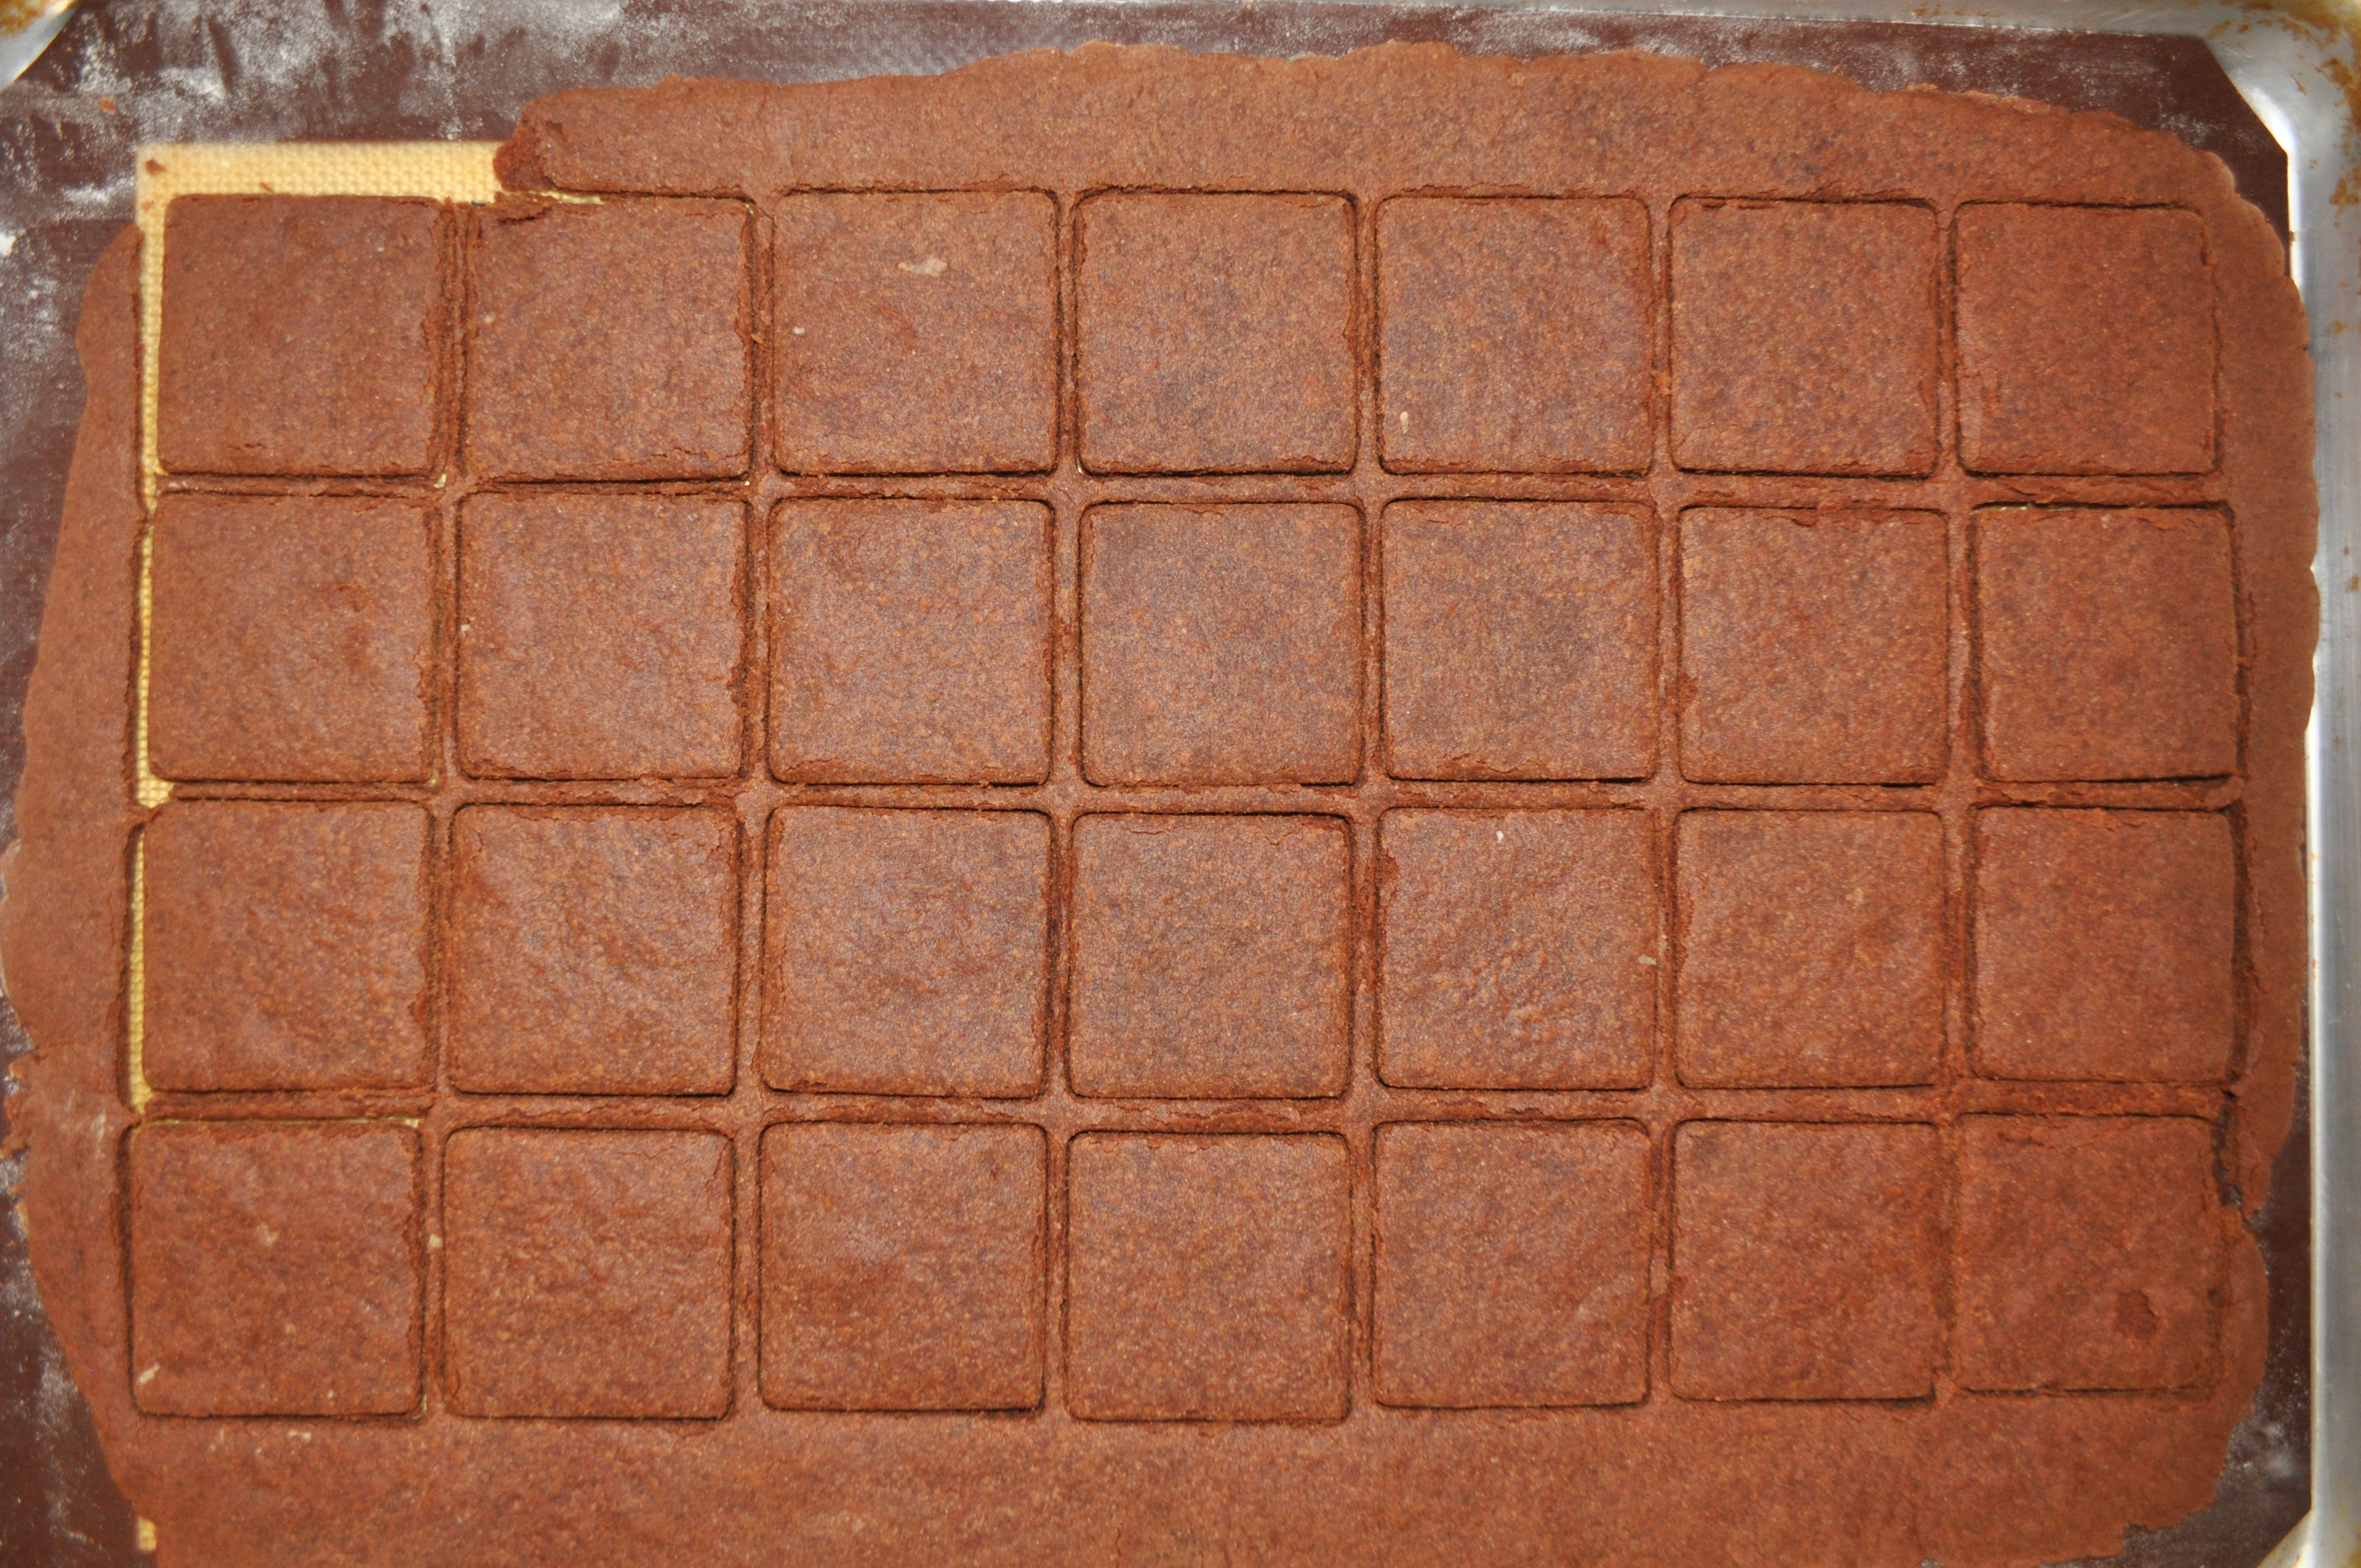
You will have some waste – but believe me these scraps are so good they will be gone in no time! If you are confident you can make perfect squares go ahead and cut the shapes before baking. My cookies always spread slightly so this helps maintain the nice square shapes.
So now you have several perfect squares to complete this Fourth of July cookie project. Seriously, it’s summer, who wants to spend all their time decorating cookies??? (Actually I do – but I can’t!) Make 70 one and a half inch cookies for this Fourth of July Cookie project. You can think of another amount and make a different final rectangle shape. This worked great for me and I will definitely do this again!
Step 2 – Fourth of July Cookies – Add a base layer of icing
Now time to decorate cookies (…I was totally running out of time and had to think of a way to decorate these Fourth of July cookies – AND FAST!!!) I made some royal glaze icing (recipe found here) and decided I would simply dip the cookies in thinned royal icing. So fast and easy. I kept the icing plain white and dipped each one to coat. No piping bags, no tips – just a quick dip into icing.
Again, I used royal glaze icing for dipping the Fourth of July cookies. The recipe for royal glaze icing can be FOUND HERE. You could also use regular royal icing, recipe FOUND HERE. Or you could also use Meringue Buttercream icing, recipe FOUND HERE. Just note, I needed something that would dry very fast so I decided to stick with the royal glaze icing. If you want richer tasting icing try the meringue buttercream. These will just need a long time to dry.
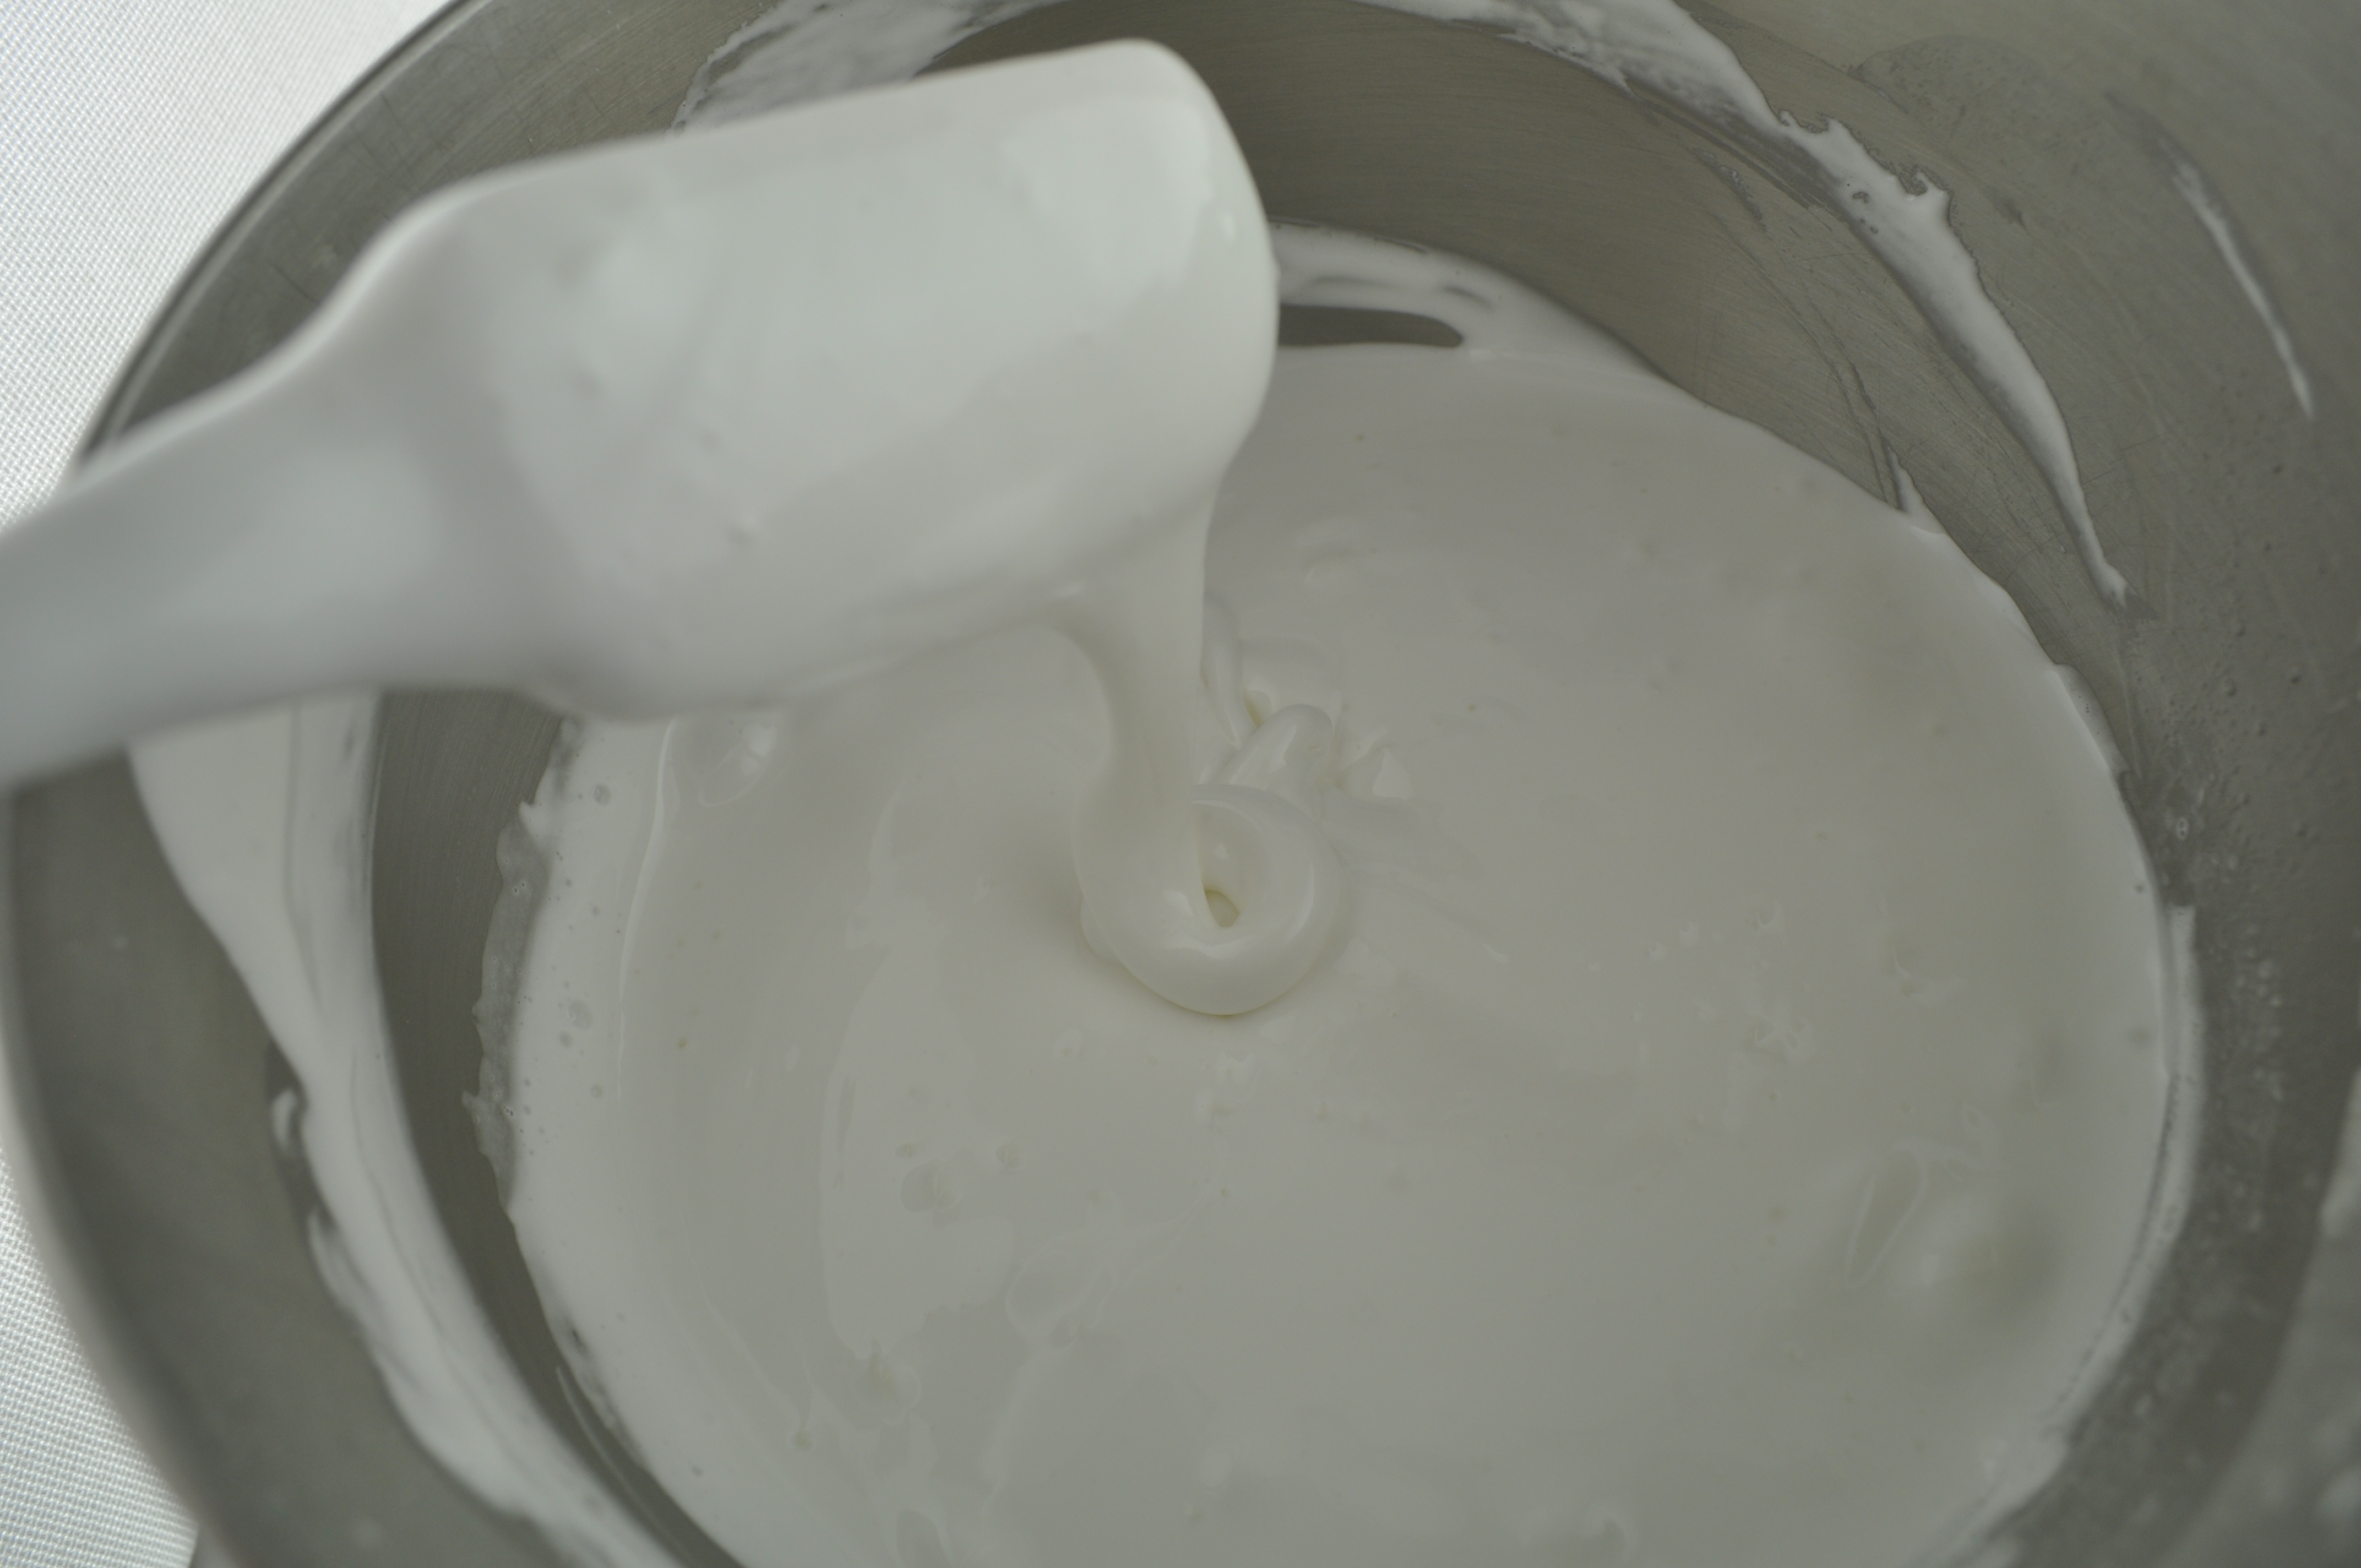 Icing has to be very thin before dipping the cookies
Prepare whatever icing and thin so that the icing is quite runny and will not hold a peak. It’s okay if some of the icing runs off the side of the cookie. You will not be able to tell with the final Fourth of July cookie project. Once the icing is nice and runny go ahead and start dipping the cookies. Wipe the extra icing of the sides of the square Fourth of July cookie with a damp paper towel and place them on a cookie sheet to dry. You can read more about DIPPING COOKIES HERE.
Step 3 – Fourth of July Cookies – Decorate the Cookies
Decorating these Fourth of July Cookies is SOOO EASY!! Just use an airbrush or cans of food coloring spray. Some of these cookies will remain all white, some will be sprayed red while others will be blue with a white star.
- Total you will need:
- 20 White cookies
- 30 Red Cookies
- 20 Blue with a white star Cookies
The white cookies are easy – they are already done! The red cookies can be done soon after dipping. Simply spray them red. DONE!!!! Now the blue star Fourth of July cookies. Make sure these cookies are dry on the surface before proceeding. For these you will need to mask of a small area to keep the star white. You can do this with a small piece of plastic cut into a star shape. Simply hold a star shape on the square and airbrush blue. OR – you could airbrush the whole cookie blue and add a white fondant star after the rest is blue.
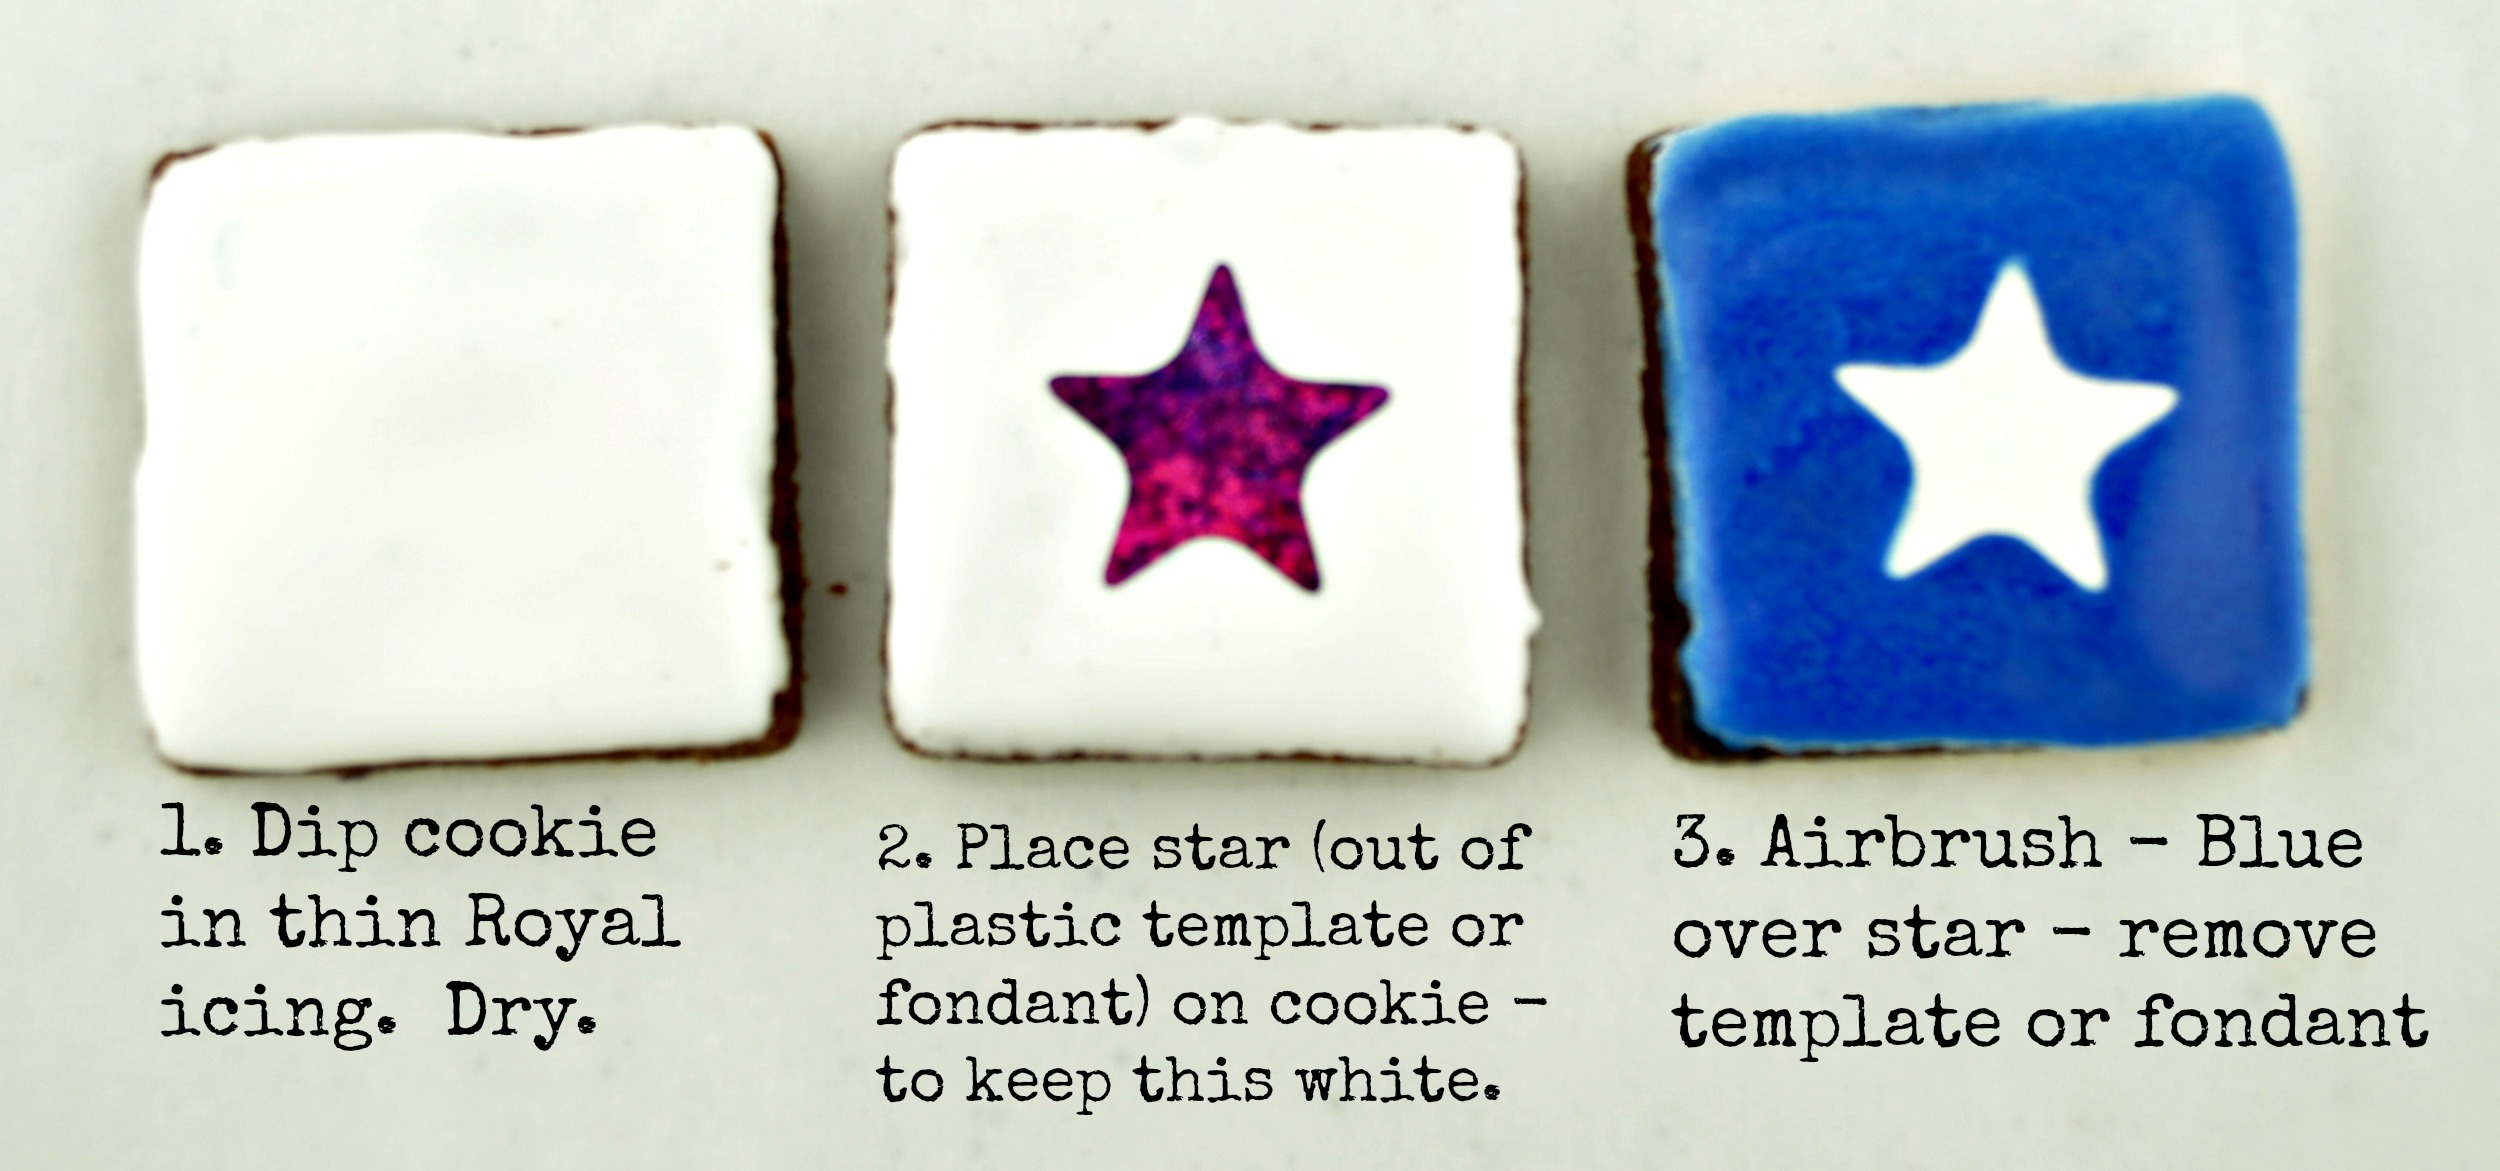
I chose the easiest, fastest route for these cookies. I used a plastic template and held it down with a toothpick while I airbrushed the cookie blue. Remove the template and you are done!
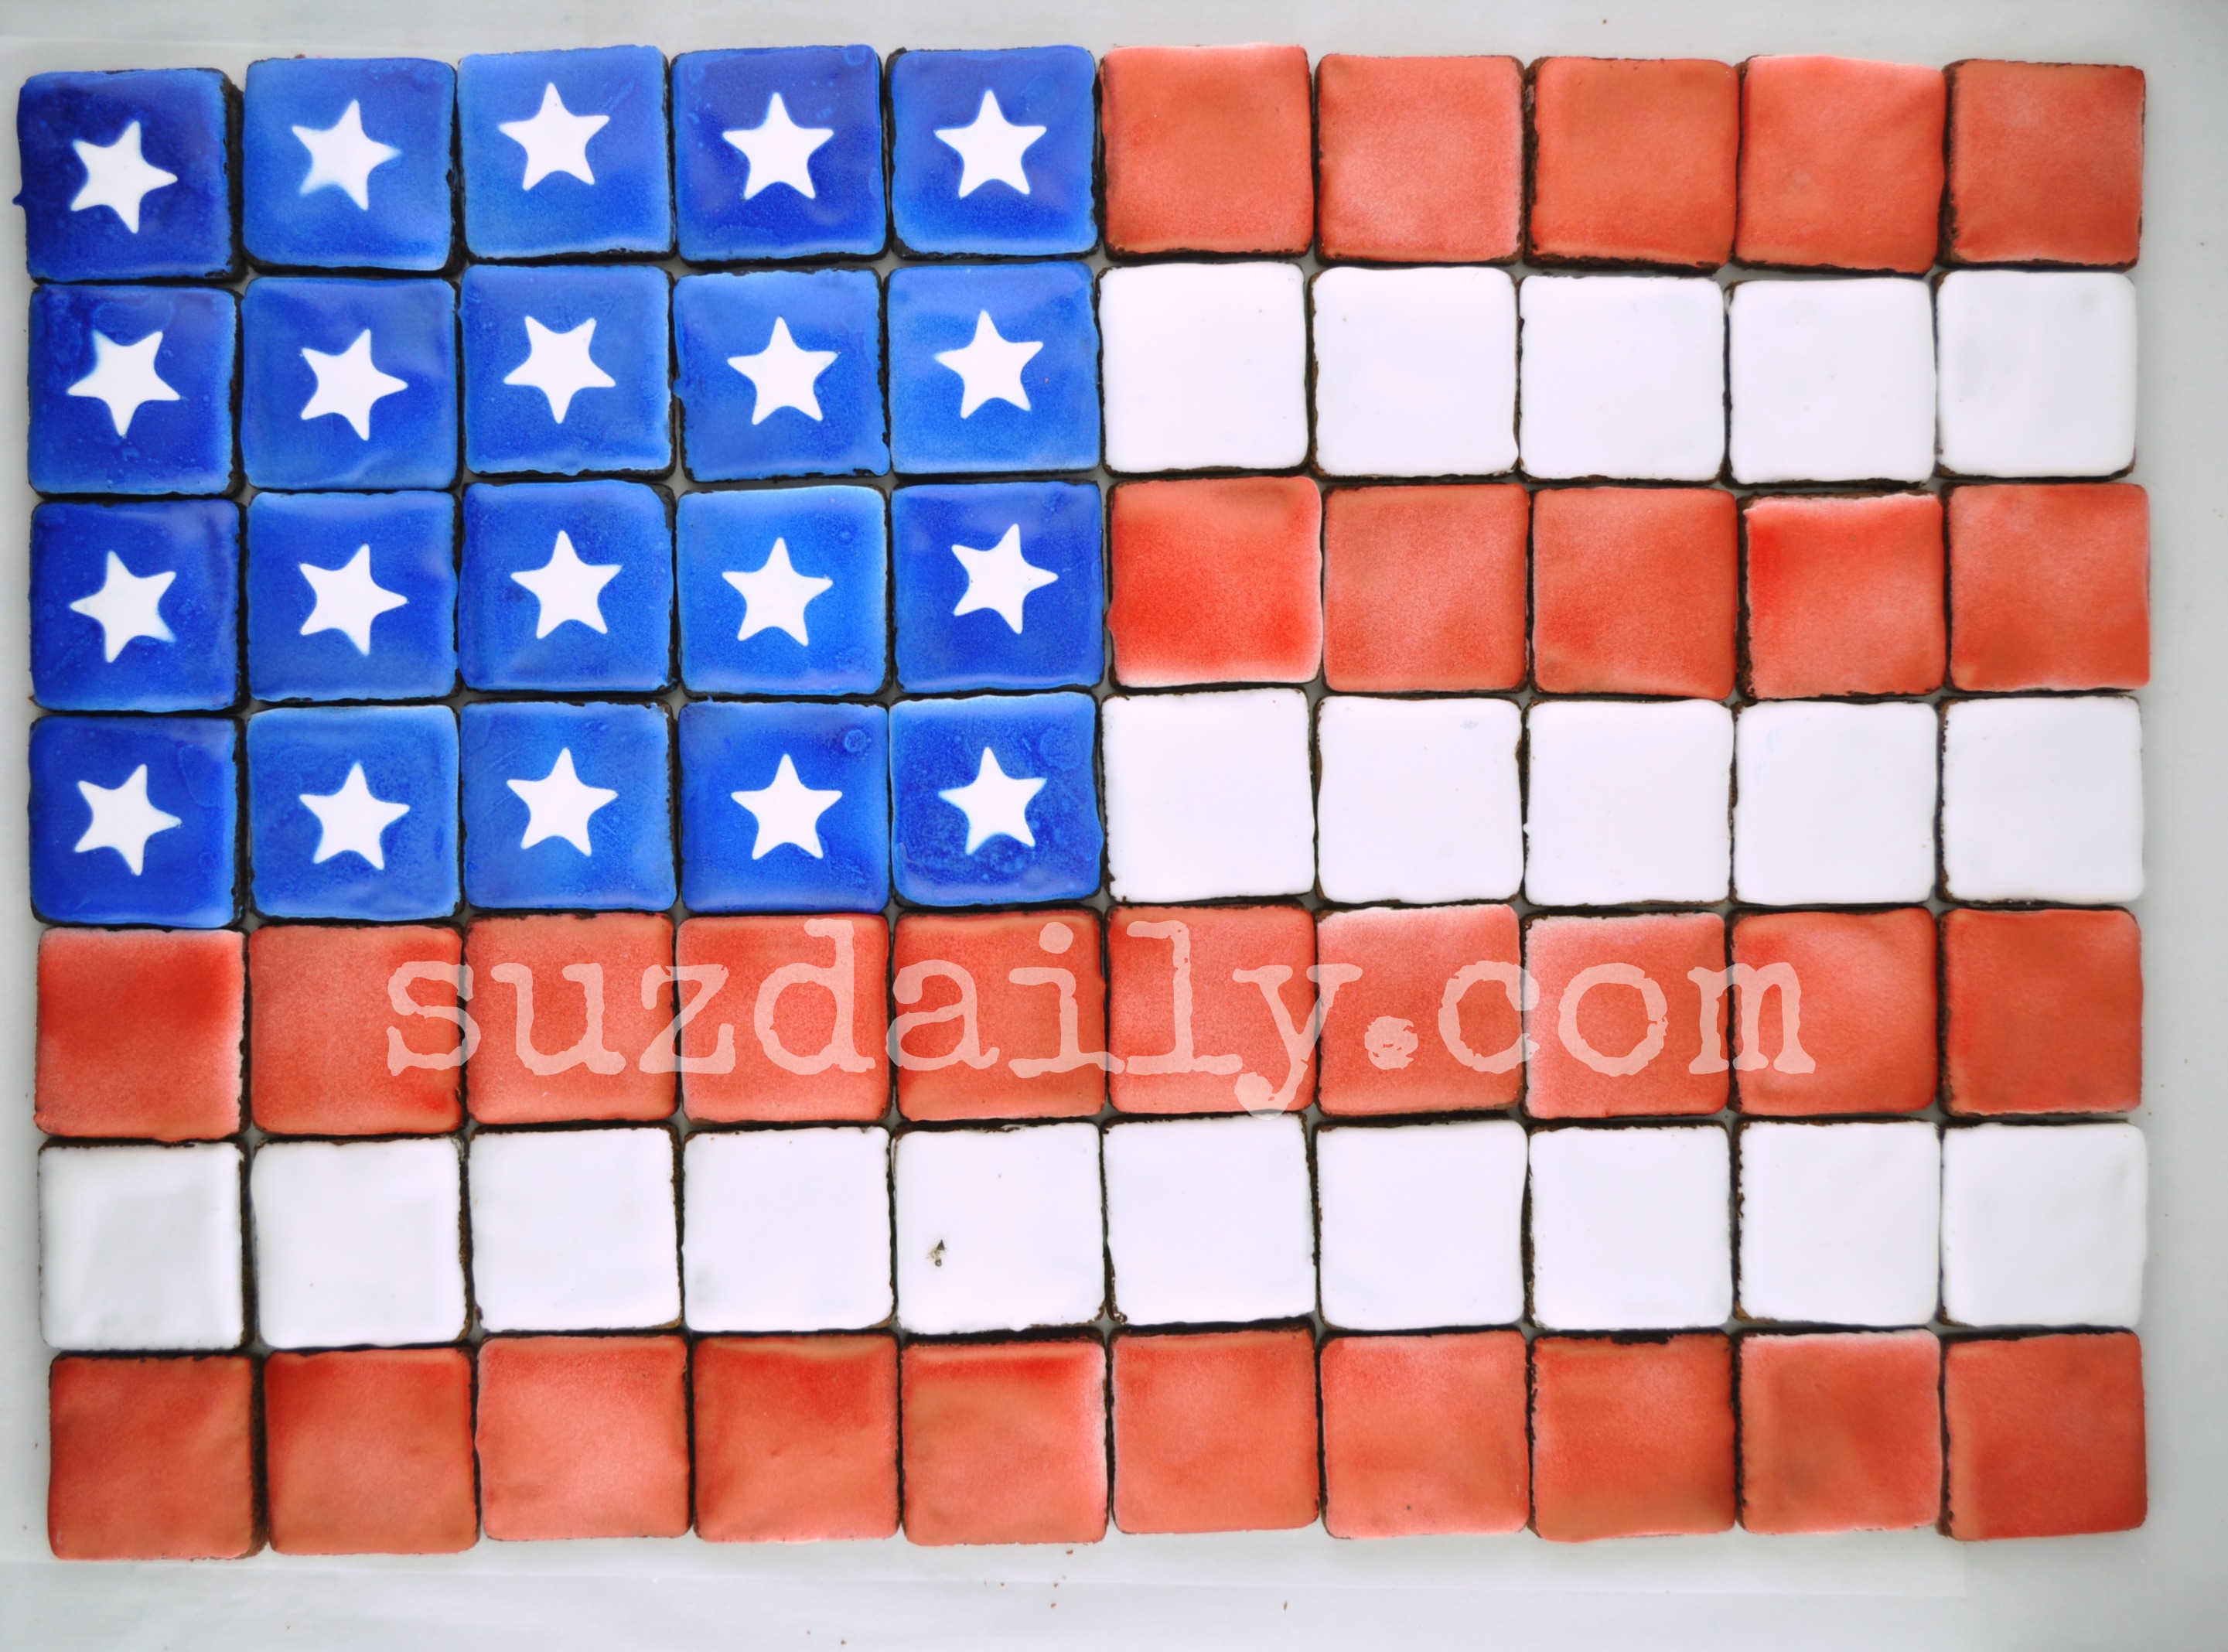
Step 4 – Forth of July Cookies – Arrange the cookies into an American Flag Design
The last thing you need to do is arrange the Fourth of July cookies so they resemble an American flag. And you are done! I realize the number of stars and stripes is not perfect – but I am happy with this project as is!! Maybe next year I will have more time and be able to make the flag more realistic.

If you don’t have a tray that is the correct size just serve these Fourth of July cookies on a tray that you make out of cardboard covered in butcher paper or even parchment paper. Enjoy!!
Happy Fourth of July!!


