Hello Kitty Cookies
I made these cookies for my birthday in December. I love all things Hello Kitty. This was actually pretty simple following instructions found here. If I can do these anyone can do these. The hardest part again was getting the royal icing just right.

I love a cookie that is too pretty to eat…
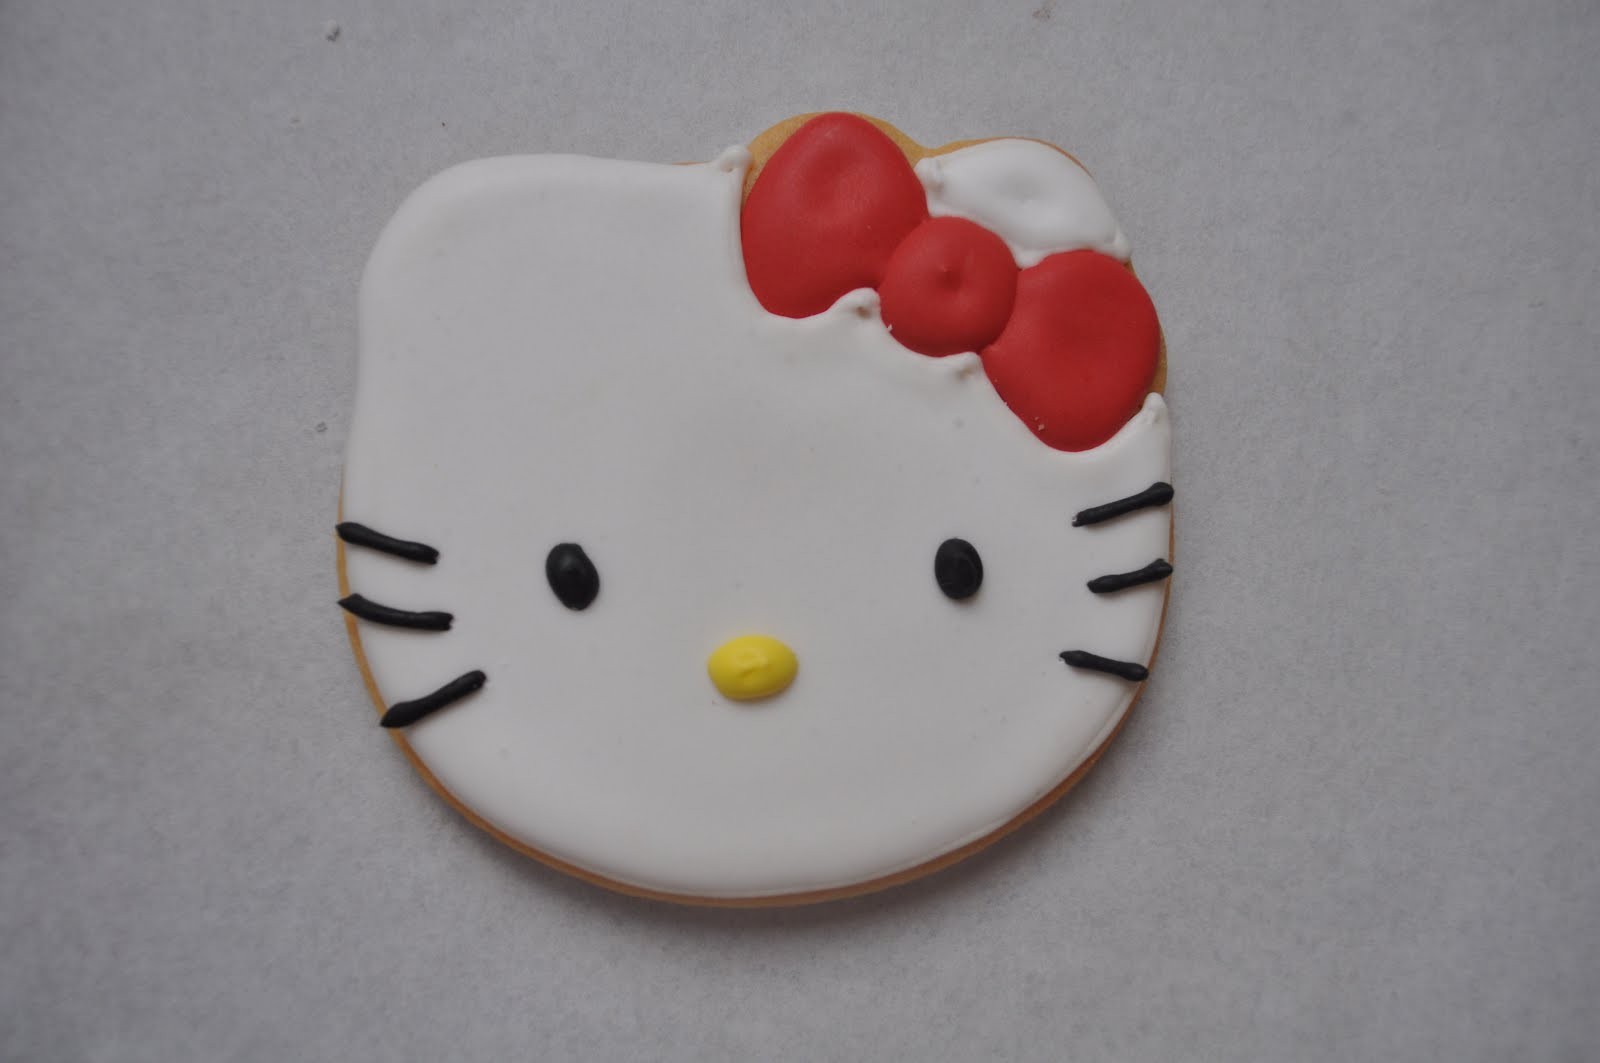
Now let’s learn from my mistakes here…
Pretty cute, but not perfect… what I did wrong – black icing was too thick. We added cocoa so we wouldn’t have to put too much black dye (yes I have issues with dyes) but I think it was too much cocoa making it difficult to pipe the black lines and eyes. See the marks? It should be more rounded not showing every last movement of the tip. I also made the yellow too thick. That small wrinkle on her nose should be smooth. Also, if you go to the tutorial and link above, you would see I was not supposed to outline the bow with the thicker icing.
If you want to give royal icing a try, I would first go to your local cake decorating store and ask the experts what they are using in your climate. If not, just buy some meringue powder and follow the recipe on the container. That is how I started out.
For more information on royal icing look at these links and their tutorials on consistency
sweetopia (this dried rock hard for me, but I’m in Arizona & it’s so arid here)
Once you’ve seen the videos and read the tutorials just give it a try. Don’t go too goopy or thin with the icing. You can always make it thinner later. I made this mistake several times in the beginning. The best part about the whole cookie craft is you can just eat the ugly cookies. No big deal! I love being able to eat my mistakes.
I don’t have my version of royal icing yet, I’m still deciding what works best for me.


Thanks for the mention! I just read your email and thought I'd pop over and check out your blog. You're off to a great start! Your cookies are beautiful. I always struggle with getting the piping icing the right consistency…still need a lot of practice on that one.
I am sort of going backwards showing images of cookies I did when I started. Hopefully I will get more creative and patient with the icing as I go forward. I'm lucky I don't have to deal with humidity here in Arizona; it's one less variable I have to worry about. I'll be making baby shower cookies soon and you have some great ideas. I am no artist so all the images on the web help!
THat is a too cute to eat cookie! I never tried royal icing, how does it taste? I agree about the nastiness of too much dye. I'm laughing at your mention of mistakes here because it looks pretty darn perfect to me.
I can see them. The biggest problem is these really grey photos. I need more light! We put solar screens outside the house and now I don't get migraines as bad in the summer. problem is it makes the lighting weird. Cathy was giving me tips. It was hard to bite her head off. I was really hungry when i did. the kids like to show pretty cookies to their friends at lunch. they don't get chips but they get cookies. u would like my most recent post w/ no icing. royal icing is good if it's a thin layer. that takes more work to keep it thin then just blobbing it on. the bow is a little much for me but cute. thanks for following. Rick says i need a job.