How to make Breadsticks
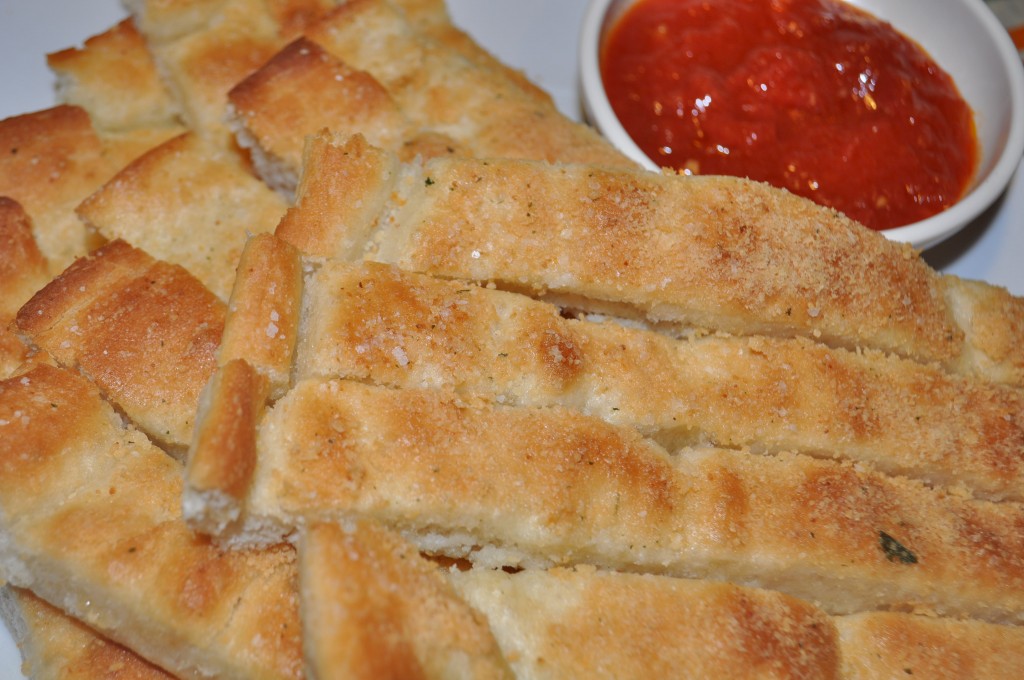
Simple Homemade Breadsticks
- 3 ½ cups (500 g) flour
- 2 teaspoons (10 g) salt
- 2 Tablespoons (20 g) sugar
- 1 ½ teaspoons instant yeast
- 10-11 ounces water
- ½ cup (one stick) of softened butter
- garlic salt
- Parmesan cheese
Place flour, salt, sugar and instant yeast in the bowl of a large, heavy duty food processor. Be careful not to place the yeast in contact with the salt. Pour it on top of the sugar. Pulse the food processor to mix the ingredients. With the machine running, slowly pour the water into the flour mixture. After about 20 seconds a dough ball should form. Add enough water so that the dough is able to come together. Continue to knead the dough by running the food processor for an additional 45 seconds. The dough should be warm, smooth and elastic.
Coat a heavy duty jelly roll pan with butter. Place the dough on the pan and flip to coat with butter. Cover, and allow the dough to rest for 20 minutes. Gently stretch the dough to cover the entire pan. Flip one or two times as you go, adding more butter as needed to generously coat the dough. At this point about half of the butter is used. Use a pizza cutter to slice the bread sticks. Preheat the oven to 400F. Cover the dough again and leave it in a warm spot to rise for 1 – 1½ hours. Coat with remaining butter. Sprinkle with a very small amount of garlic salt. Bake for 8 minutes. Remove from the oven and add Parmesan cheese, to taste. Place the tray of breadsticks back in the oven and bake for another 8-10 minutes, or until the breadsticks are golden brown and crispy on the edges. Serve immediately. Serves 15.
Suz’s kitchen notes: Experiment with different herbs, cheeses and seasonings. A layer of mozzarella can be added for pizza style bread sticks. Do not add too much garlic salt – the Parmesan cheese is very salty. All purpose or bread flour can be used for this recipe. If you do not have instant (bread machine) yeast, active dry yeast can be used. Increase to 2 teaspoons active dry yeast. If you are using a standing mixer start with warm water, add the sugar and then the yeast. Allow it to activate in the warm water for five minutes. Add the salt, then the flour one cup at a time, or until the dough starts to pull away from the sides of the bowl. Knead for 5 minutes. This can also can be prepared by mixing and kneading by hand or in a bread machine, following manufacture’s instructions for bread dough. Thanks Beccacrocker, that extra Tablespoon of sugar makes all the difference!
For detailed photos and more helpful tips keep reading.
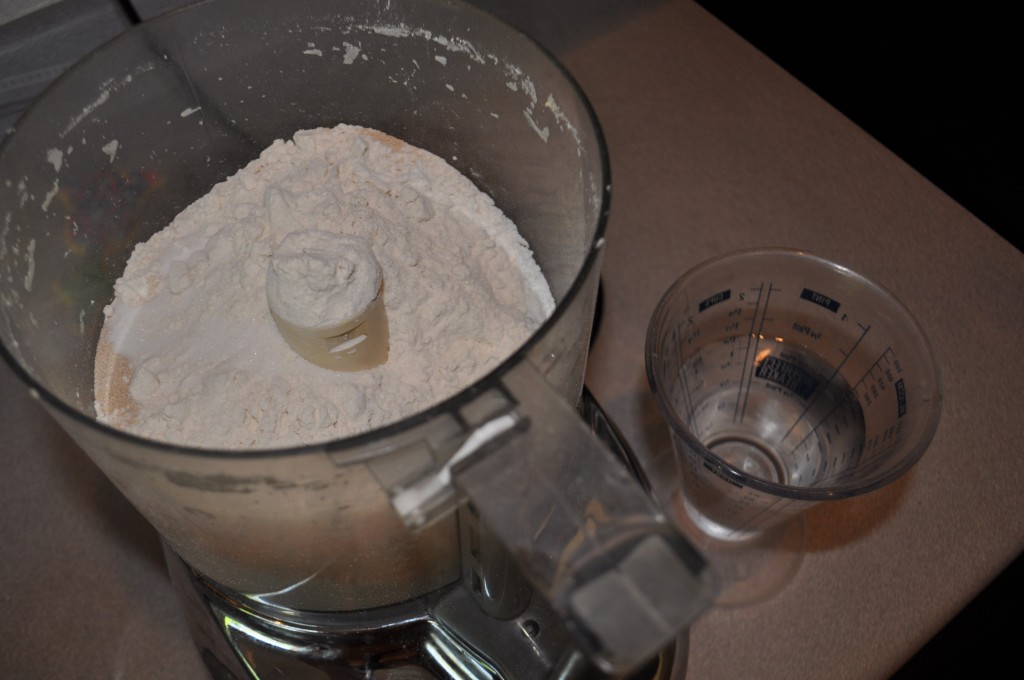
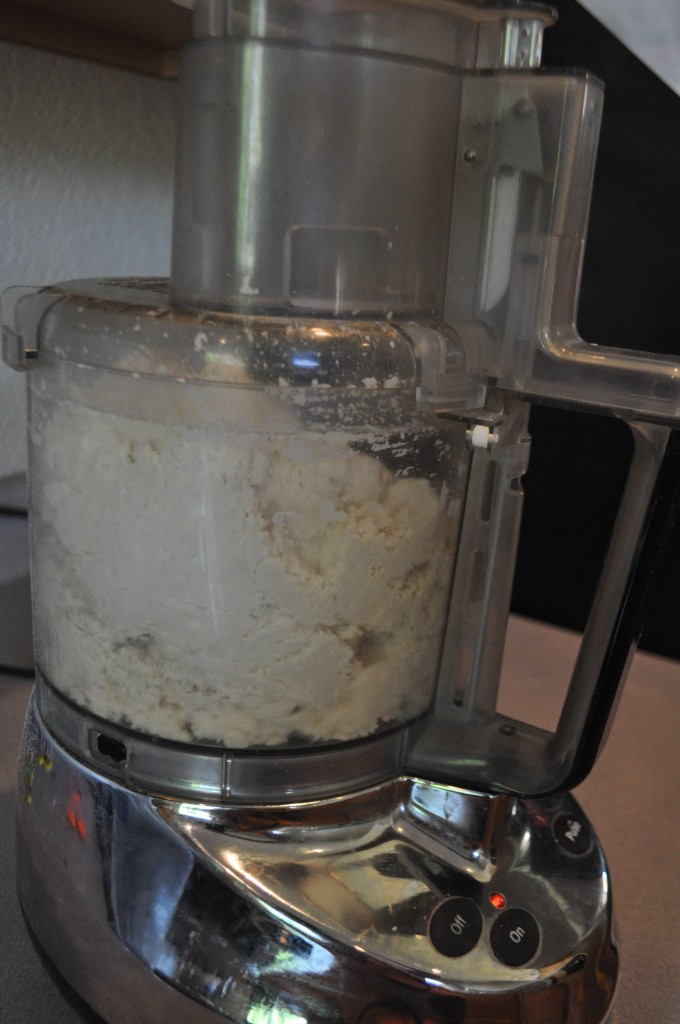
Place flour, salt, sugar and yeast into the bowl of the food processor. I highly recommend measuring dough using a digital scale. It leads to consistent results every time and there are less dishes to wash. I prefer using my Cuisinart 14-cup food processor for mixing and kneading small batches of dough.
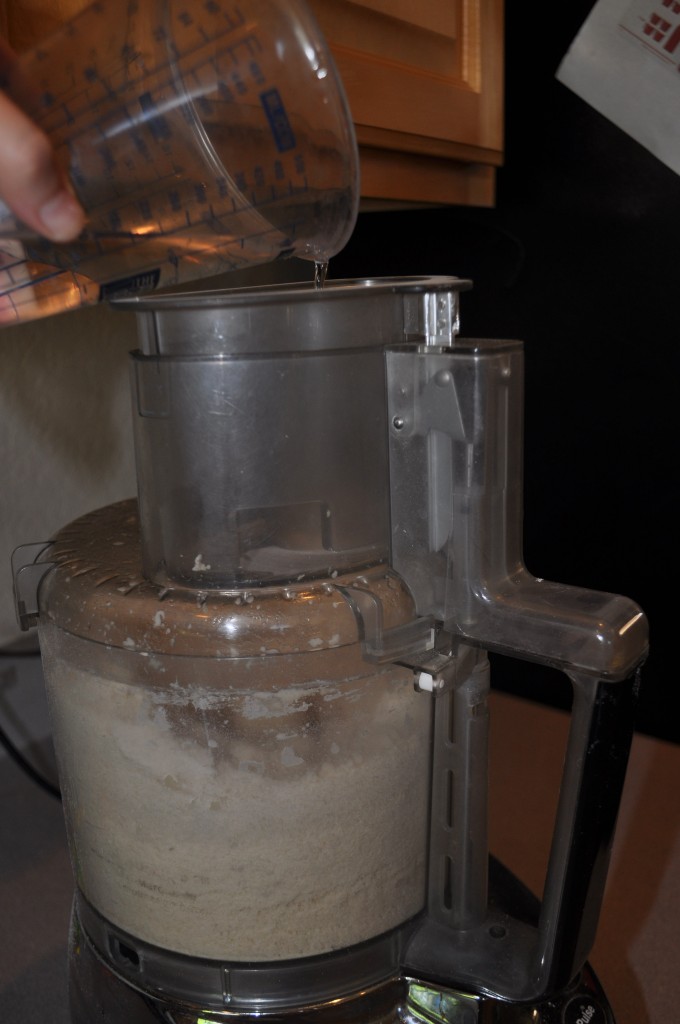
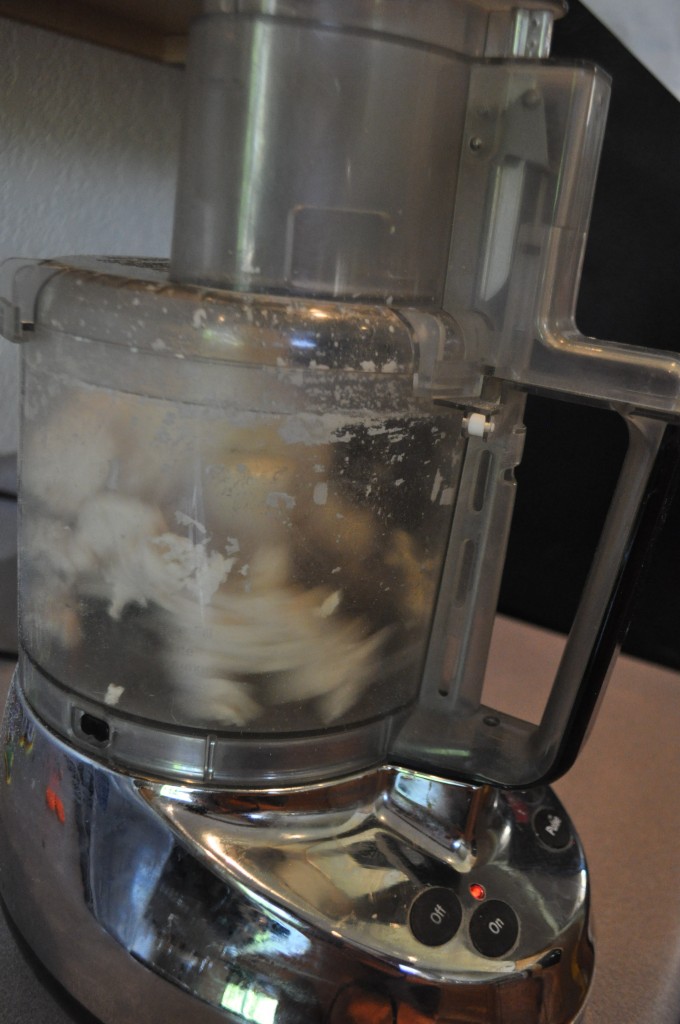
With the machine running, slowly add the water.
Continue to run the food processor as the dough starts to come together.
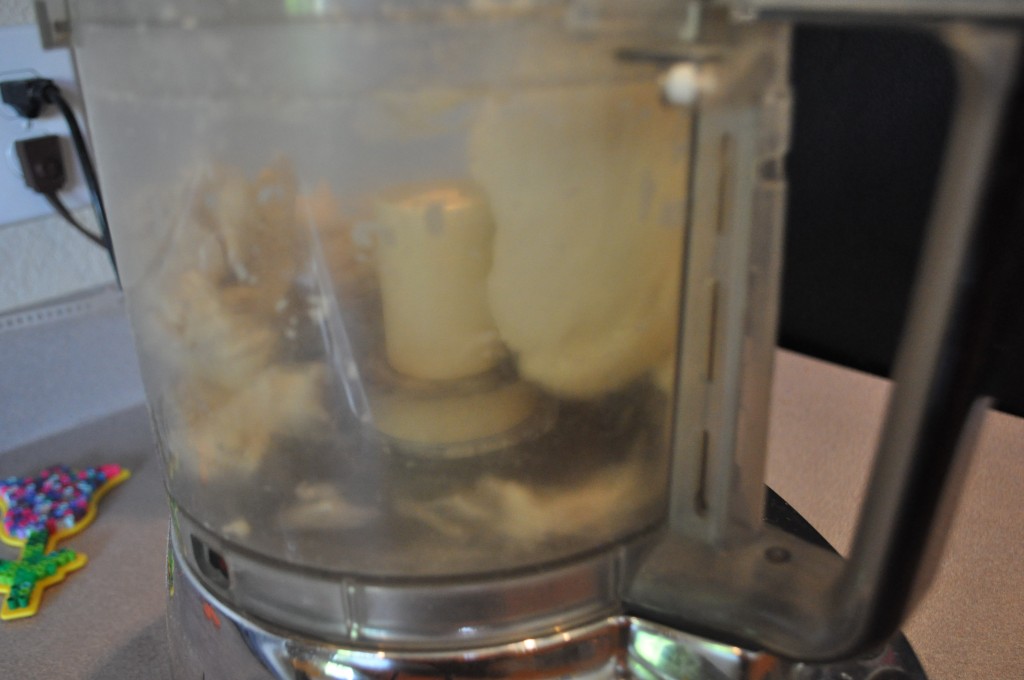
Action shot. Once a ball of dough has formed knead for 45 seconds. Most heavy duty 11-cup and 14-cup food processors can handle this amount of dough.
The dough looks ready. Look at that lovely perler bead creation in the background.
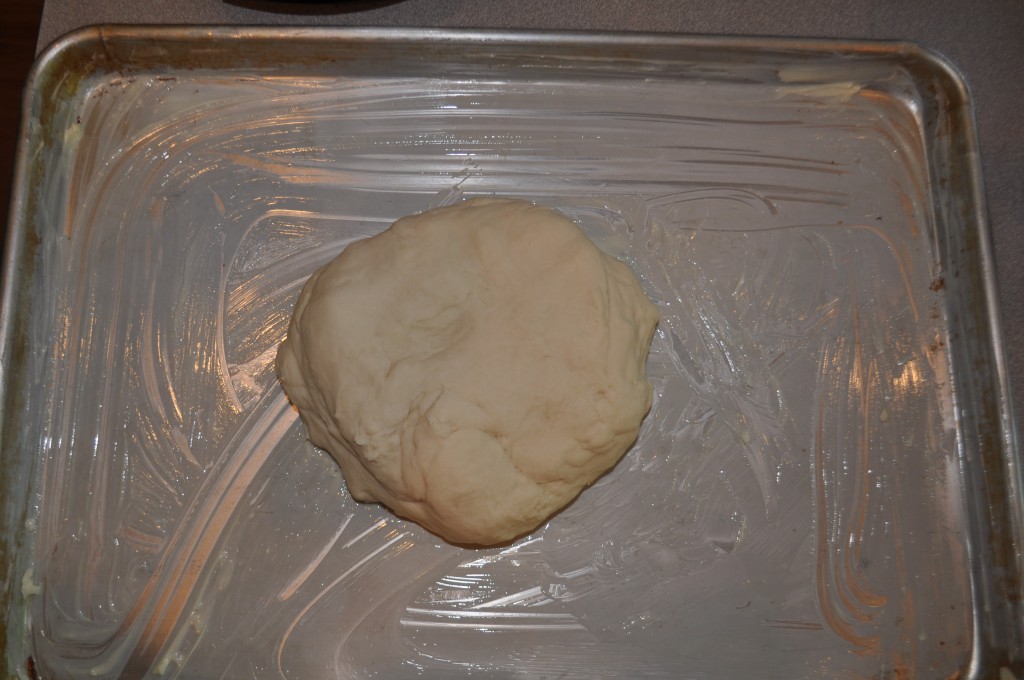
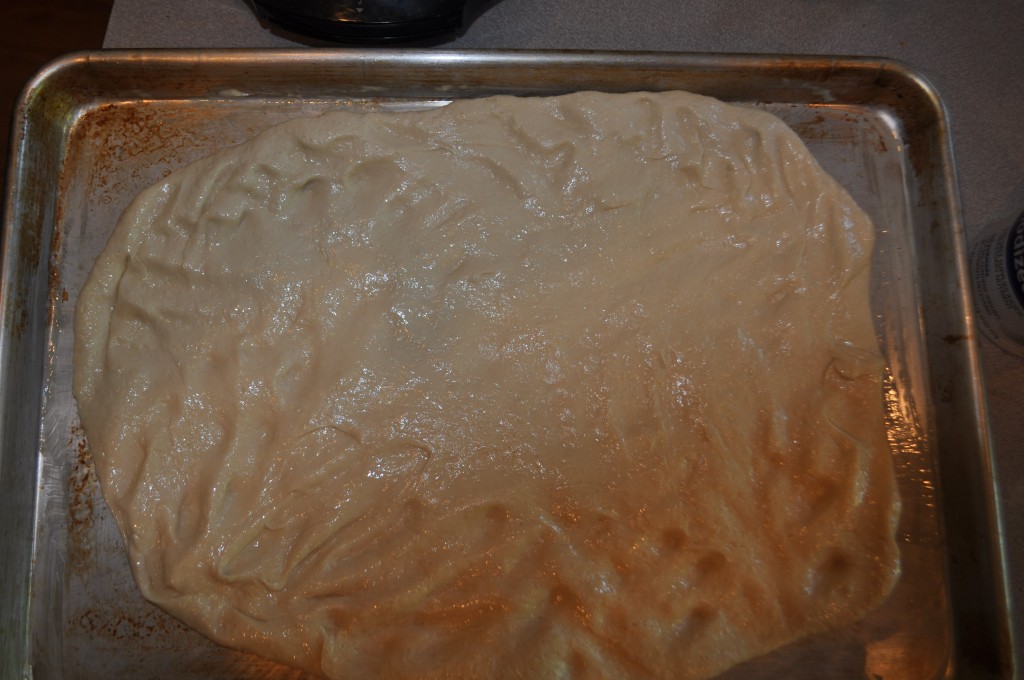
Place dough on a heavy duty jelly roll pan that has been generously coated. Flip to cover both sides. This keeps the dough from sticking and helps prevent it from drying out. At this point the dough would be difficult to roll out. Wash some dishes, wipe the counter, check your email. In 20 minutes the dough will have relaxed and will be nice and stretchy. That being said, many times I have forced the dough to roll out immediately. The dough tears in several places, but you can’t go wrong when using an entire stick of butter.
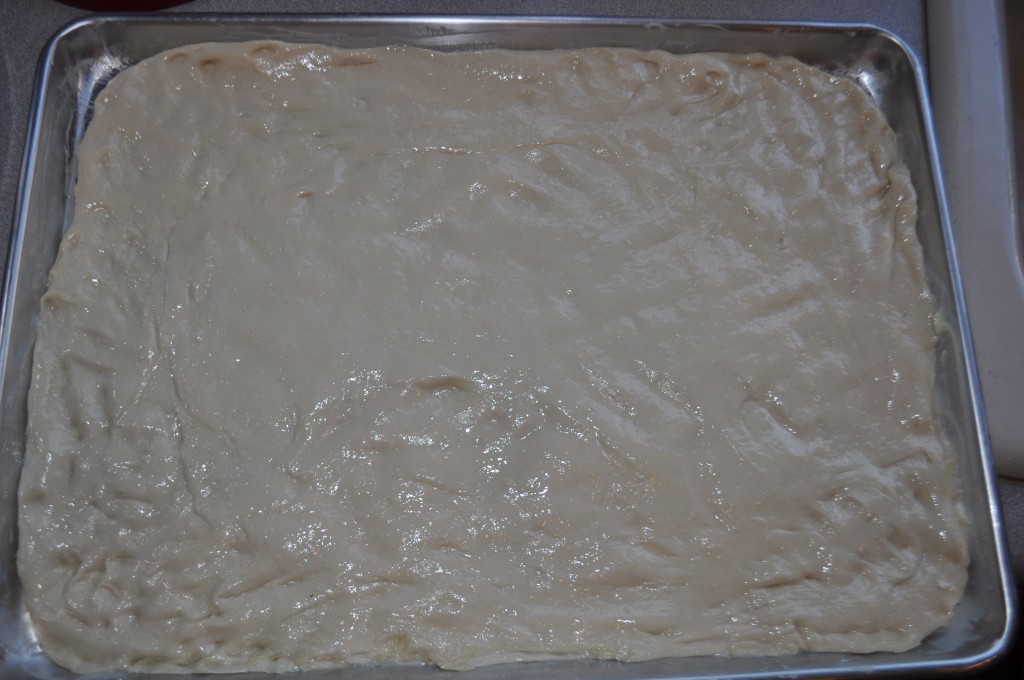
After 20 minutes the dough has relaxed and is easy to roll out. Flip a couple of times and add more butter so thate both sides are generously coated.
All spread out. This is not pizza, the dough does not have to be the same thickness throughout.
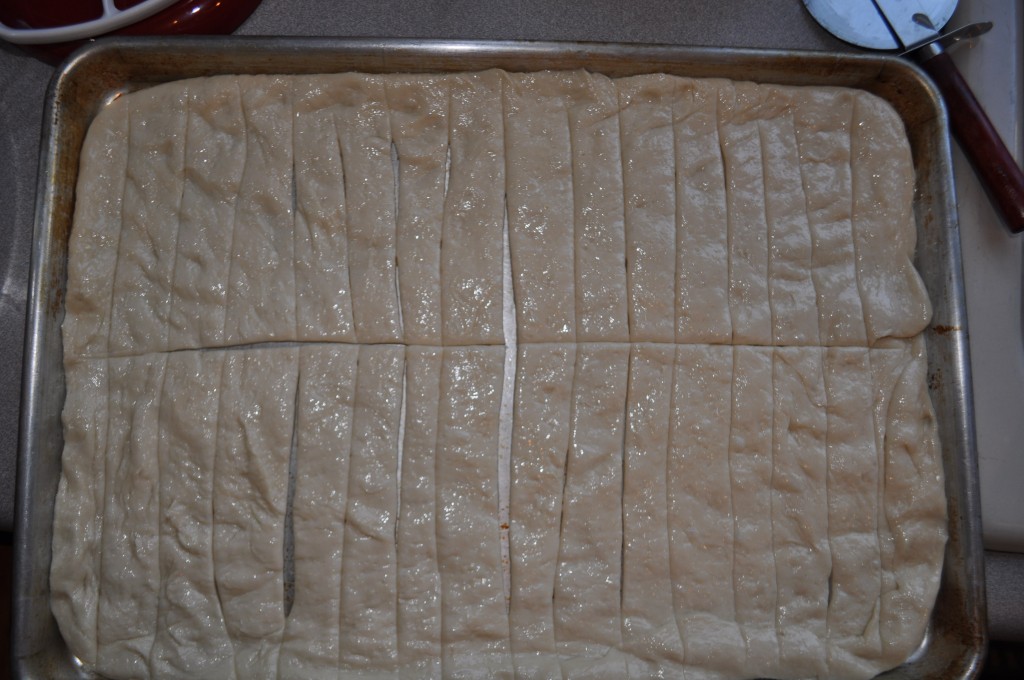
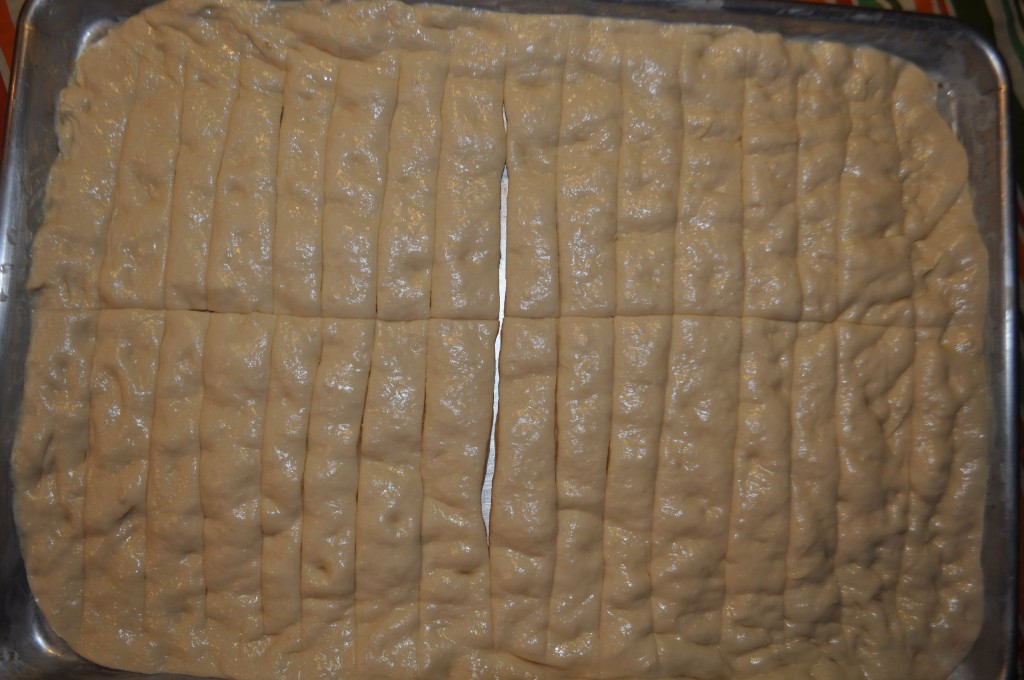
Slice using a pizza cutter. Don’t worry about scratches, these jelly roll pans were meant to take a beating. It is impossible to cut the very edges using the pizza cutter. That part can be carefully cut using a paring knife, or the edges can be cut with kitchen scissors or even pulled apart by hand.
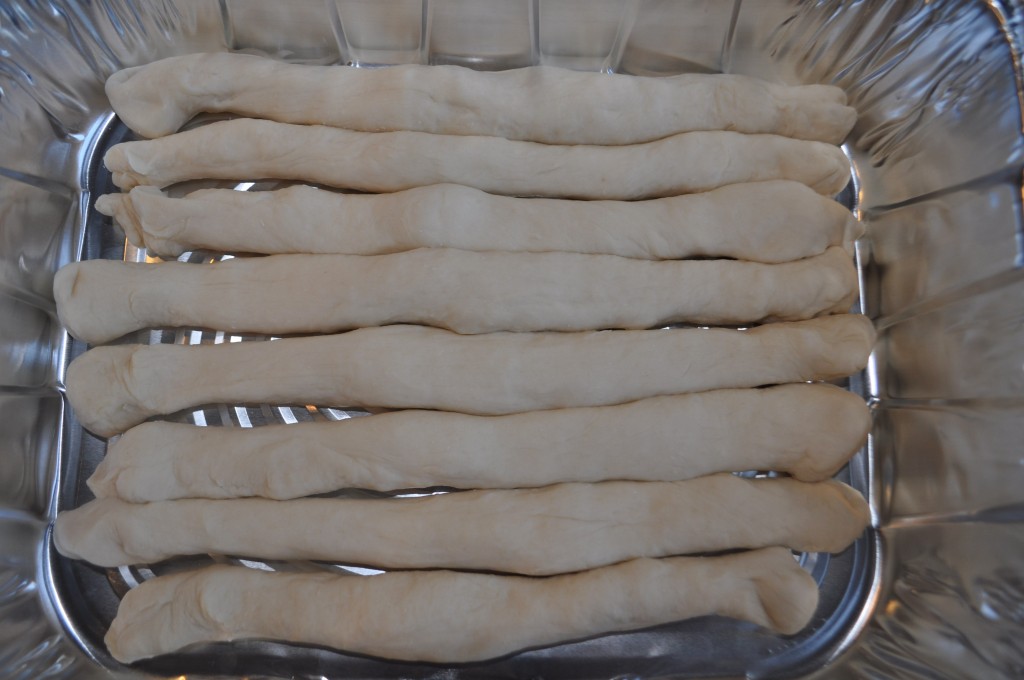
On a side note, the breadsticks can also be formed as shown above. The will expand slightly but it will still be easy to pull apart. I like to bring them to friends ready to go into the oven in a disposable tin. I have also made them this way in a 9 x 13 pyrex. They end up softer when baked this way.
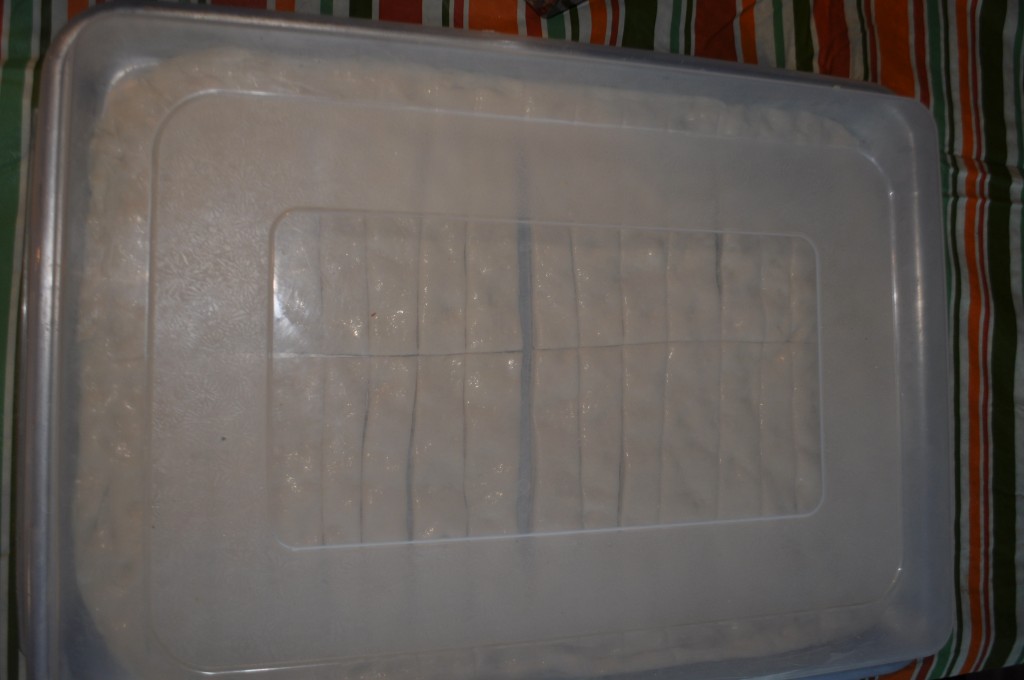
Back to the breadsticks… at this point they need to be covered while they rise for 1 – 1 ½ hours…. or you can place them in the refrigerator for a couple of hours or up to a day in advanced. Take them out 1½ hours before you need them ready so they have time to come to room temperature and rise. In the summer, my dough rises very quickly. In the winter I place the dough in a warm oven, or on top of the dryer so the yeast can remain active and the dough can rise.
After the dough has risin. It should be slightly puffy.
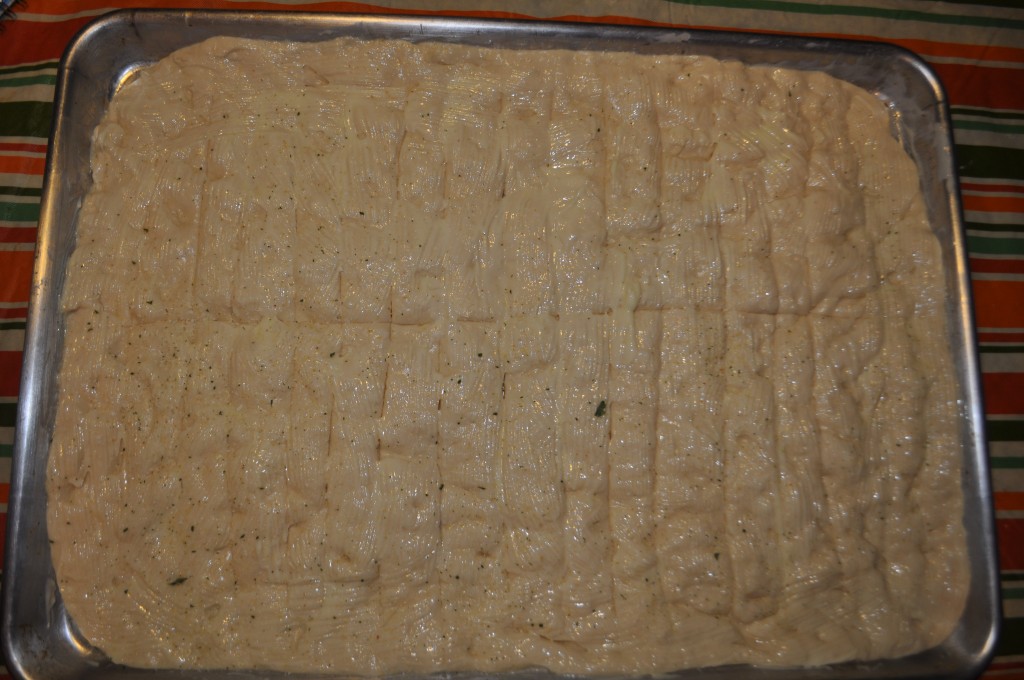
Brush on the remaining butter. Feel free to cut back on how much butter is used. Beccacrocker uses 6 Tablespoons. It’s just easier for me to use the entire stick. Don’t tell my friends how much butter is in these. Shhh!! Place in the oven at 400F for 8 minutes.
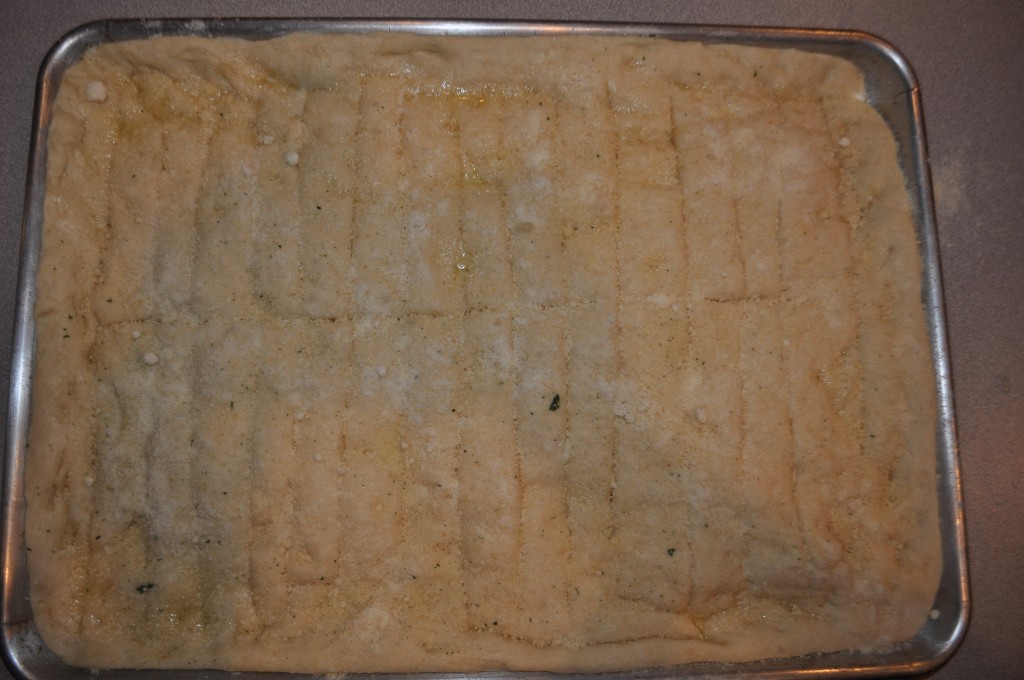
After 8 minutes remove the breadsticks from the oven and add the cheese. I usually use Parmesan cheese, but a great variation is to use mozzarella cheese and serve with pizza sauce. If the cheese is added in the beginning it gets over-cooked and this changes the flavor. Place back in the oven for 8-10 minutes or until golden brown.
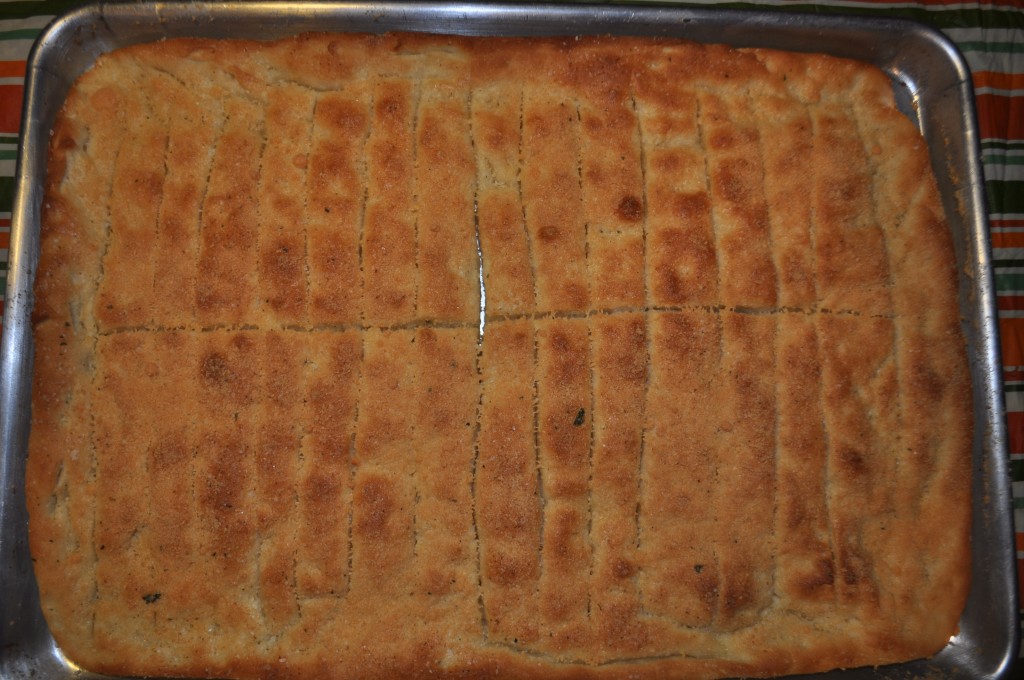
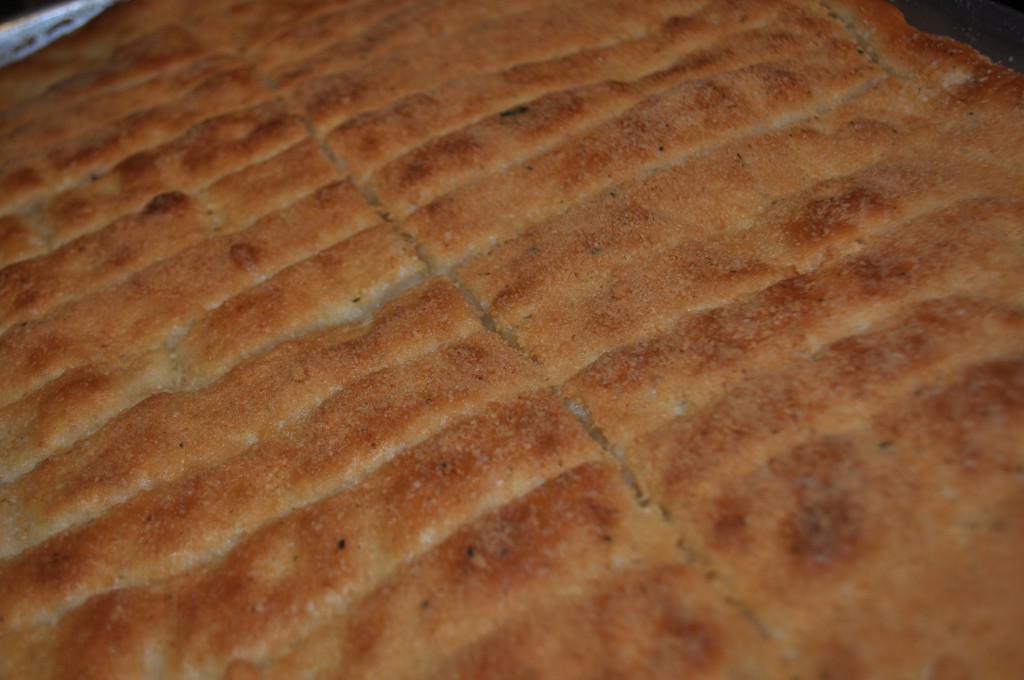
After baking. The picture makes them look darker than they really are. Sorry no time to photoshop tutorial pics. The breadsticks should be golden brown and crispy around the edges.
Yum!
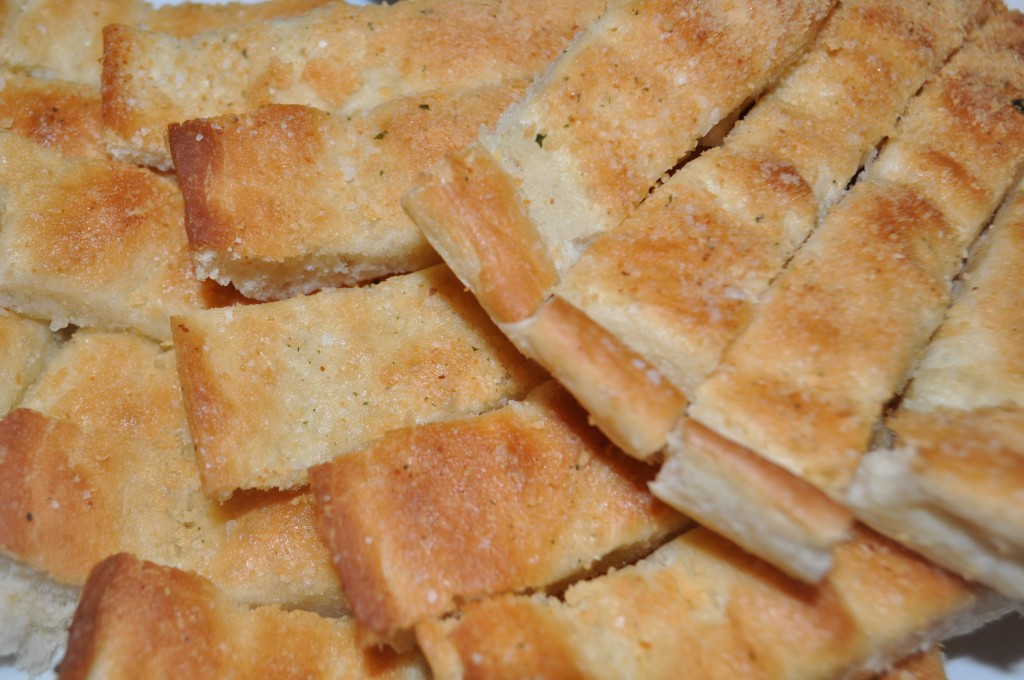


These have the perfect texture and are SO delicious! Thanks Suz for finally posting this recipe!
Thanks for looking Marcie! Sorry it took me so long to get this posted.
Come visit!! 🙂
Mmm! This is such a great recipe, thanks for the pictures and tutorial. I actually usually just spray the pan before rolling out then spread 4 tbsp soft butter on top and immediately sprinkle the salt and cheese before cutting and rising. These are still really yummy with just 1/2 stick of butter. I like how you do the cheese during the cooking to keep some of the fresh flavor and softness there. I will try that next time. Occasionally after they are done cooking, I brush w/ a little extra melted butter and Parmesan, but unusually just forget and we just eat them right up.
Great inexpensive and yummy crowd pleaser!
Ok I told Paul about the stick of butter and he’s says I should do that too. He said “your breadsticks are good, but a little more butter wouldn’t hurt.” Haha
These were so good! Thanks for the recipe.