How to make a Jack Skellington Cookie – How to make a Nightmare before Christmas Cookie
How to make a Jack Skellington Cookie – How to make a Nightmare before Christmas Cookie
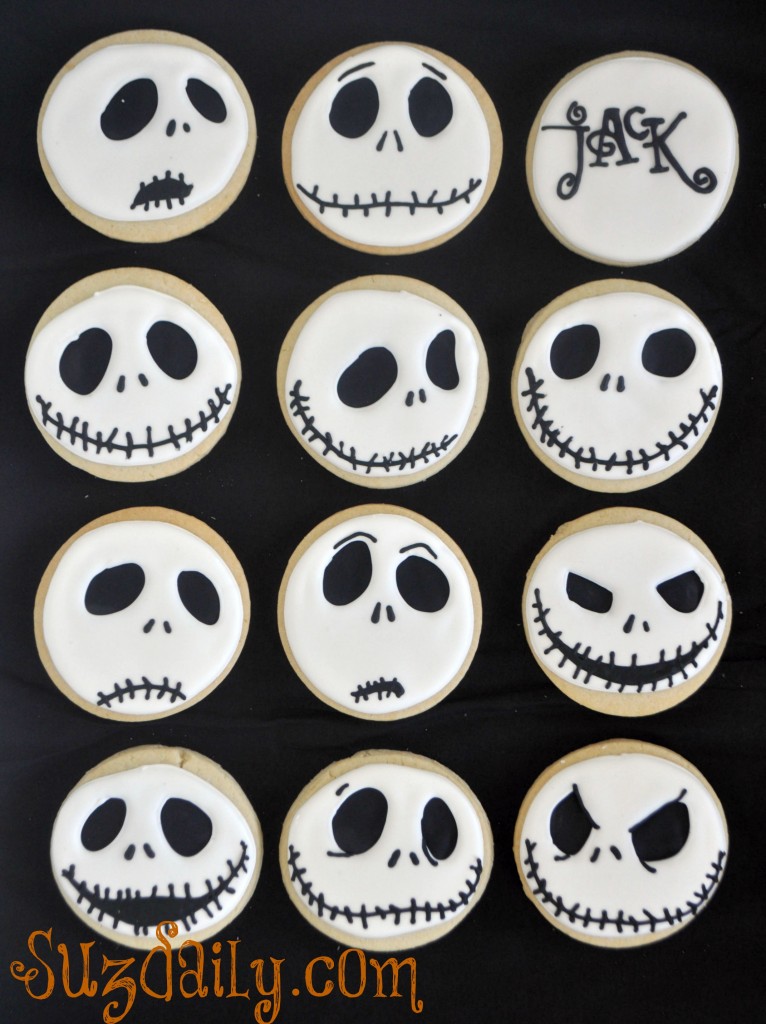
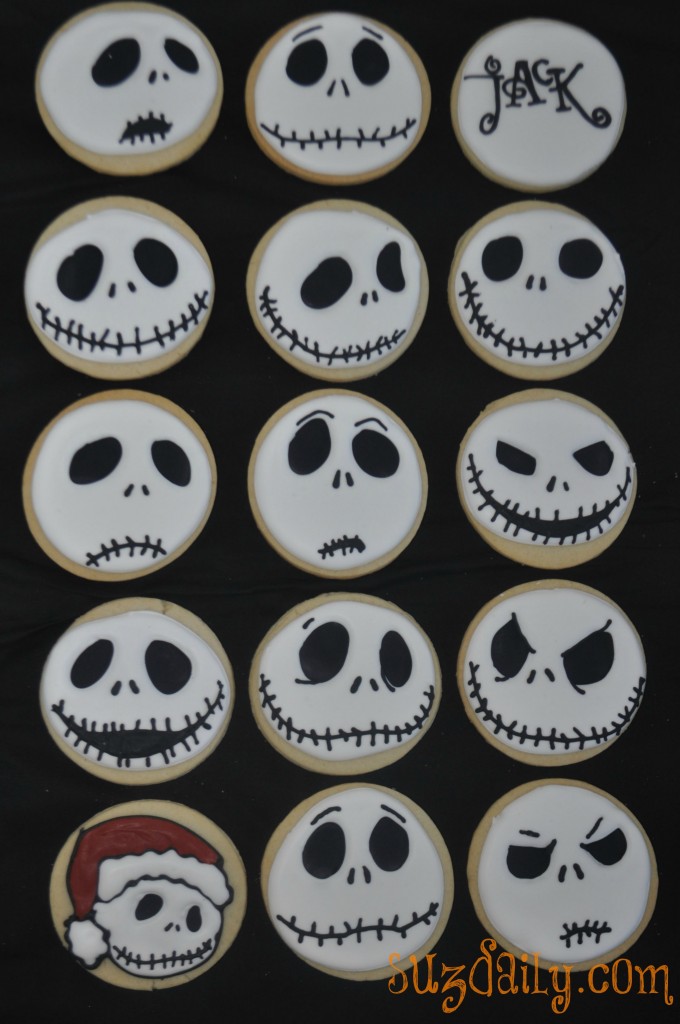
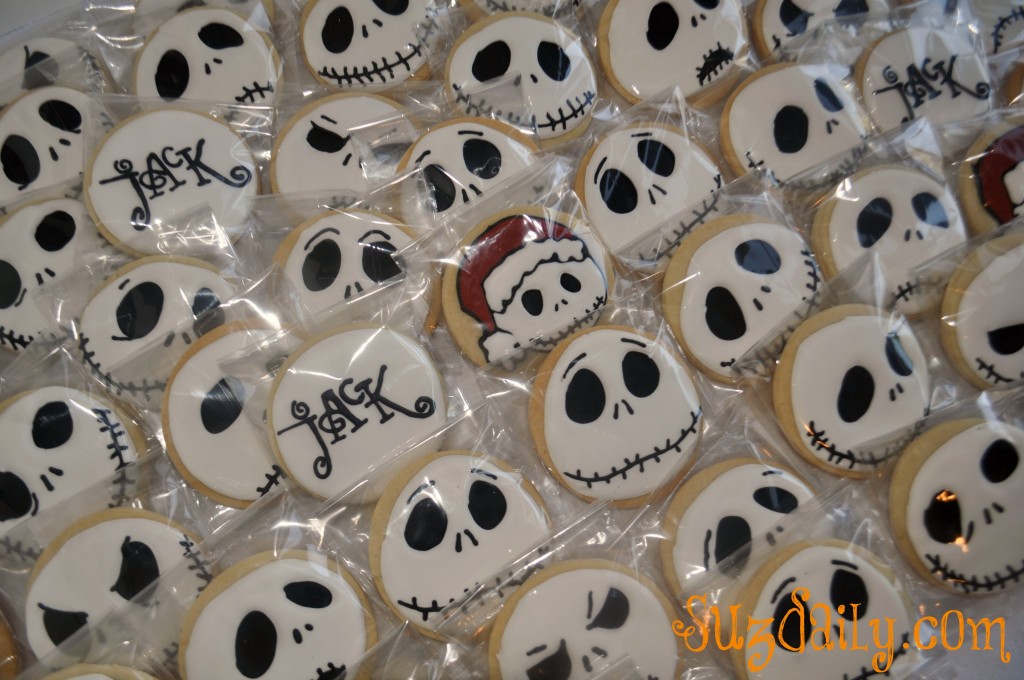
I made these for my sisters Cathy’s annual Halloween party. She goes all out for this party each year. They love the movie “The Nightmare before Christmas,” so I made her 5 dozen Jack Skellington cookies to use as favors.
For details on how I made these keep reading…What I used for the Jack Skellington cookies:
- Sugar cookie dough. The recipe I use makes 5 dozen 3 inch round cookies.
- Royal icing; white outline, white flood as well as black outline and black flood.
- KopyKake for image transfer – or homemade stencils for Jack Skellington’s face
I thought about how I would constuct these for days. I am not a fan of stacking layer upon layer of royal icing especially when I know they are for eating, and not just for show. At first, I thought I would just put the eyes and mouth on top of a layer of white royal icing; although I worried about how crunchy that top layer of royal icing would be. With only 18 hours from shipping time, I realized I may not have time for a top layer of black icing to dry, and I realized I would have to do something different for the big Jack Skellington eyes. Black icing can be especially tricky. If it is not completely dry it will stick to the cellophane bags.
The idea came from these after I saw some cute pumpkins at one of my favorite websites, sweetsugarbelle. She made some beautiful Jack ‘o lanterns where the black icing was placed behind the orange icing. I was actually able to simplify what she did with the pumpkins by simply scraping a layer of black icing on the cookies before adding the white icing.
So here we go with the photos.
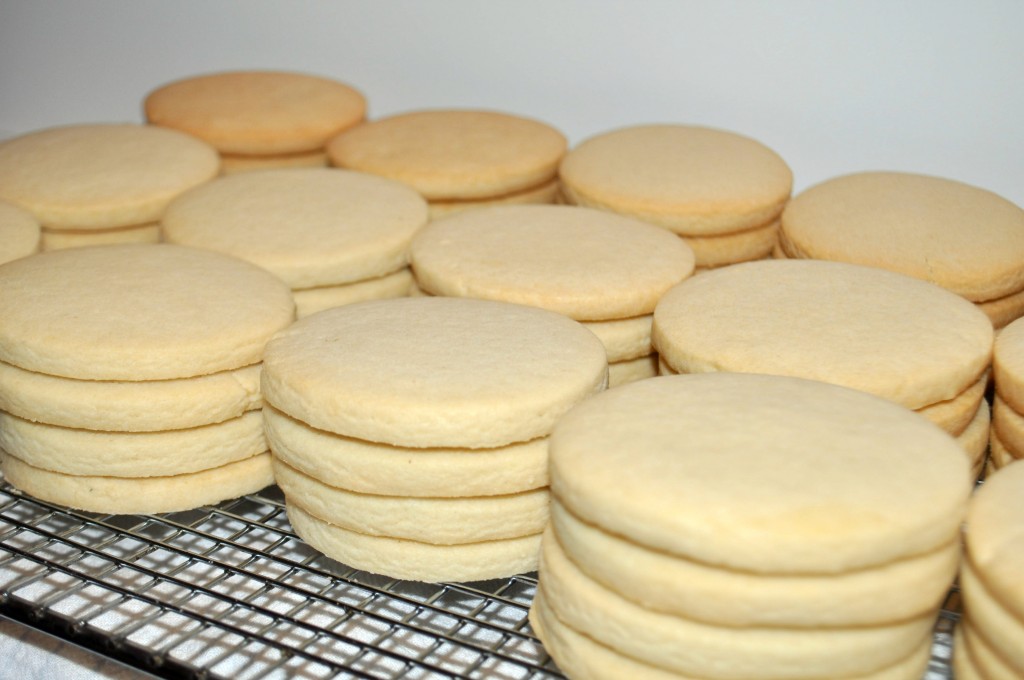
Bake three inch round cookies. Do not space out and get on Facebook while they are baking. The last row was in the oven for just a bit too long. Sorry Cathy, but don’t worry the kids will eat it.
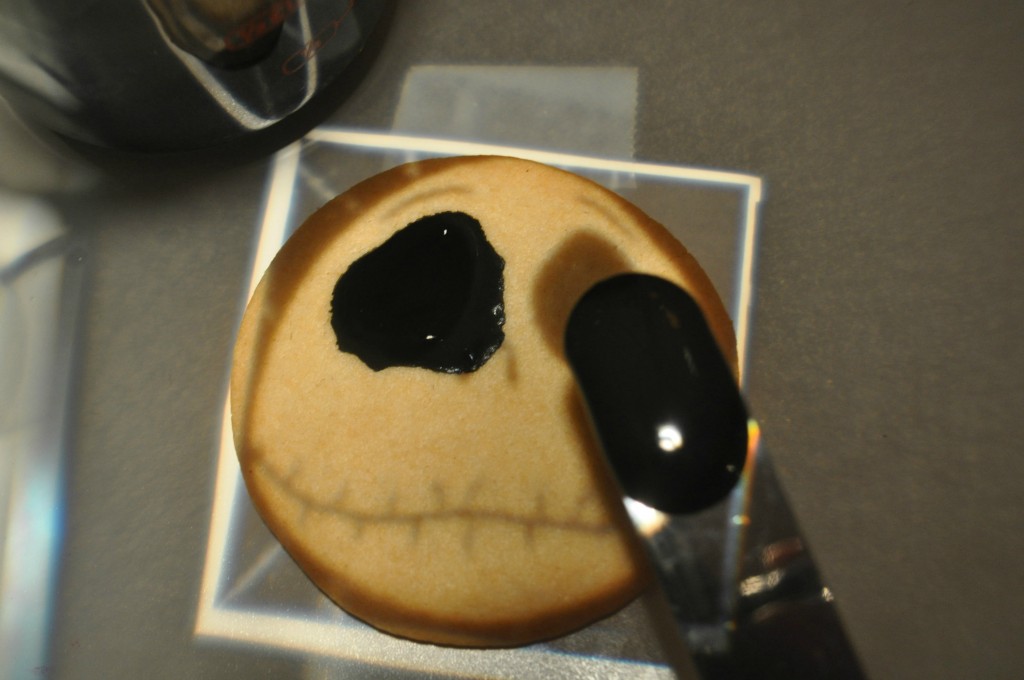
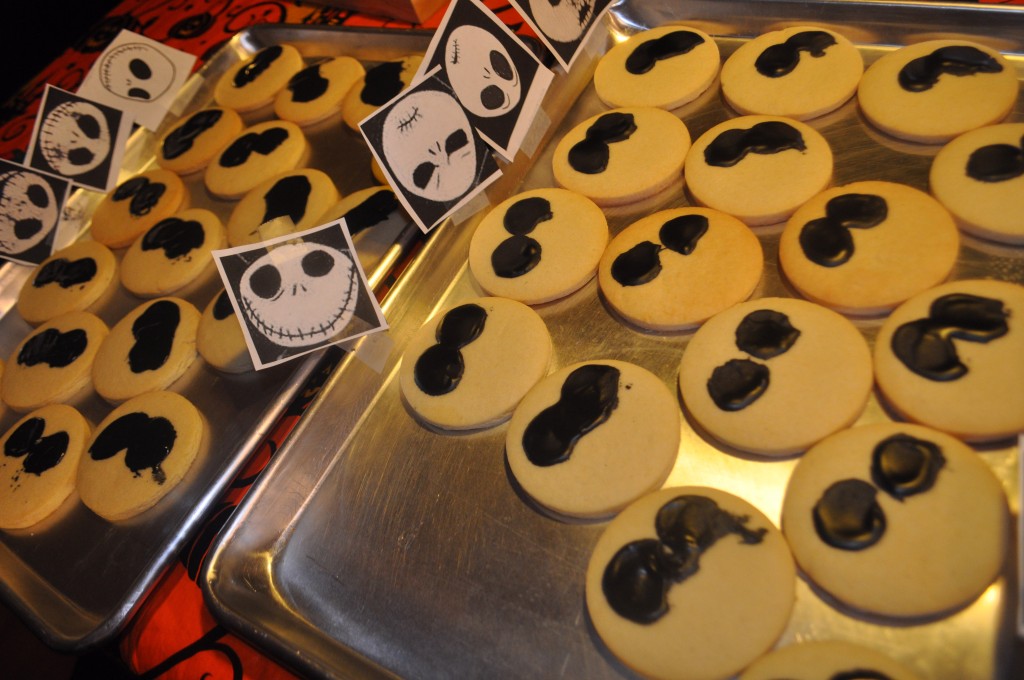
Now the fun part. Prepare royal icing that is dyed with black. It is best to do this several days in advance. Thin to piping consistency, or even a bit thinner so that the bumps smooth out on their own. I used the KopyKake to help me place the black dye. Any type of artificial dye grosses me out so I try to use as little as possible. Without a KopyKake I would make a special stencil; in a manner as shown on sweetsugarbelle’s post. Using a small off-set spatula simply scrape a thick layer of black icing where you want the eyes to go. Move on the next cookie and give that black icing about 20-30 minutes to set up.
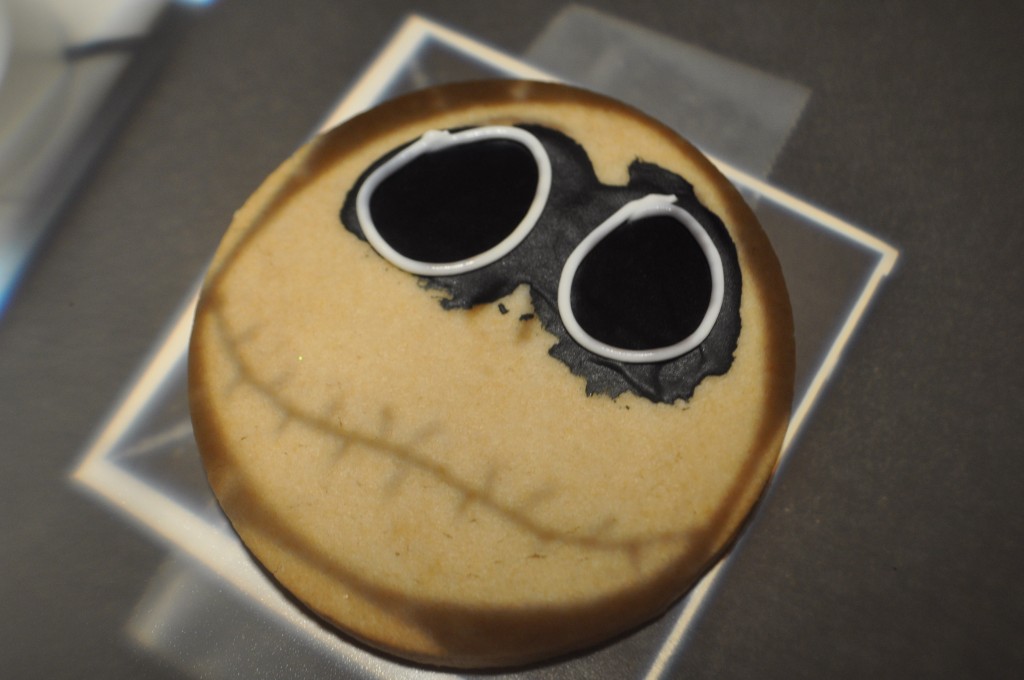
I worked on these faces from about 11pm until 4am. So funny looking, especially late at night. Anyhow, once the black layer of icing is dry, use a PME 2.5 or a Wilton size 2 tip fit with white piping icing to outline the eyes. When using the kopykake it is difficult to see the outline when the icing is very wet. The light tends to reflect everywhere. If you are using stencils, you would also want the white icing to be dry.
Here is how I kept track of which eyes went with which image. It looks pretty sloppy, but in the end the black turned out just fine. I tried to keep the black icing to a minimum. If it were a soft color I wouldn’t worry so much about adding too much icing.
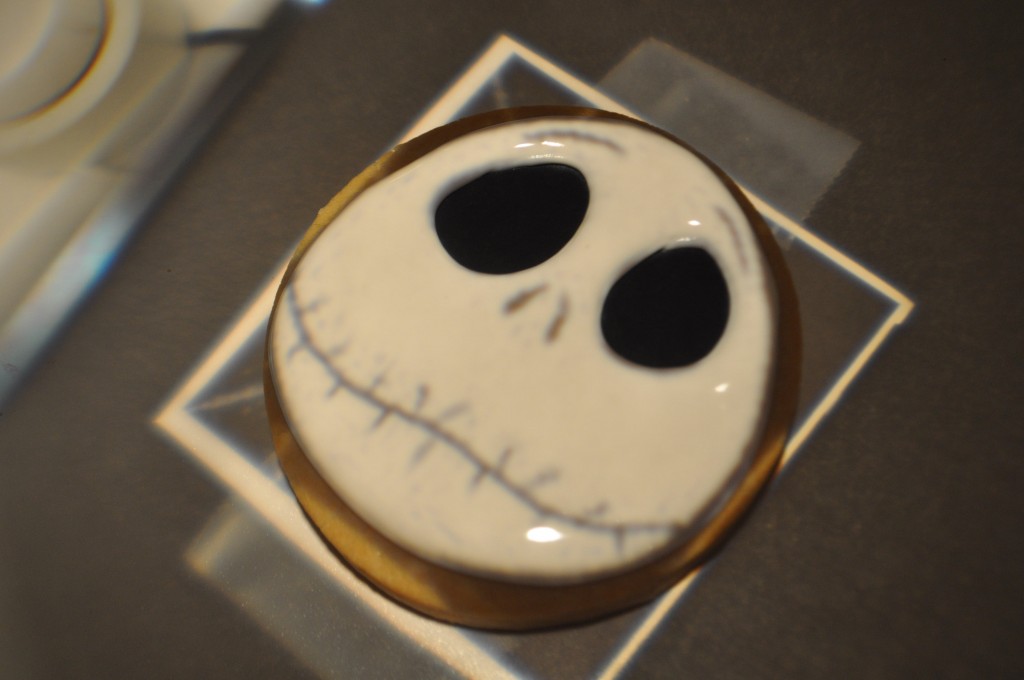
Now outline his head (not shown) and fill in with the white flood (thinned) royal icing. Make sure the icing is not too thin for this project. I have found thinner white icing and black accents used in combination is a recipe for disaster. So now the head is filled in.
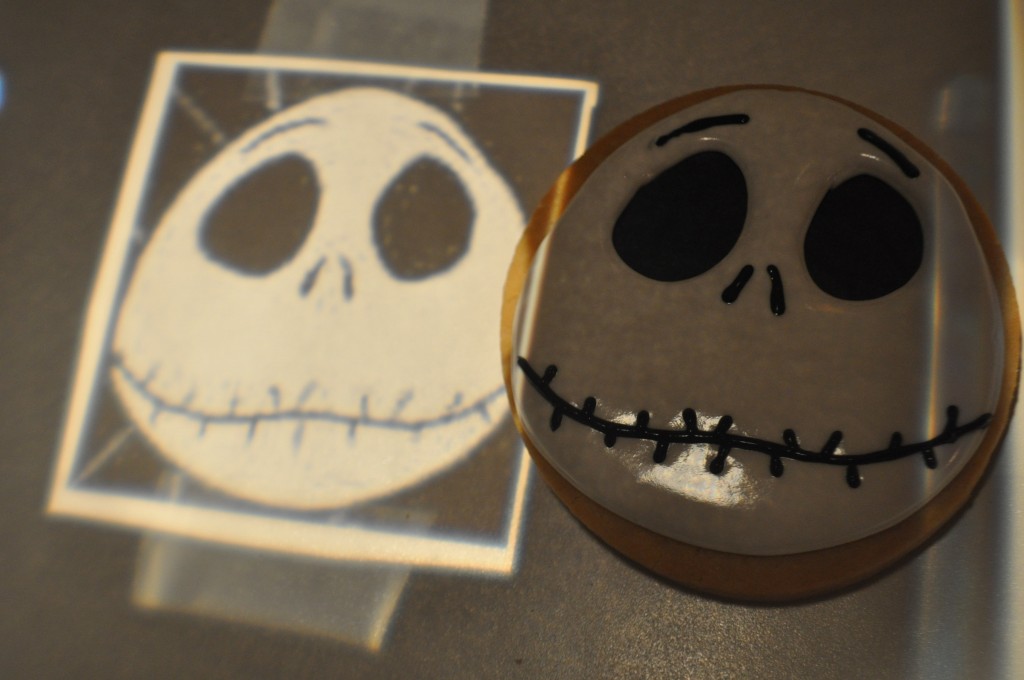
Last add the details, using a wet-on-wet technique. I used a PME size 1 tip because the icing tends to spread more when you are putting wet icing on top of wet icing. Now repeat and repeat! I worked with a tray of 12 cookies at a time. I finished these at 4 a.m. and they were dry and ready to be packed at noon, about 8 hours later.
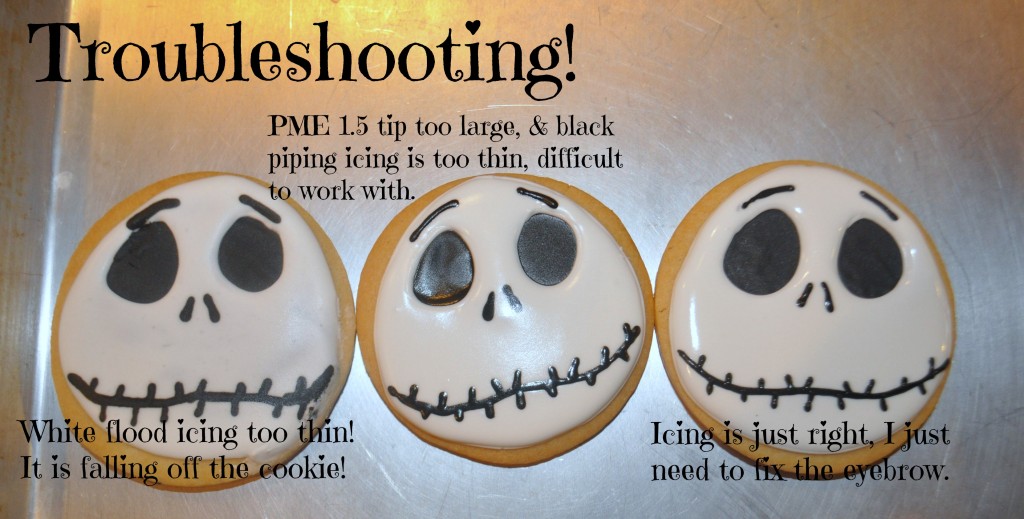
Another thought I want to share… I am showing the ugly cookies.
Usually it takes me a few cookies to get into a good decorating groove. I need to get the icing just right, find the right tips and make sure I’m happy with the design. Here are a few not so perfect cookies that I did first and explanations as to what I had to change. I wanted to use white flood icing from a couple of days ago but it was too thin. I also had trouble with the black icing for detailing. It was too thin so I added a bit of sifted powdered sugar to thicken it up. The last cookie helped me just to get my hands steady and into decorating mode.
Here are more of the cookies, plus the designs I don’t love.
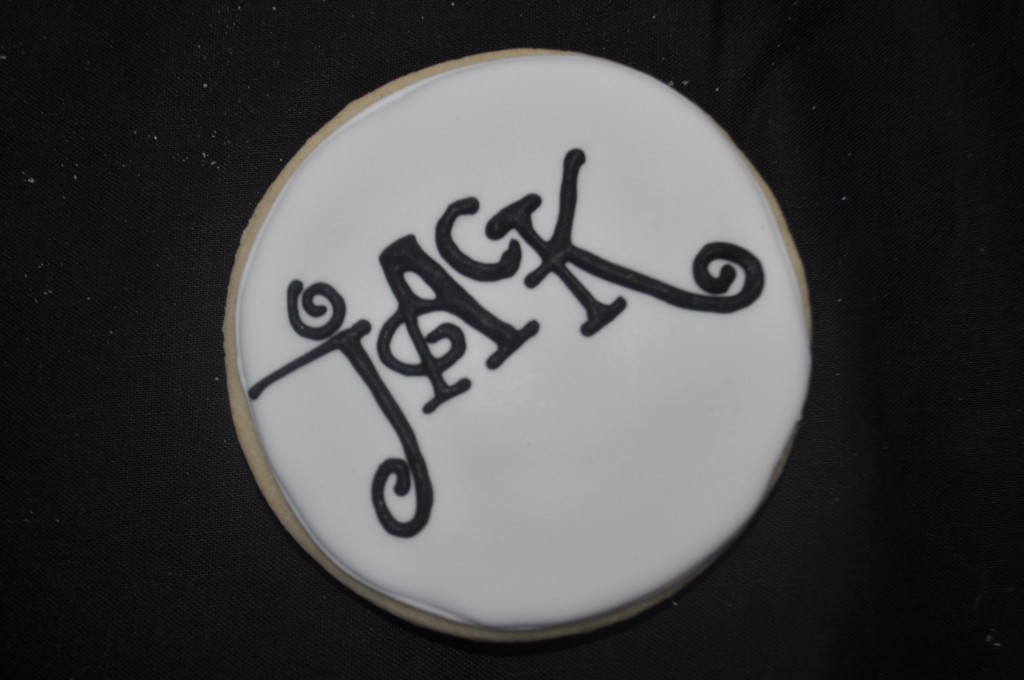
Now the close-ups.
Okay, last one I promise.
I really have to see this movie now.




WHAT you have never seen the nightmare before christmas?!?!? its been out for 20 years!!! (as of march ’13)
i love using wet on wet…it just boggles peoples minds!!! i did aces for a poker party and i did fancy ace of spades and people kept asking me how i painted it so fancy! hahaha
No, crazy, huh? I think when it came out I was too busy with school for movies. My sister who I sent the cookies to send she is going to send it to me so we can see it. I think people either love or hate that movie.
Wet on wet is great! As long as the icing is not too runny.
Thanks for looking 🙂
where did you get the faces from?
Google image search. I tried to find my favorites. Some of these I may not use again.
You did a fantastic job! I tried to make some when I started making cookies and they sucked, LOL!!! But this technique is perfect!!! Now go see this movie! It really is one of my favorites!!
Thanks Heidi! I was most excited that they dried quickly. Black icing can be so tricky. I need to try the Monster High Cookies this way.
Okay, I will try to get this movie this weekend. I’m sure I”m missing out!
Would there be any way I could commission you to make these for my halloween party this year, my son is Jack obsessed!
Liz,
I sent you an email from spaylor@msn.com.
I’d love to make these for you!
Suzanne
I’ve never heard of the KopyKake. What brand/model did you use? What would you suggest to someone like me who’s just getting started?
Tanya,
I use the kopykake 300xk – the less expensive version.
I bought mine through jerry’s artarama.
Once I knew I could trace designs on a piece of practice paper I felt I was ready for a kopykake.
It makes a huge difference if you are serious about decorating cookies or cakes.
Best wishes,
Suzanne
Could you quote a price for the Jack Skellington cookies with the Christmas hats? I have a friend who wants these for Christmas this year and I know I won’t have the time to make the attempt with a 2 week trip coming up next week!
Hello – I will send you a personal email.
Thanks for looking!
Suzanne
How do you prevent the black icing from tinting the white?
I never have a problem with this, maybe because I live in a very dry climate. Other decorators that live in humid climates use a food dehydrator to help the icing set. You could also use a small portable heat fan. What icing are you use?
Thank you Leslie! I wish I had more time to bake and blog! It is always so much fun! You can follow me on instagram @suzdaily
Thanks again!
Suzanne
you may want to see this person using your pictures
https://www.facebook.com/poptymom/photos/pb.219289804906841.-2207520000.1418517837./367026316799855/?type=3&theater
Thank you Brenda 🙂
My husband and I tried to make Jack cookies for our Halloween party last year. One word….. Disaster! To be fair though, we didn’t troubleshoot it that long since this was a last minute creative party favor idea. So I am wondering what you charge for creating 100 Jack cookies? You have it mastered! Just know I appreciate your talent. Your work is amazing. Take it from someone that loves Nightmare Before Christmas, you CAPTURED Jack! Hope you finally got to see the movie.
Kerry,
I will send you a personal message. Thank you so much for your kind comment. These are a bit challenging but I love the final result. It’s like Jack was meant to be on a cookie 😉 – I have seen half the movie at this point!
Suzanne 🙂
love, love, LOVE these cookies! Any chance you could tell me what don’t you used for the “Jack” cookie?
Thank you!
That should say Font. Sorry. Stupid autocorrect. Haha.
The last time I made these my black dye bled into my white…any tips for that?
Make the black icing in advanced so it has time to develop. Good luck!