How to Make Marshmallow Fondant
I love marshmallow fondant because of the simplicity of ingredients. I use this to make the flowers I put on cupcakes and to cover my kids’ birthday cakes. I have also used it for small details on cookies. I usually have all the ingredients on hand to make marshmallow fondant and it is much less expensive than store-bought fondant. The only downside is that it does not have all the stabilizers of store bought fondant and will not hold up for days and days over buttercream icing. I do not have this skills to cover a wedding cake in this type of fondant, but do use marshmallow fondant all the time just for fun. My kids love using it to help me make pretty little edible stars, letters and flowers. Way more fun than play-dough!
Keep reading for details on how to make marshmallow fondant.
Step 1 – How to Make Marshmallow Fondant – Gather and weigh ingredients
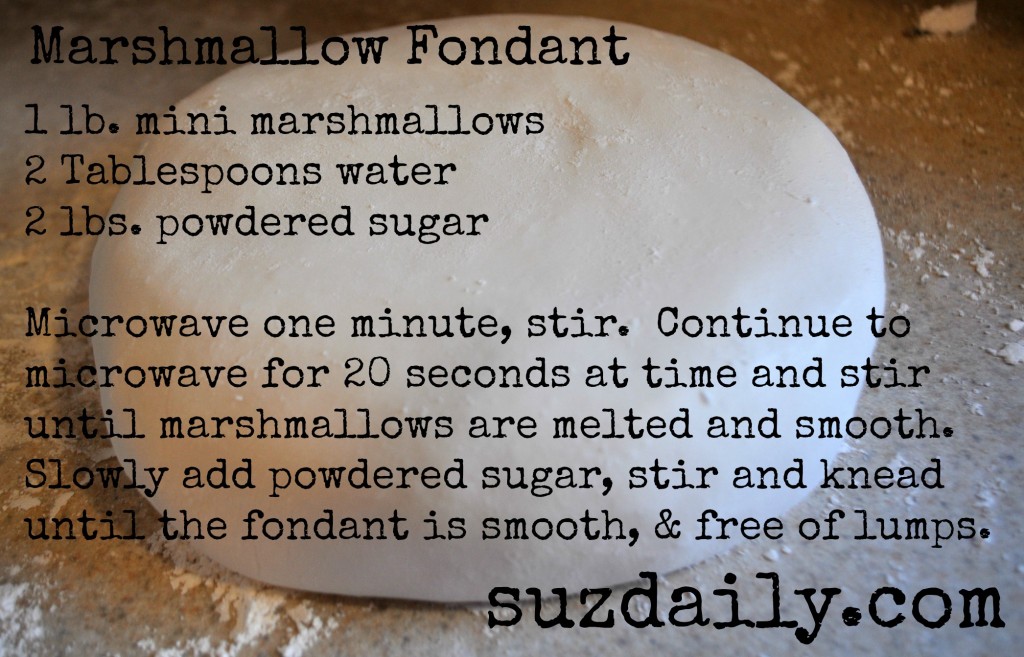
Marshmallow Fondant
- 1 pound mini marshmallows
- 2 Tablespoons water
- 2 pounds powdered sugar (plus more for dusting countertops)
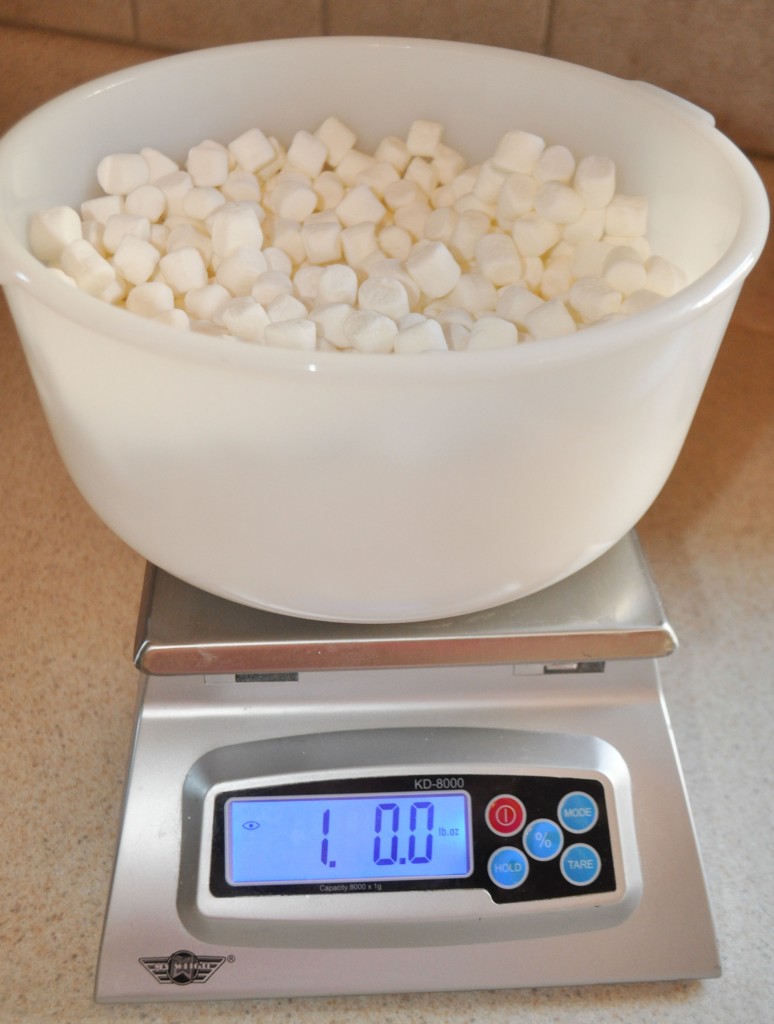
When making marshmallow fondant I prefer to weigh the ingredients. This assures accuracy. You could search for a one pound bag of mini marshmallows but my local grocery store only carries 10 ounce bags. Place the marshmallows in a large bowl for microwaving and mixing. I am using a large glass pyrex mixing bowl.
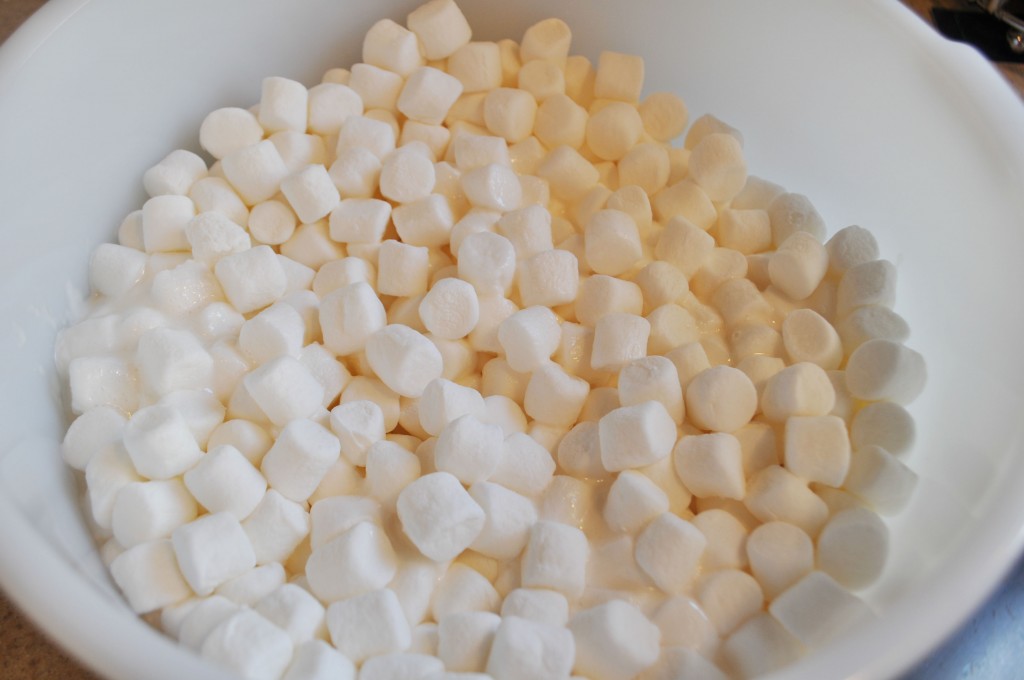
Pour the two tablespoons water on top of the marshmallows. See how simple the ingredients are?!
Step 2 – How to make marshmallow fondant – Heat marshmallows in microwave and stir until smooth
Microwave the marshmallows on high for one minute. The marshmallows will expand and become light and puffy. Stir with a heavy duty plastic spatula.
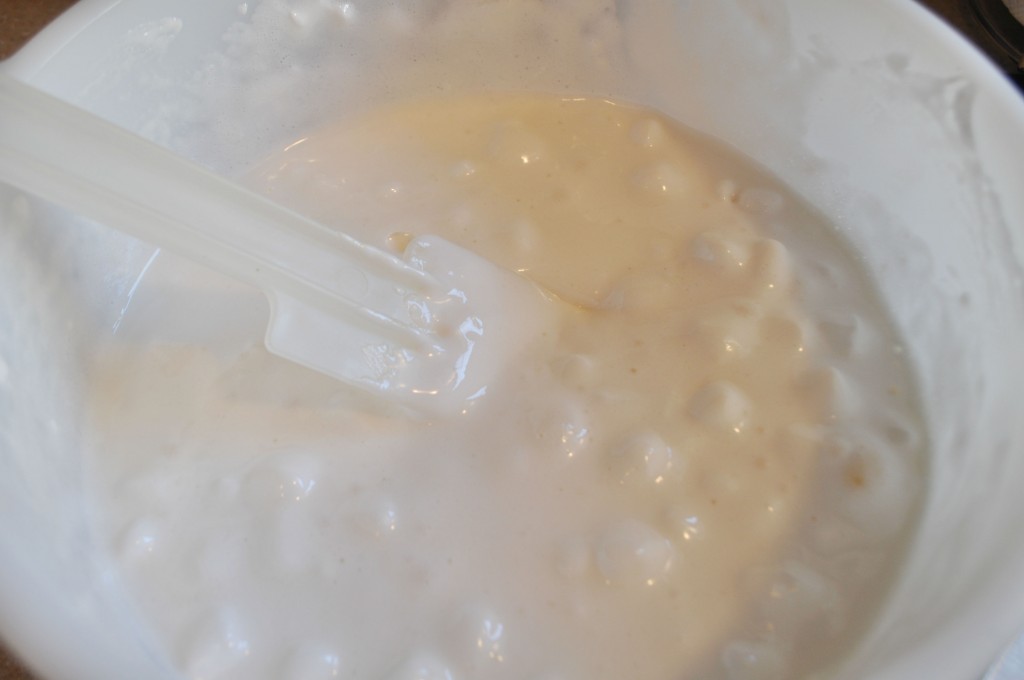
Clumps of marshmallow will remain. This is normal. Return the melted marshmallows to the microwave for another 20 seconds. Stir again.
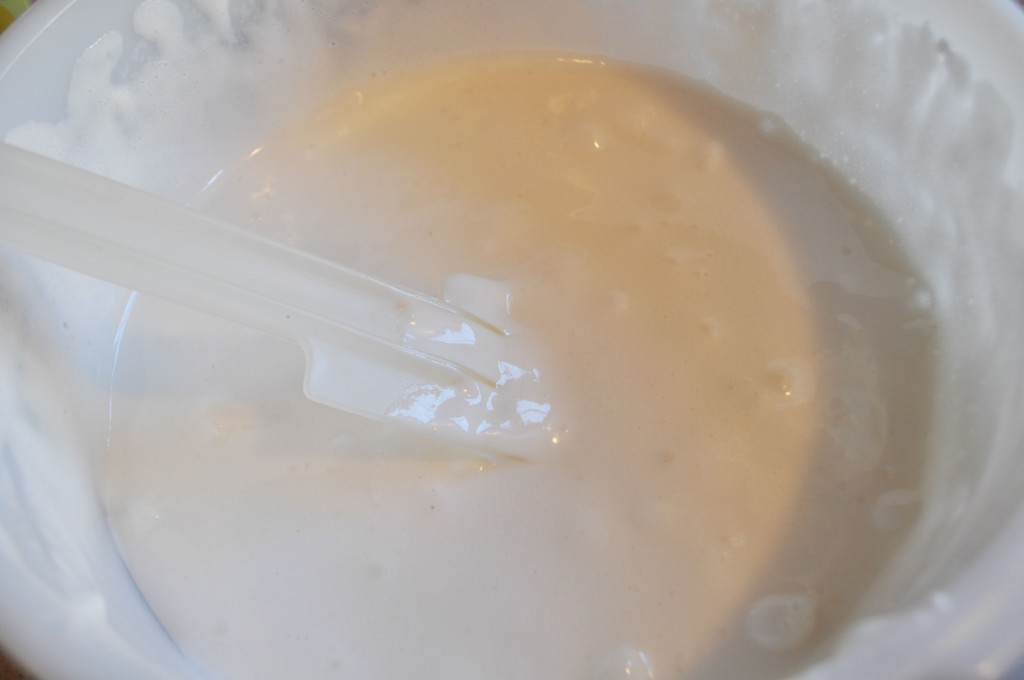
As you can see, I have fewer lumps in the mixture. I will return the marshmallows to the microwave for another 20 seconds. This is the time required for my microwave. It will be different with every model so I prefer to heat in very small increments.
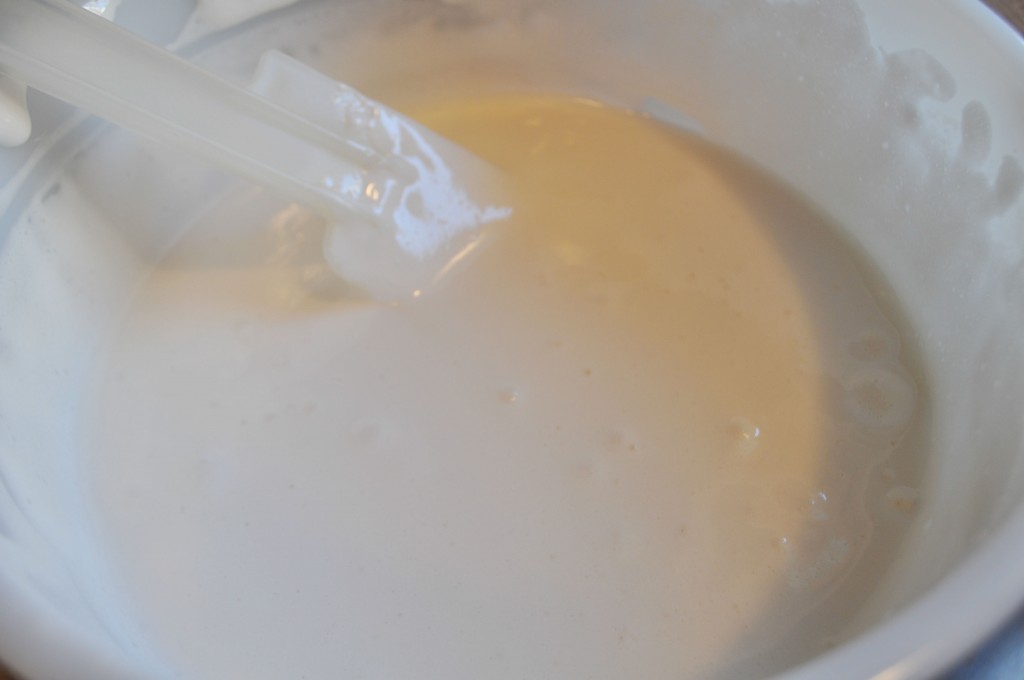
After a total of one minute, forty seconds in the microwave there are no large marshmallow lumps in my bowl. There may be some tiny pieces remaining but these will disappear as I gently stir the mixture.
Step 3 – How to make marshmallow fondant – Stir in powdered sugar
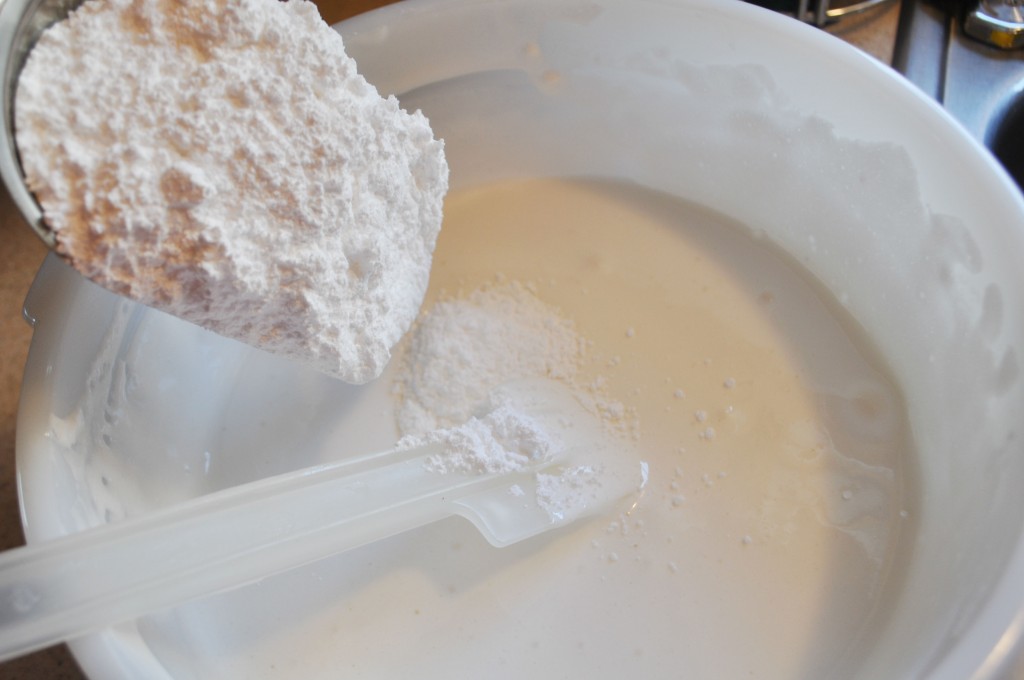
Slowly add the powdered sugar to the melted marshmallow mixture. Gently stir to incorporate the powdered sugar. Be careful not to add to much air as you stir.
Continue to add powdered sugar and stir.
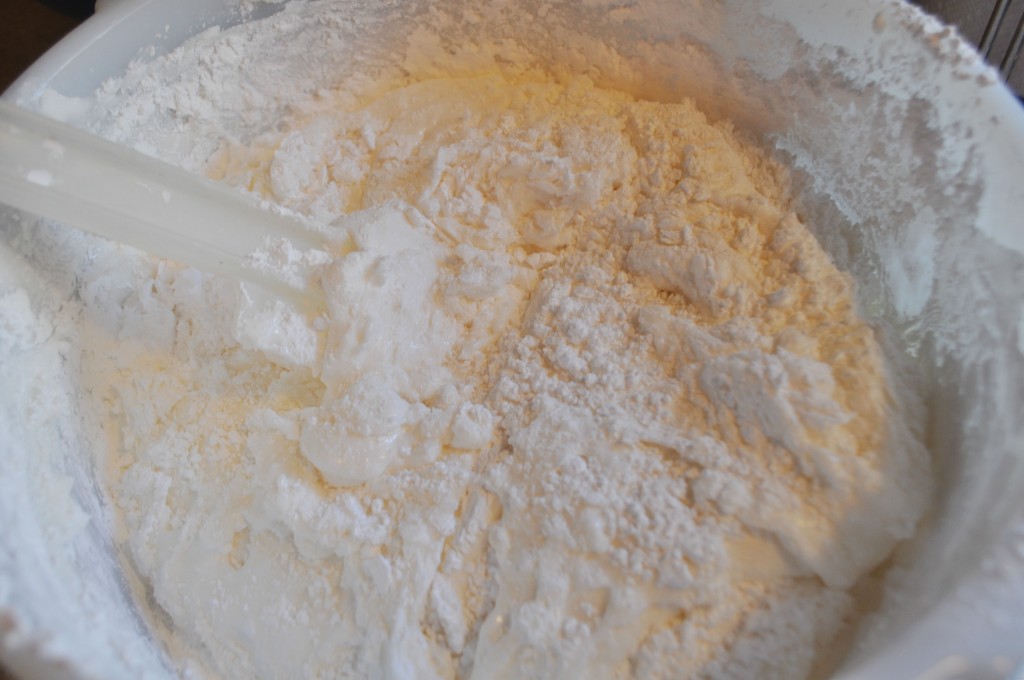
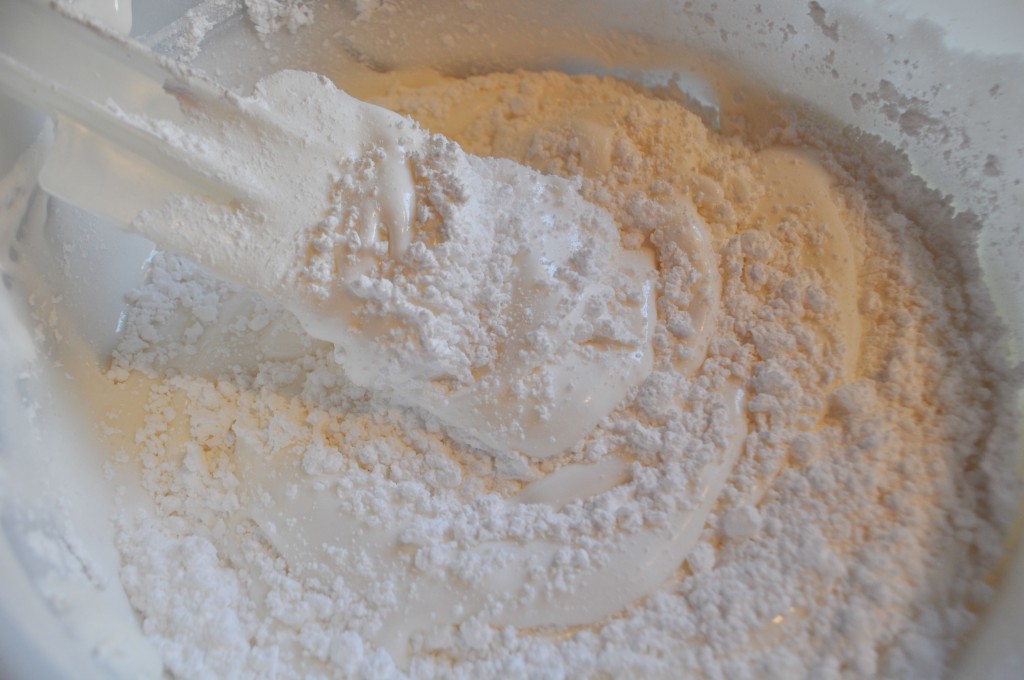
As you continue adding powdered sugar the fondant starts to come together, almost like bread dough.

Stir with the spatula until it becomes impossible to stir any longer. At this point cover the counter with powdered sugar to prepare for kneading of the marshmallow fondant. It will seem like nothing more than a sticky mess; however, once more powdered sugar is added and the fondant is kneading the texture becomes more workable.
Step 4 – How to make marshmallow fondant – Knead remaining powdered sugar into the marshmallow mixture.
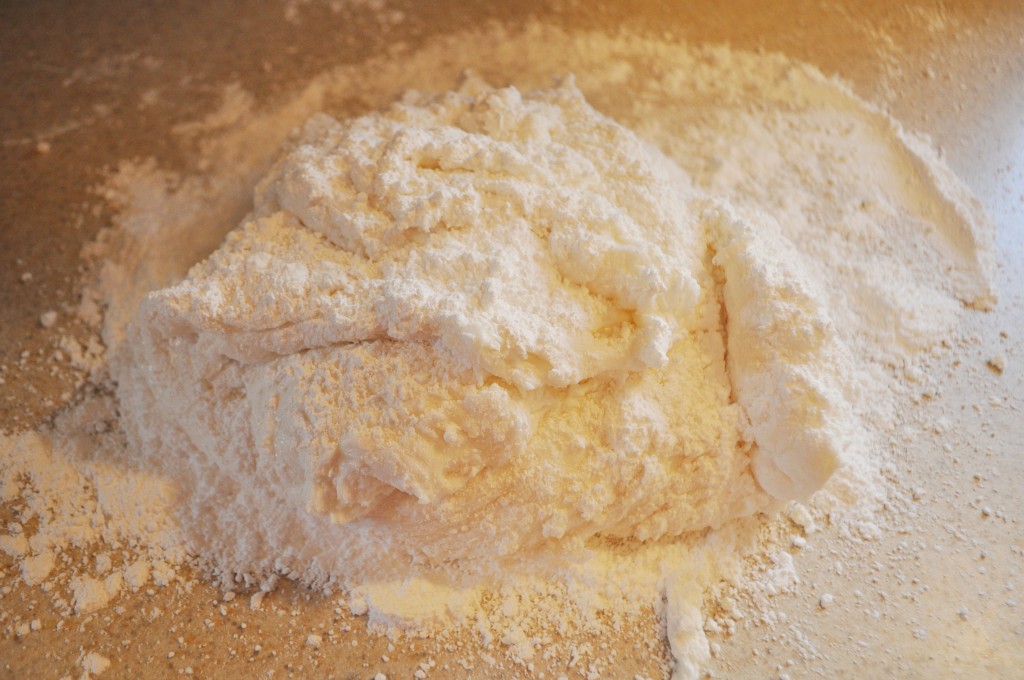
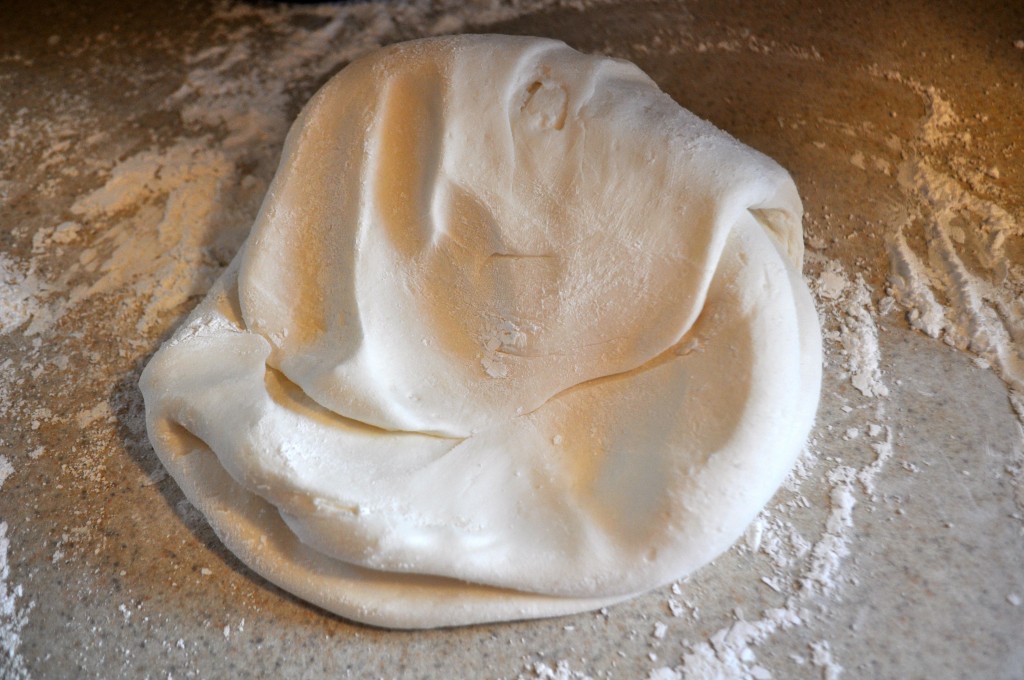
Be sure to cover the counter top with powdered sugar before proceeding with this step. Scrape the ball of marshmallow and powdered sugar out of the bowl and place on a mound of powdered sugar. Sprinkle more powdered sugar on top of the sticky clump of fondant. Knead gently, trying not to incorporate too much air when folding the fondant. Be patient at this step and just know you will be making a huge kitchen mess.
The fondant is really starting to come together at this phase but one problem remains – lots of little lumps of powdered sugar. If I wanted my marshmallow fondant to be perfect I would probably sift the powdered sugar first. Since this is just for fun, I remove the small bits of powdered sugar by kneading and kneading the fondant.
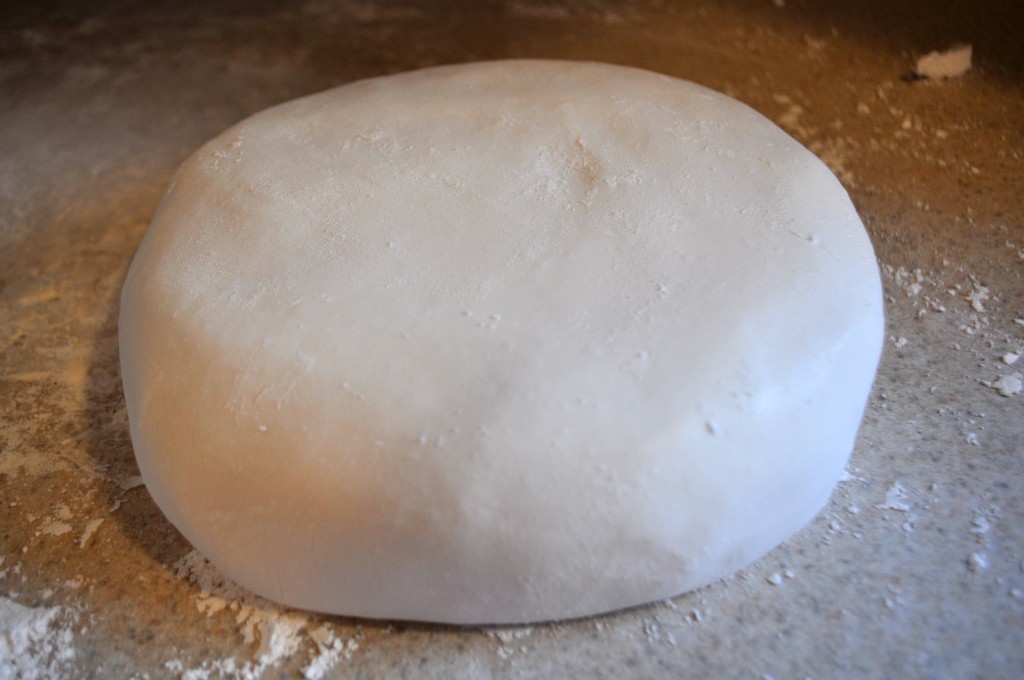
After kneading and kneading the marshmallow fondant it is ready to use. Stop adding sugar when it is not sticky to the touch and is smooth. Too much powdered sugar will cause the fondant to rip and be difficult to work with. Store in one or maybe even two Ziploc bags in the refrigerator. Or wrap tightly with saran wrap, then place in an airtight container. This fondant has a tendency to dry out when not covered properly. To ‘revive’ fondant for future use bring to room temperature and knead until it is soft again.
Step 5 – How to make marshmallow fondant – Add food dye
The last thing I do is add the food dye. If you are going to make dark colors it is a good idea to wear food safe gloves. Flatten the disk of marshmallow fondant and add a bit of dye with a toothpick. I prefer to use either Wilton or Americolor gels made specifically for cake decorating. Gently knead the fondant and you will see streaks of color appear. Do this until the color is solid.
If the entire batch of marshmallow fondant is to be one color you can add the dye to the melted marshmallows.
The fondant is ready to use. I like to use a silicon rolling pin with lots of powdered sugar to roll out large pieces of fondant. Some people coat their surfaces with a bit of cornstarch or even vegetable shortening to prevent sticking. You will have to find what works best for you. For making small decorations such as flowers, I take a piece of fondant and put it through my Kitchenaid pasta attachment to make it extra thin, as seen in this tutorial.
Above all have fun when making marshmallow fondant. It can be very frustrating at times, but stick with it!!
This recipe yeilds 3 lbs of marshmallow fondant. Here is a handy guide from Wilton as to how much fondant you will need to cover a particular sized cake. More information on making marshmallow fondant can also be found on about.com’s informative article.


4 thoughts on “How to Make Marshmallow Fondant”